Search
Home
Resource Library
Sustainable Crochet
Patterns
Video Tutorials
Printable Guides & Resources
Pattern Roundups
Shop
About
Purpose & Mission
About
Sign Up
Account
Log in
Category:
Resource Documents
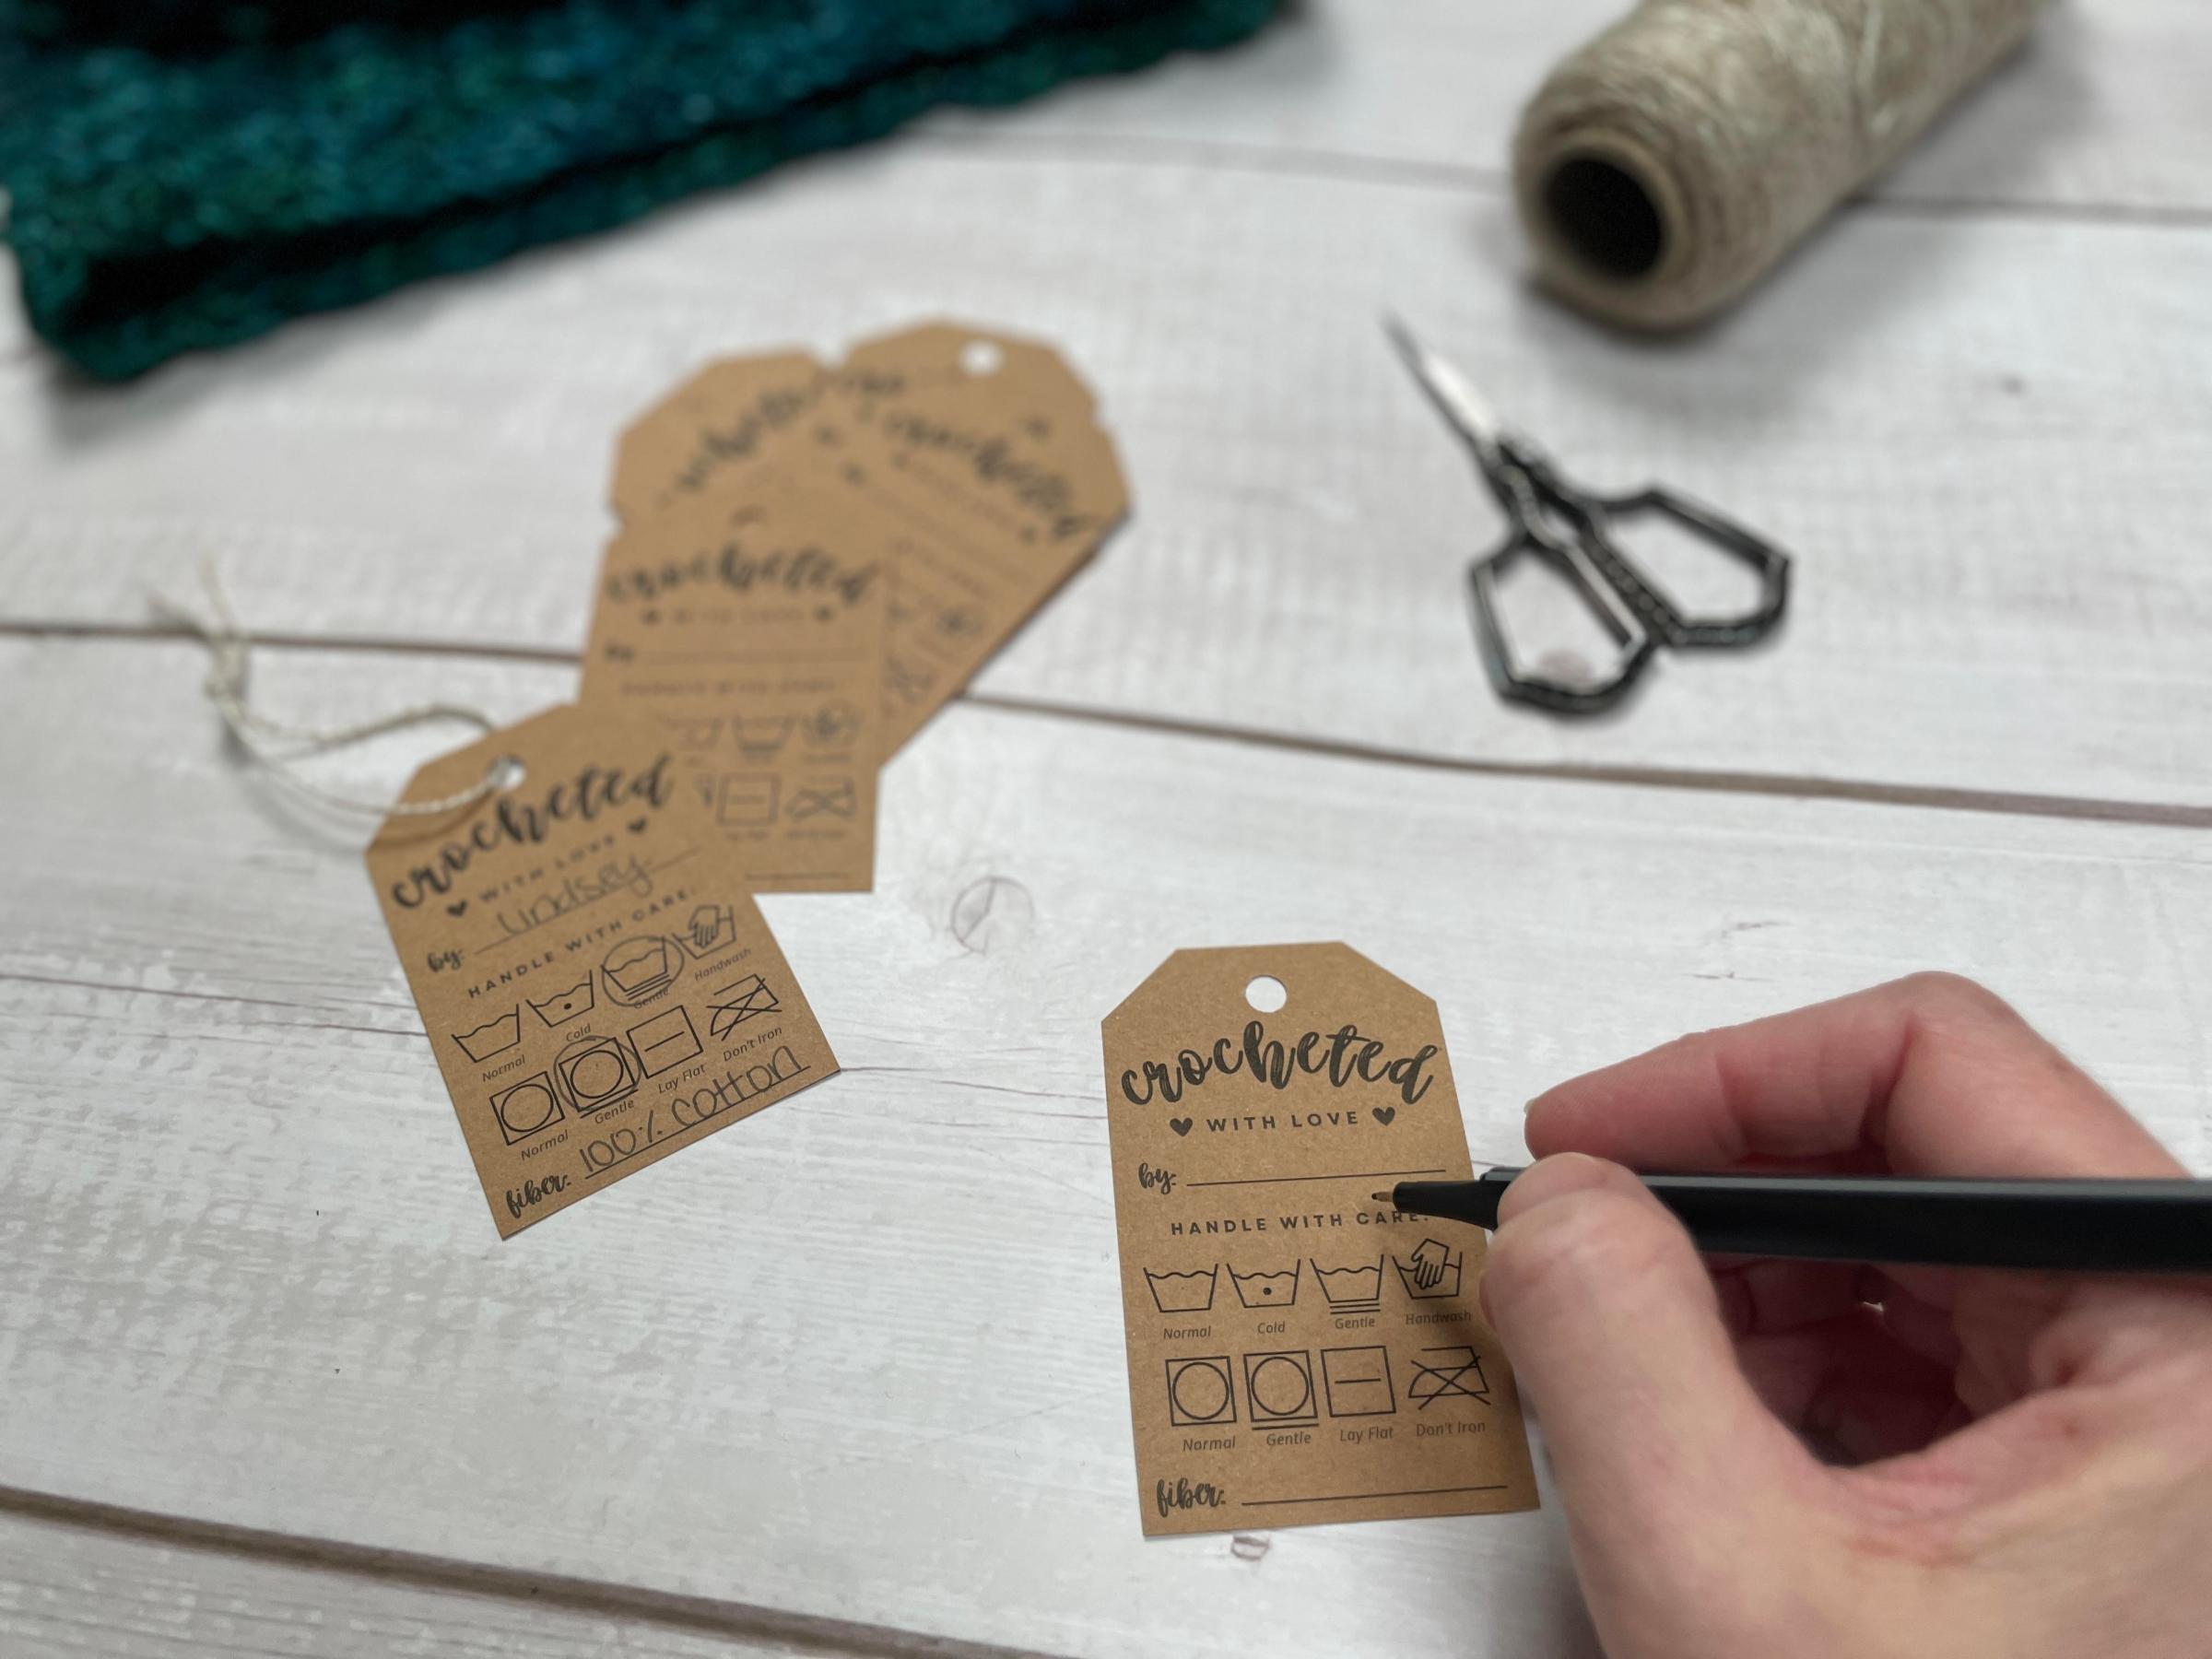
Crochet Care Tags: Free Printable Laundry Instructions
Crochet Christmas Tree Pattern – Free Holiday Home Decor
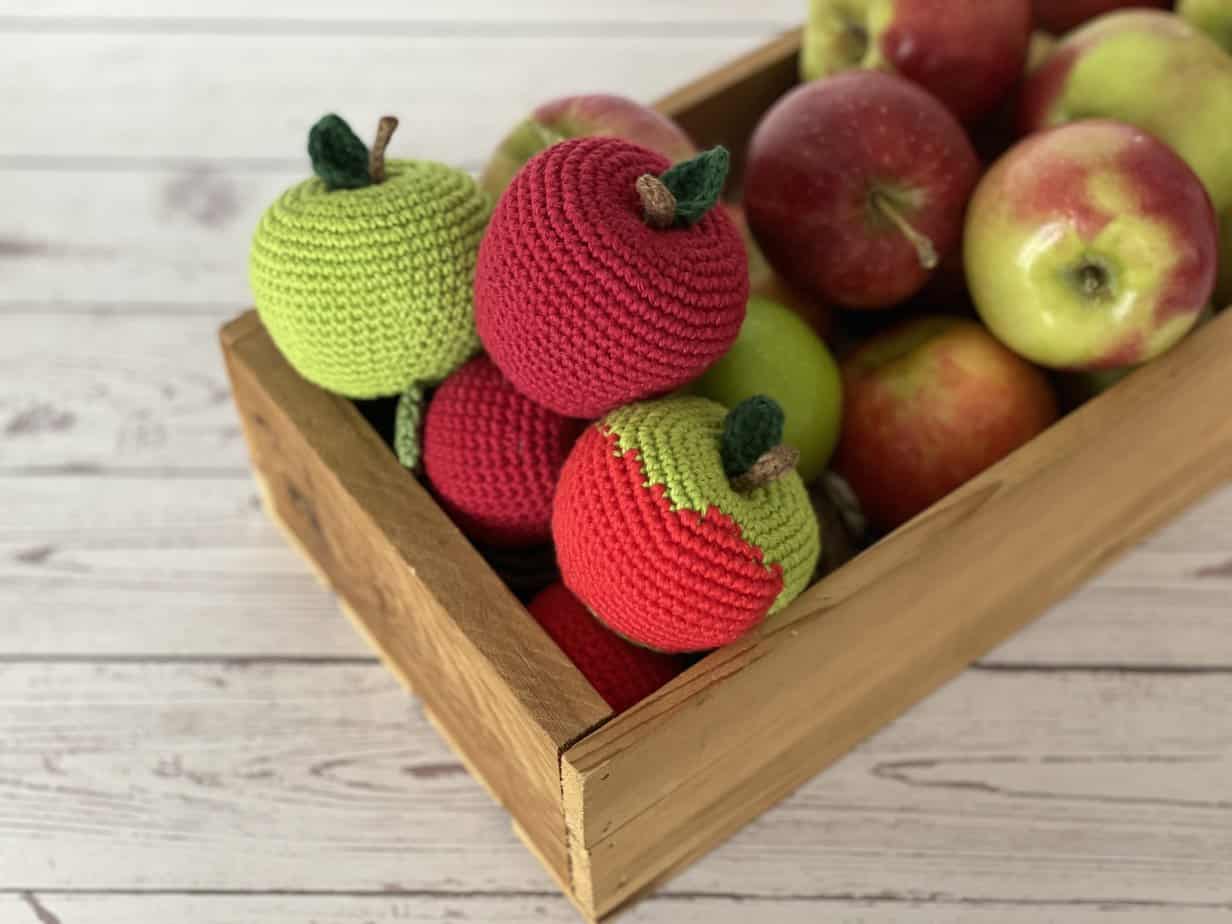
Crochet Apple Pattern: Free and Easy DIY Apple!
Arkose Duster Cardigan Free Crochet Pattern
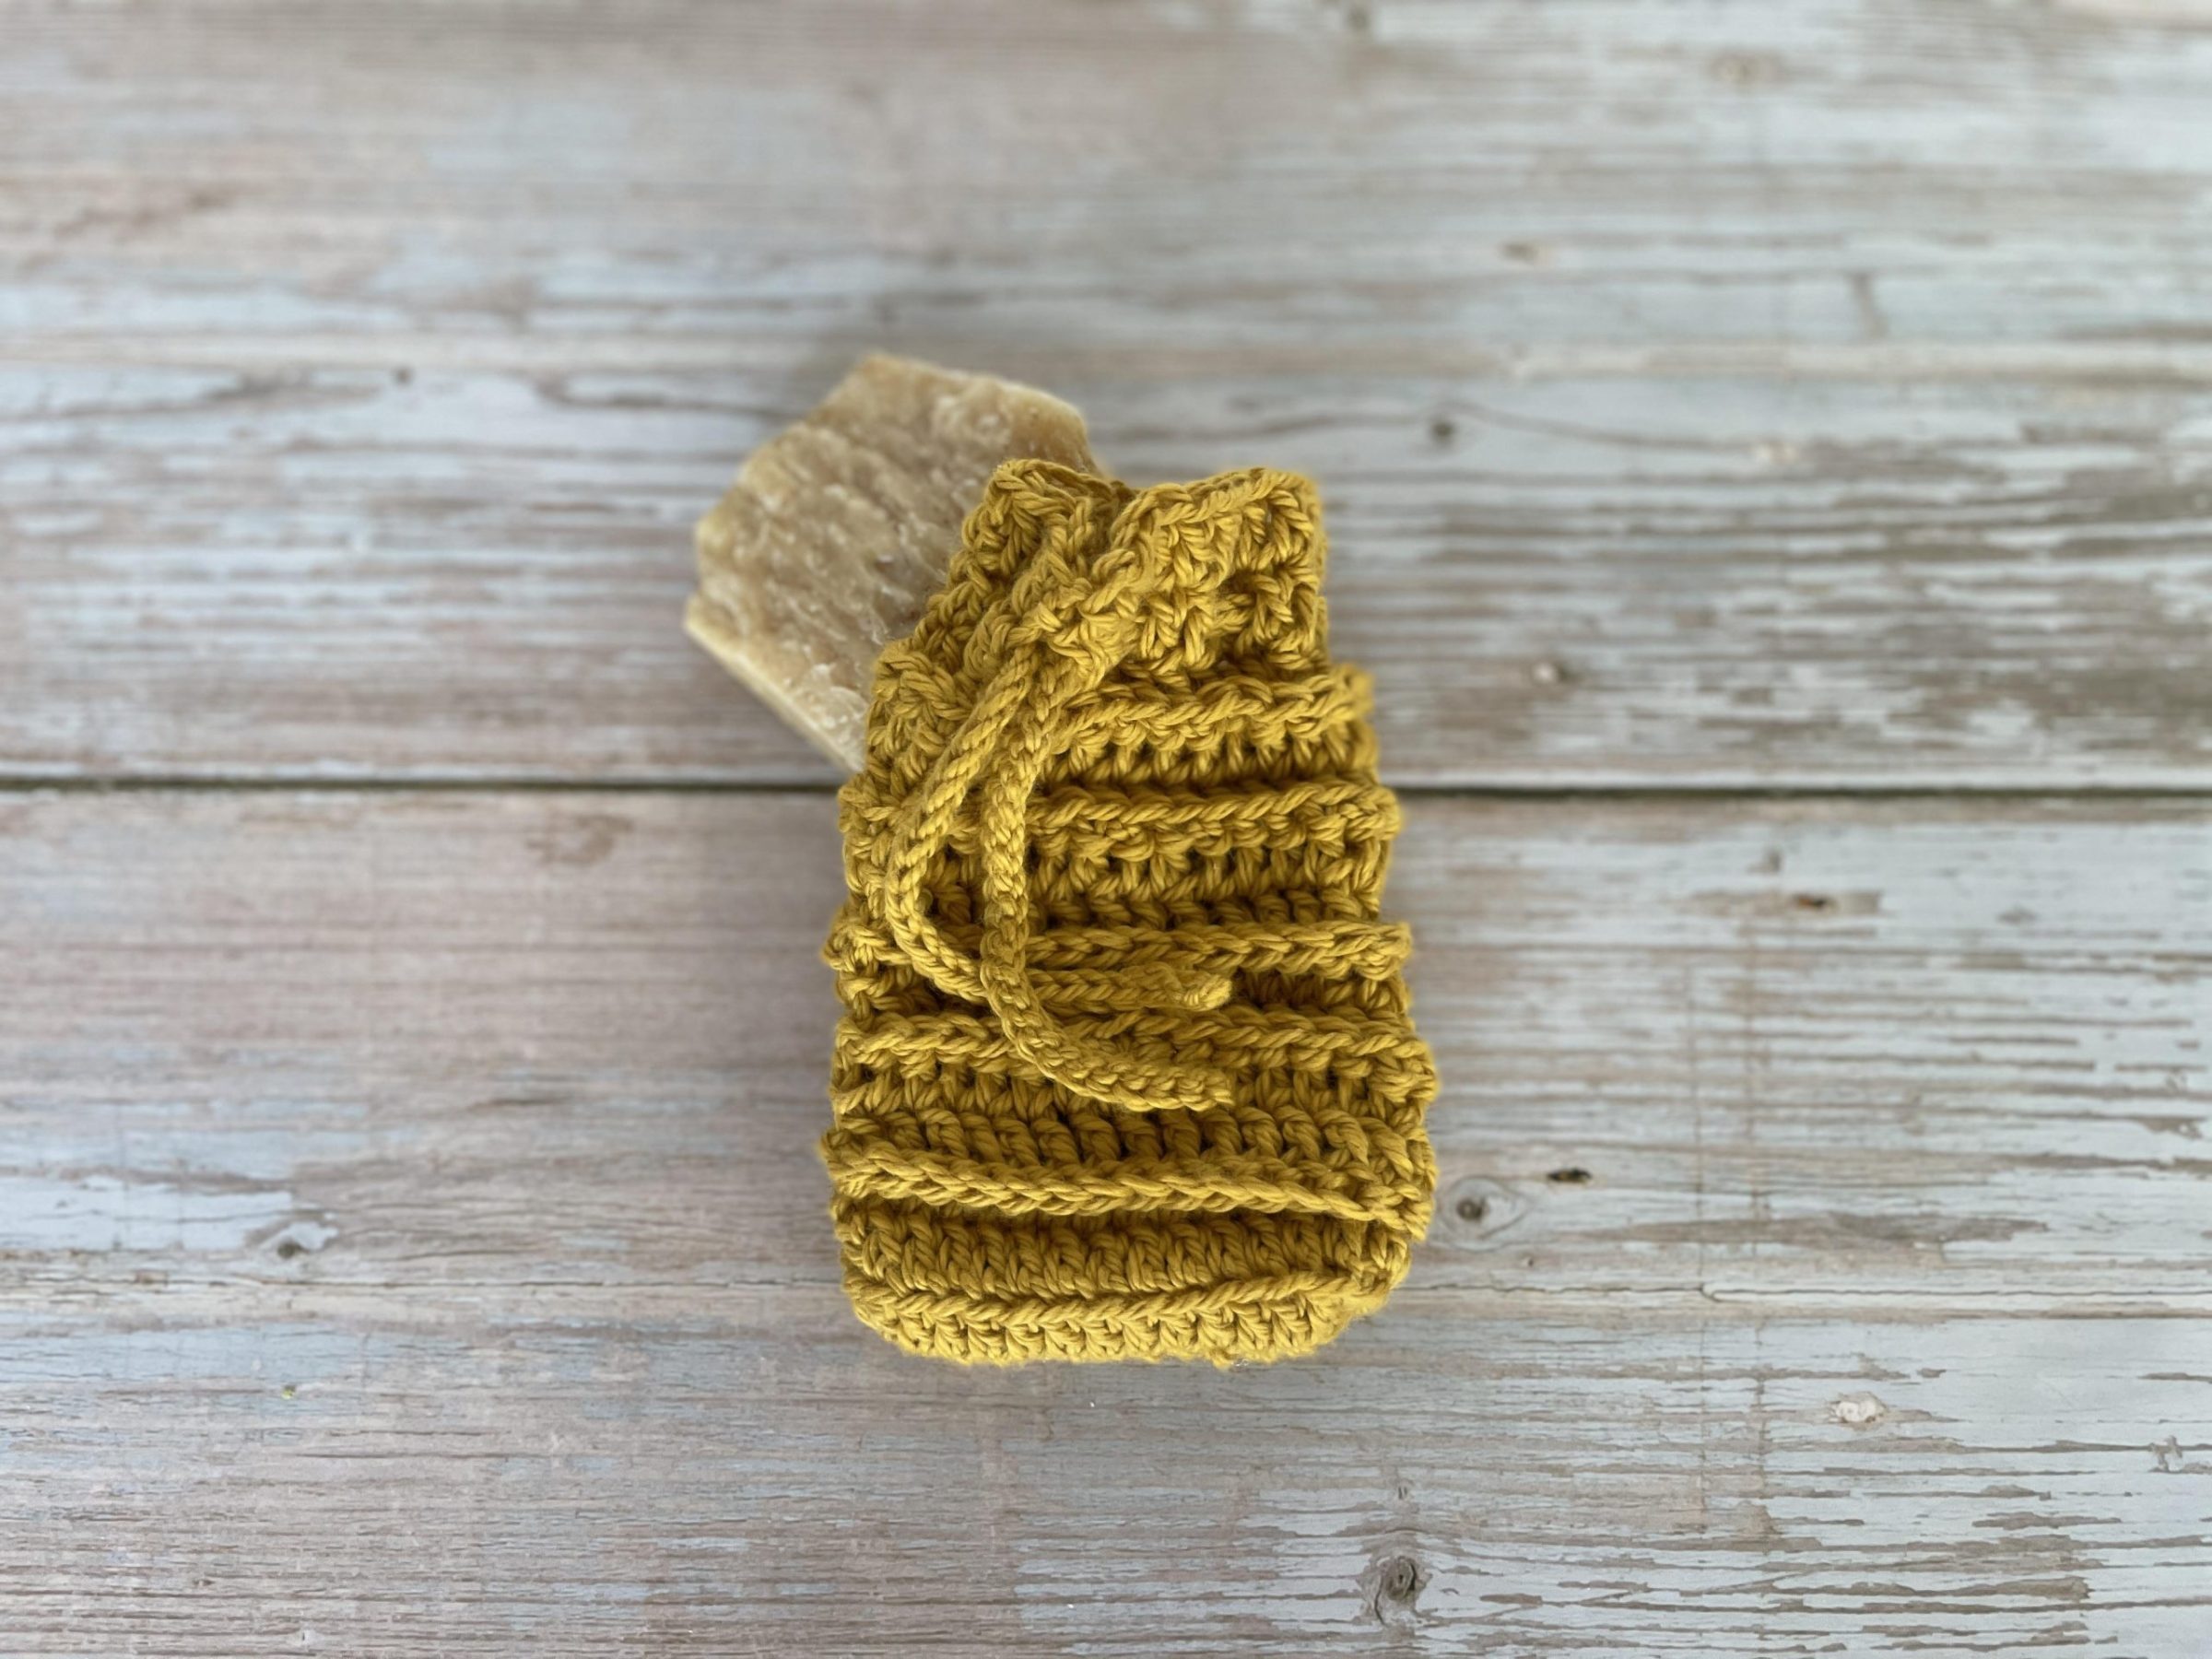
Crochet Soap Saver Pattern – Free DIY Relaxation Bath Essentials
Crochet Lemon Pattern 3 Ways: Free Pattern (Whole, Wedge & Slice)
How to Read Yarn Labels + Video Tutorial
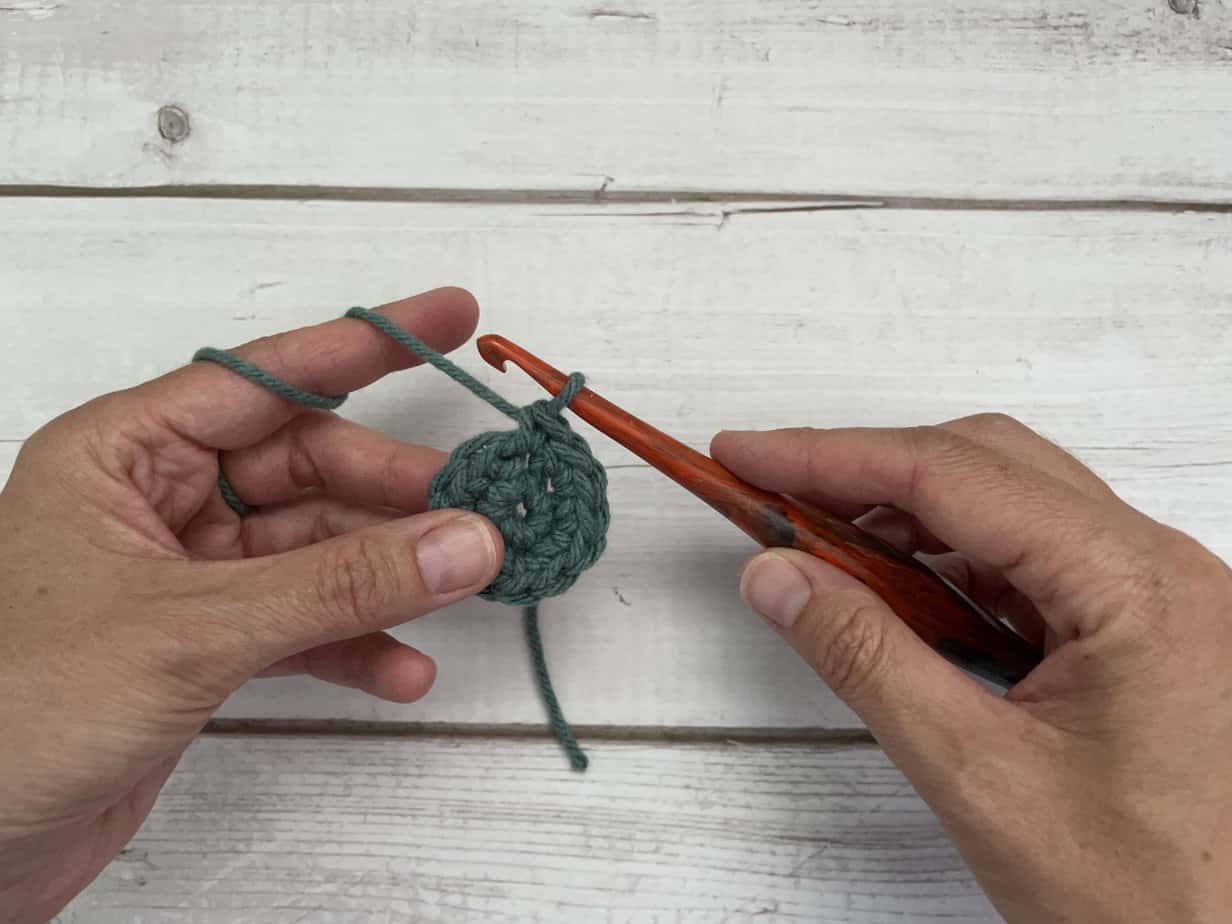
How to Hold a Crochet Hook and Yarn
Misty Peaks Throw Blanket Free Crochet Pattern
Crochet Beach Cover Up – Free Pattern + Video Tutorial
see more in the resource library
Loading Comments...
Write a Comment...
Email (Required)
Name (Required)
Website