
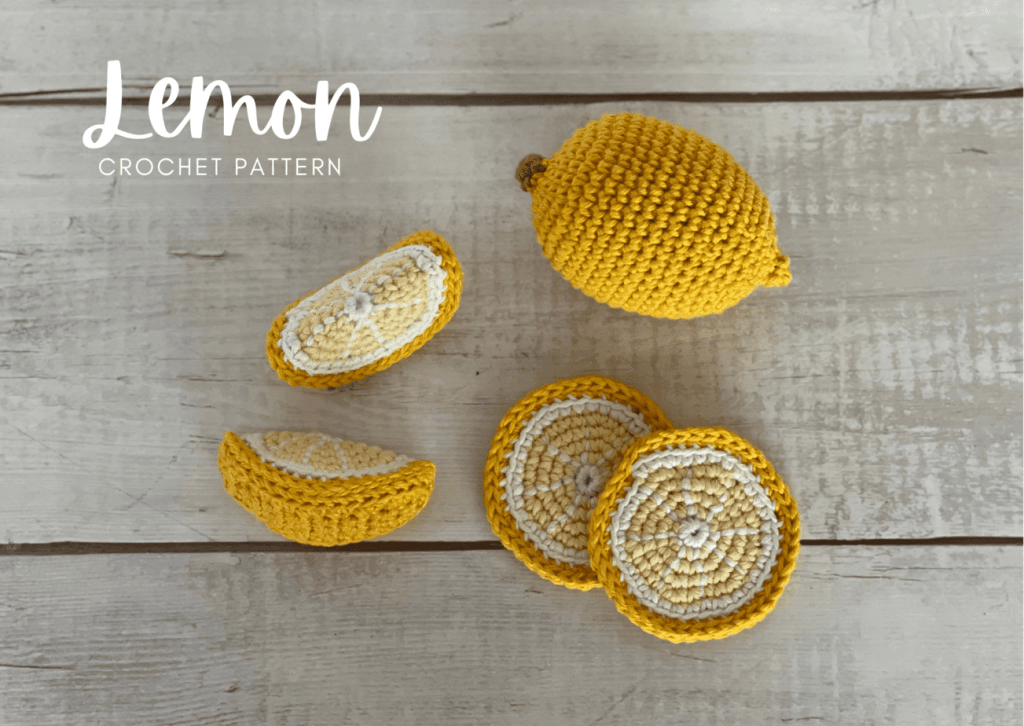
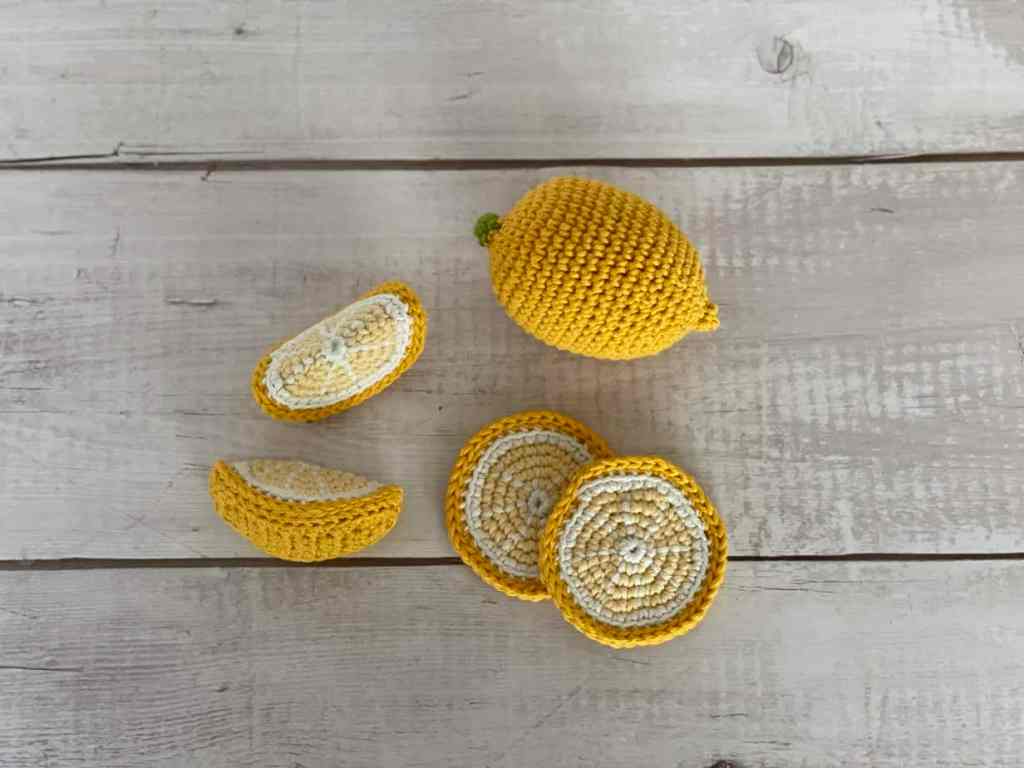
Looking for a crochet lemon pattern that’s as versatile as it is adorable? This free pattern includes three different lemon styles — a whole lemon, a lemon wedge, and a lemon slice — all designed to work together or stand beautifully on their own.
Whether you’re creating crochet play food, decorating your kitchen, styling summer flatlays, or adding citrus flair to a gift, this lemon crochet pattern gives you options without extra patterns to juggle.
Jump into the crochet lemon pattern now, or pin it for later here!

What You’ll Find in This Crochet Lemon Pattern
This pattern walks you through three lemon variations, each worked with simple stitches and beginner-friendly construction:
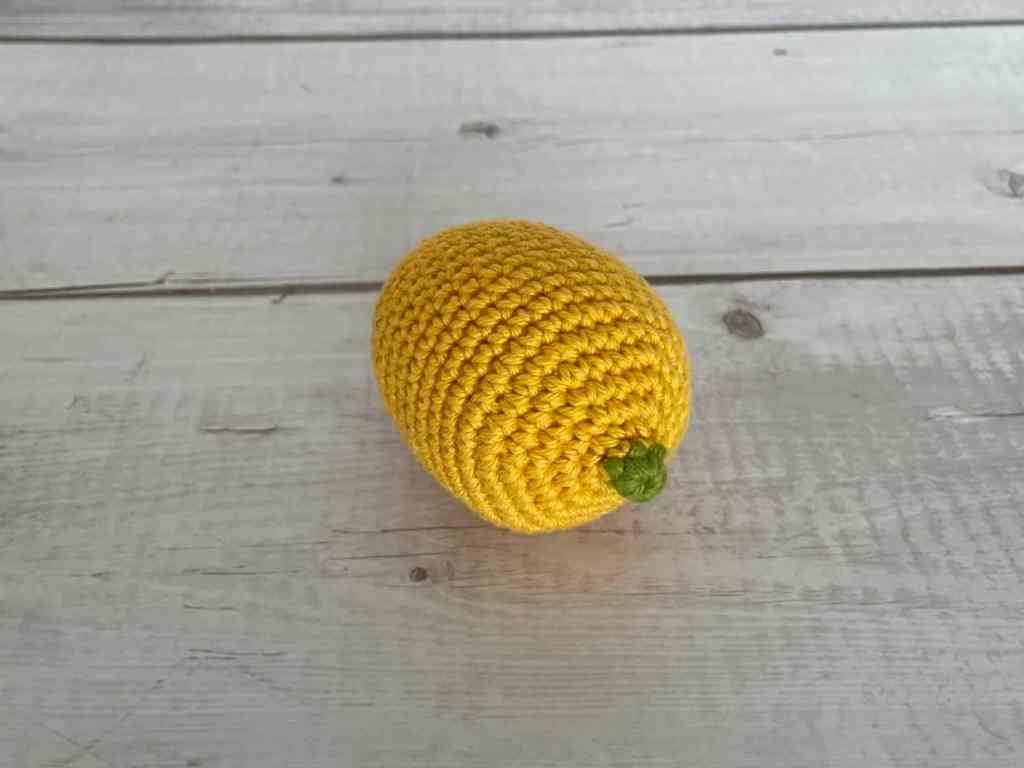
- 🍋 Whole Lemon – Perfect for play kitchens, fruit baskets, or farmhouse-style crochet decor
- 🍋 Lemon Wedge – A fun, dimensional option great for pretend food or market makes
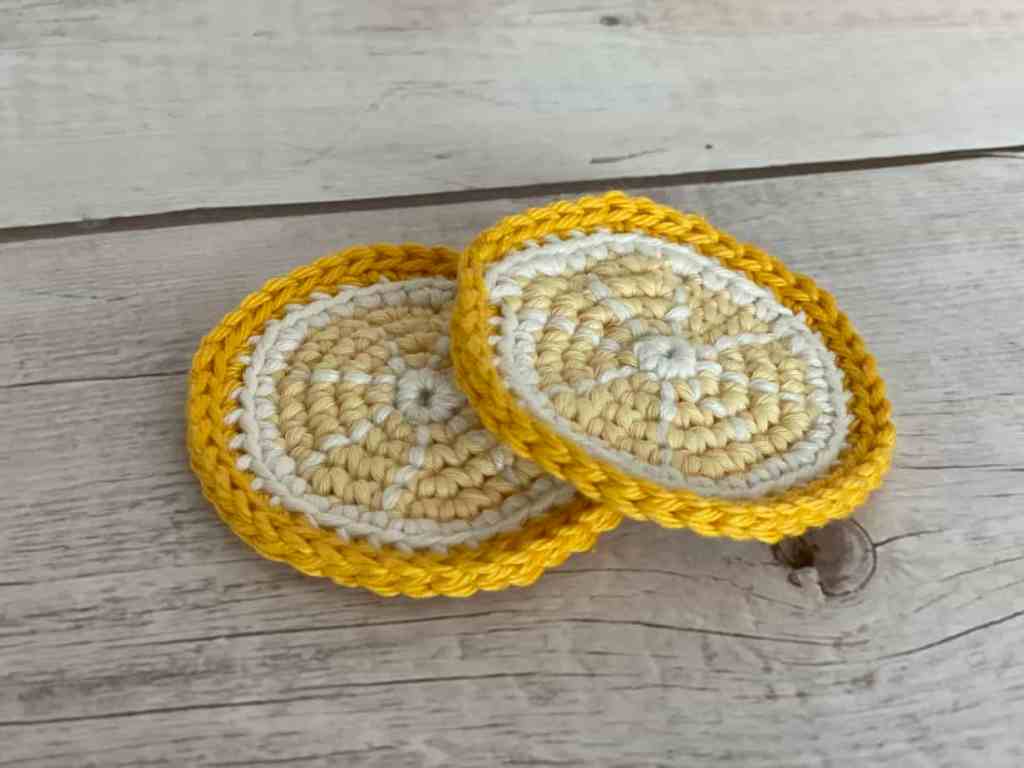
- 🍋 Lemon Slice – Flat and graphic, ideal for garlands, appliqués, coasters, or embellishments
All three designs use the same basic materials, making this an easy pattern to customize and batch-make.
This crochet pattern is reader supported by ads on my blog. If you’d rather print the pattern for some cozy couch crocheting, you can find the ad-free, printable PDF in my shop here or on Ravelry here.
How You Can Use These Crochet Lemons
This lemon crochet pattern is incredibly flexible. Makers love using it for:
- 🍋 Crochet play food and toy kitchens
- 🍋 Summer and kitchen decor
- 🍋 Market makes and craft fairs
- 🍋 Photo props and flatlays
- 🍋 Gift toppers and garlands
Because the pattern includes multiple lemon styles, it’s perfect for mixing and matching in creative ways.
🌿 Eco-Friendly Crafting
What makes this crochet pattern eco-friendly and sustainable?
THE YARN: I use only sustainable and eco-friendly yarn that has been ethically grown/raised and processed, putting the people and the planet first. This is why I chose 100% natural yarn for this pattern.
HANDMADE FOR LONGEVITY: Creating your own crochet lemon promotes mindful consumption. This durable, handmade amigurumi lemon reduces the need for mass-produced alternatives.
THE SLOW YARN MOVEMENT: I’m participating in the Slow Yarn Movement. There’s far too much to talk about here, but please take a few minutes to learn about what this means by reading the article I wrote about the Slow Yarn Movement as part of my 6-part Sustainable Crochet Series.
If you’re interested in learning more about sustainable crochet you can read all about it in the 6-part series I wrote covering everything about Sustainable Crochet and how to implement it into your own crafting starting today!
Policies & Disclaimers:
This crochet pattern is for PERSONAL USE ONLY. This pattern or parts of it may not be reproduced, resold, distributed, published, altered, translated, posted or shared without authorization. You can sell your finished items provided that you credit Off the Beaten Hook as the designer using this verbiage, “This pattern was designed by Lindsey Roe and Off the Beaten Hook.” Thank you for your respectfulness!
This post contains affiliate links for materials I use and love. If you purchase something using one of these links I may earn a small commission which in no way affects the cost to you. These partnerships help me support my small business which allows me to provide you with free crochet patterns. Thank you from the bottom of my heart for your support!

Crochet Lemon Pattern Guide:
Size & Gauge:
Size: Whole – 3.25″ x 2.5″ | Wedge: 2.5″ | Slice: 2.5″
Gauge: N/A
Materials you will need:
Yarn:
Paintbox Yarns Cotton DK | DK/light worsted weight yarn | 100% cotton
Other tools and materials needed:
- 3.00 mm crochet hook
- Safety Eyes: SIZE (SERIOUSLY, these are the ones with the backs that are easier to put on!)
- Tapestry Needle (bent tips make all the difference!)
- Stitch Markers
- Scissors
- Stuffing (here’s a great chance to use all those tiny yarn snippets you’ve been saving for stuffing!)
Abbreviations used in the crochet lemon pattern:
This pattern is written in English, using US terms. If needed, you can find a handy term conversion chart right here in my Resource Library.
ch (chain)
st (stitch)
hk (hook)
sl st (slip stitch)
sc (single crochet)
inc (increase)
dec (decrease)
(…)x (repeat instructions indicated number of times)
[…] total number of stitches in round
The Crochet Lemon Pattern:
Whole Lemon
NOTES:
- The lemon is worked in continuous rounds – do not join at the end of the rounds
Begin with green yarn
Rnd 1: st 6 in a magic circle [6]
switch to yellow yarn
Rnd 2: sc in each st around [6]
Rnd 3: inc in each st around [12]
Rnd 4: (sc in next st, inc in next st) x6 [18]
Rnd 5: (sc in next 2 st, inc in next st) x6 [24]
Rnd 6: (sc in next 3 st, inc in next st) x6 [30]
Rnd 7: (sc in next 4 st, inc in next st) x6 [36] PHOTO 01
Rnd 8-16: sc in each st around [36] PHOTO 02
Rnd 17: (sc in next 4 st, dec in next st) x6 [30]
Rnd 18: sc in each st around [30]
Rnd 19: (sc in next 3 st, dec in next st) x6 [24]
Rnd 20: sc in each st around [24]
Stuff lemon.
Rnd 21: (sc in next 2 st, dec in next st) x6 [18]
Rnd 22: (sc in next st, dec in next st) x6 [12]
Finish stuffing.
Rnd 23: dec in each st around [6]
Rnd 24: FLO sc in each st around [6]
Fasten off with a sl st, leaving a long tail. Using a tapestry needle, weave the yarn tail through the front loop of each remaining st and pull tightly to close. PHOTO 03


Slice
Begin with white yarn
Rnd 1: st 6 in a magic circle [6]
Switch to light yellow yarn
Rnd 2: inc in each st around [12]
Rnd 3: (sc in next st, inc in next st) x6 [18]
Rnd 4: (sc in next 2 st, inc in next at) x6 [24]
Rnd 5: (sc in next 3 st, inc in next st) x6 [30]
Switch to white yarn
Rnd 6: (sc in next 4 st, inc in next st) x6 [36] PHOTO 04
Switch to dark yellow yarn
Rnd 7: BLO (sc in next 5 st, inc in next st) x6 [42] PHOTO 05
Rnd 8: sl st loosely in each st around [42] (if you sl st too tightly it will cause the slice to pucker and pull in, rather than lay flat)
Invisible fasten:
- Remove your hk from the loop and push it through the next st, back to front. PHOTO 06
- Pull the working loop through to the back. PHOTO 07
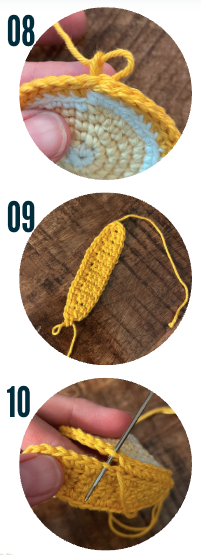
- Snip your yarn and feed the yarn tail through the loop and pull tightly to close. PHOTO 08
Weave in ends. With white yarn, embroider the white pith to separate into 8 slices by using the backstitch embroidery method to weave the yarn back and forth over each st of the round.

Wedge
NOTES:
- ch 1 and turn after every row on the lemon peel
- make a lemon slice per the method above
Make the peel:
Row 1: ch 2, sc in second ch from hk [1]
Row 2: inc in the st [2]
Row 3: sc in each st across [2]
Row 4: inc in next st, sc in last st [3]
Row 5-16: sc in each st across [3]
Row 17: dec in next st, sc in last st [2]
Row 18: sc in each st across [2]
Row 19: decrease [1]
Row 20: sc a border all the way around, making an extra sc in the tips at row 1 & 18 [42]
Fasten off, leaving a long tail for sewing the slice to the peel. Using a tapestry needle and the long tail, join the peel with the slice to create a wedge. Pass the needle from front to back (right side to wrong side) through the back loop of the slip stitch on the slice, and from back to front (wrong side to right side), through the back loop on the peel. PHOTO 10 Repeat all the way around for all 42 stitches, stuffing the wedge before you sew it all the way closed. Bring the yarn to the inside and snip.
Show Off Your Work! ✨
I can’t wait to see your beautiful crochet lemons! Be sure to tag me on social media @offthebeatenhook or use the hashtag #offthebeatenhook so I can admire your makes. ❤️
🔗 Other Amigurumi Food Patterns To Check Out:
- THIS
- THIS
- THIS

Leave a Reply