
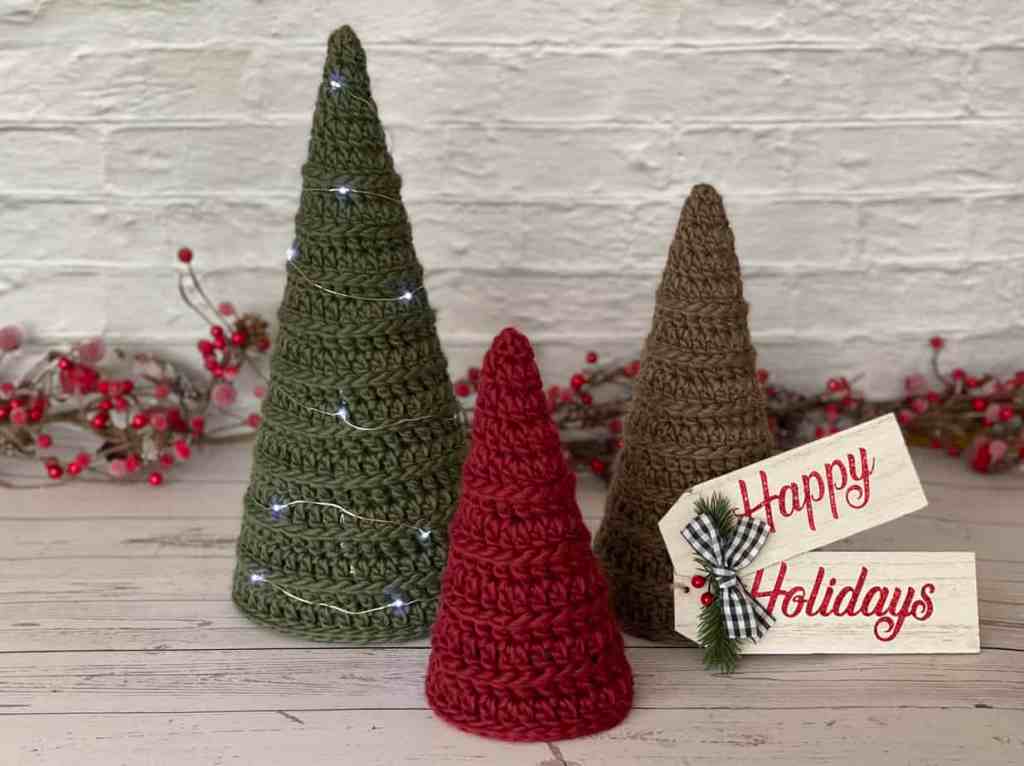
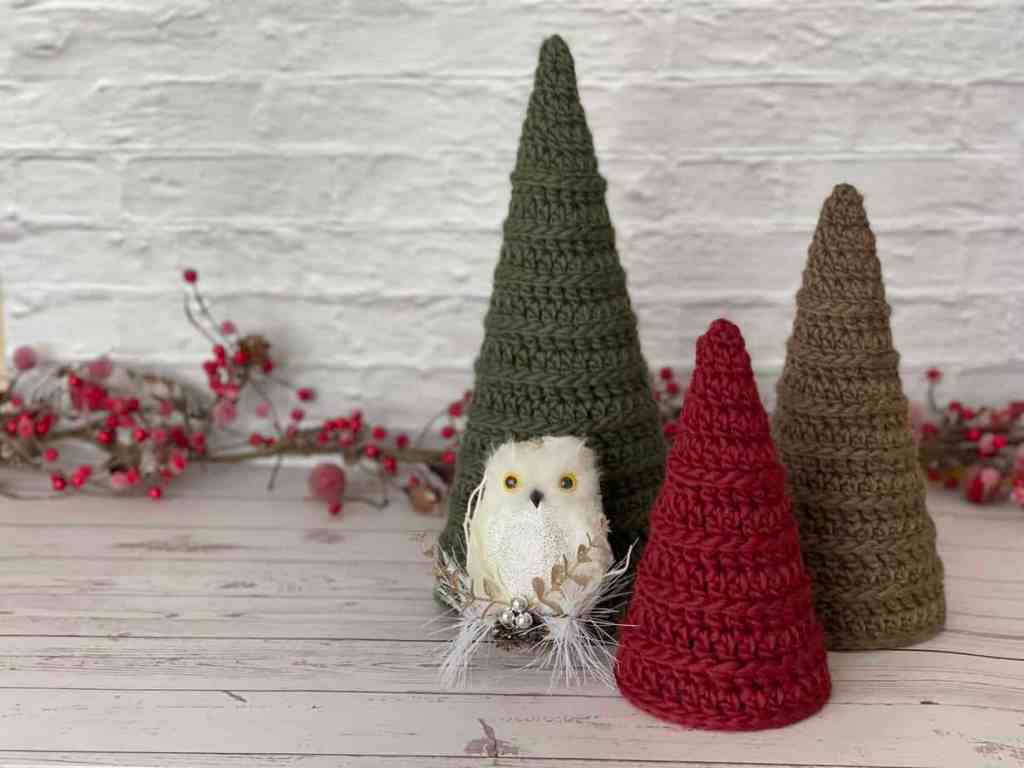
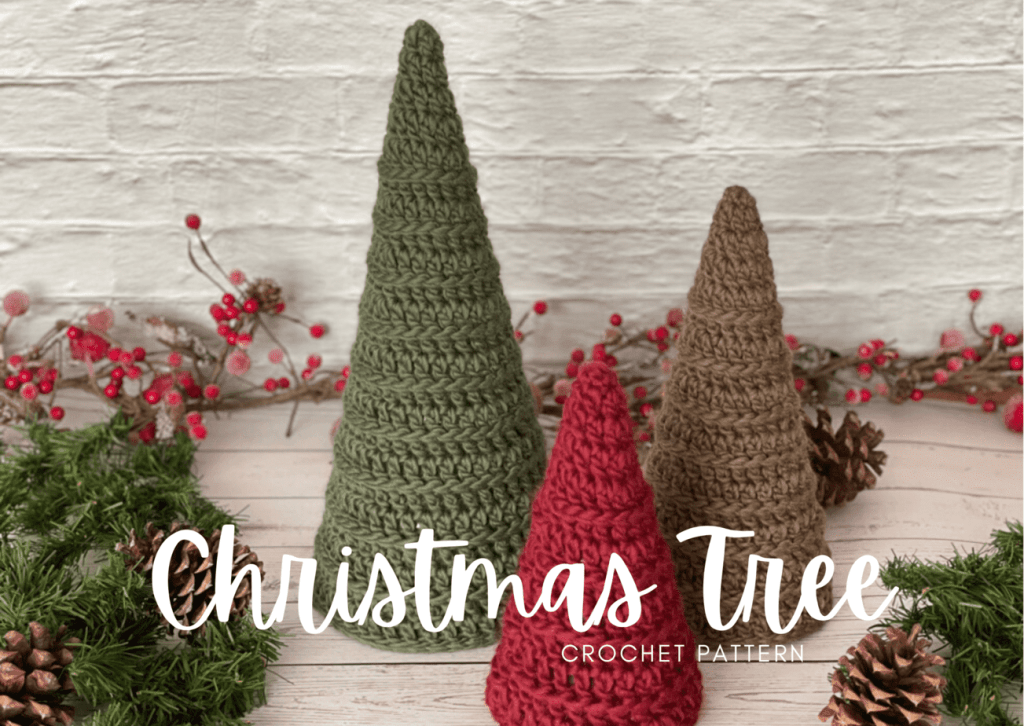
I don’t know about you, but holiday home decorating is SERIOUS business around my house. There is a whole tradition around it and adding any new decorations to the mix takes family meeting decision making. Lucky for me, these crochet Christmas trees passed the family vote! This tree trio will add a simple yet elegant touch to your holiday home decor. Start this crochet christmas tree pattern tonight and you’ll be done with it before your favorite show is over!
I’ve also created a video tutorial to help you every step of the way. You can find the tutorial here.
Jump into the Crochet Christmas Tree pattern now, or PIN it for later here!
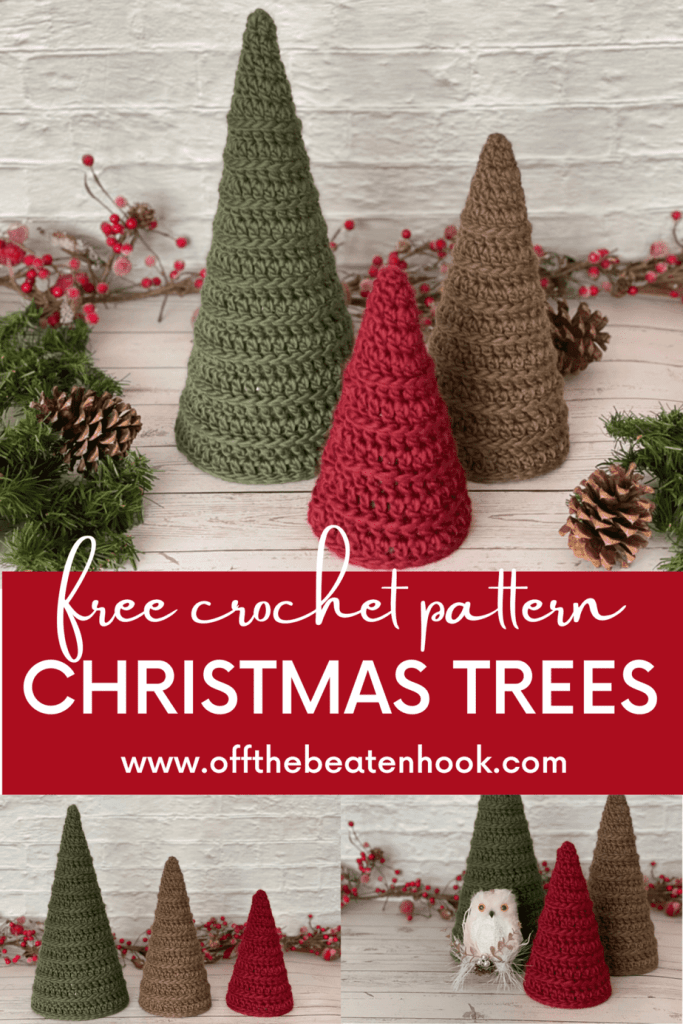
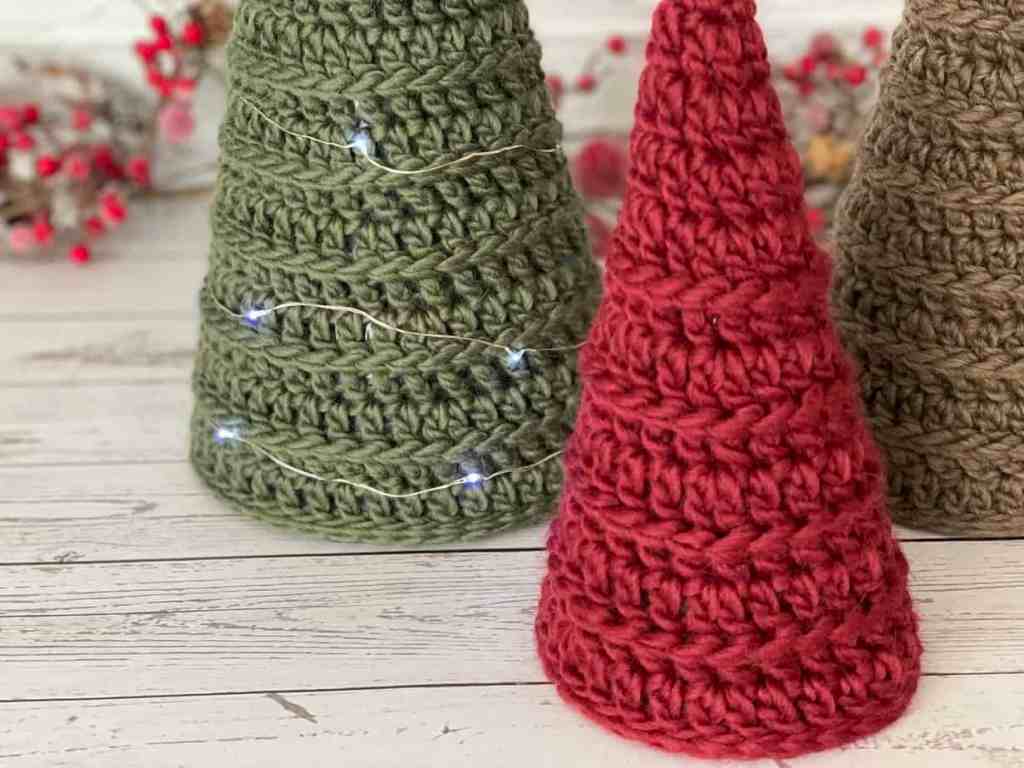
Made with increase rounds of double crochet, and a special twist to add some texture, these trees come together SUPER quick and easy. Perfect for the beginner to show off your crochet skills with this as the centerpiece of your Christmas dinner table!
This crochet christmas tree pattern is supported by ads on my blog. If you’d rather print the pattern for some cozy couch crocheting, you can find the ad-free, printable PDF in my shop here.
This pattern is written in English, using US terms. If needed, you can find a handy term conversion chart right here in my Resource Library.

Free Crochet Christmas Tree Pattern Guide:
Size & Gauge:
Size:
Small tree: 8.5″ x 4.5″
Medium Tree: 11″ x 5.25″
Large Tree: 15″ x 7″
Gauge: 4×4″ of double crochet = 10 stitches x 7 rows. Ultimately with these, gauge doesn’t matter. It won’t have to fit someone’s body or a specific space. My patterns will include the size of the finished piece based on the yarn and hook I use. But if you want it smaller or bigger, just use a bigger yarn and hook!
Materials you will need for the crochet Christmas Tree Pattern:
– Valley Yarns Berkshire Bulky | 85% Wool/15% Alpaca | Bulk weight
–BURGUNDY (small tree) x1 skein – you’ll use 37g of a 100g skein
–DARK BROWN HEATHER (medium tree) x1 skein – you’ll use 66g of a 100g skein
–OLIVE (large tree) x1 skein – you’ll use nearly the whole 100g skein
– 6.00 mm crochet hook
– Tapestry needle
– Scissors
– Stitch markers
– 12″ x 18″ thick art paper (or other heavy duty paper or cereal box, or similar) for making cones to hold the shape of the trees. Alternatively, you could lightly stuff them.
Skills & Pattern Abbreviations:
- st (stitch)
- sl st (slip stitch)
- hk (hook)
- sc (single crochet)
- dc (double crochet)
- bpdc (back post double crochet)
- inc (increase)
- (…) x – repeat instructions within parenthesis indicated number of times
- […] – number of stitches in row/round
Get the full printable PDF for the Christmas Tree free crochet pattern here!
!
Policies & Disclaimers:
This crochet Christmas tree pattern is for PERSONAL USE ONLY. This pattern or parts of it may not be reproduced, resold, distributed, published, altered, translated, posted or shared without authorization. You can sell your finished items provided that you credit Off the Beaten Hook as the designer using this verbiage, “This pattern was designed by Lindsey Roe and Off the Beaten Hook.” Thank you for your respectfulness!
This post contains affiliate links for materials I use and love. If you purchase something using one of these links I may earn a small commission which in no way affects the cost to you. These partnerships help me support my small business which allows me to provide you with free crochet patterns. Thank you from the bottom of my heart for your support!
What makes this crochet pattern eco-friendly and sustainable?
THE YARN: I use only sustainable and eco-friendly yarn that has been ethically grown/raised and processed, putting the people and the planet first. This is why I chose 100% recycled cotton yarn for this pattern.
THE SLOW YARN MOVEMENT: I’m participating in the Slow Yarn Movement. There’s far too much to talk about here, but please take a few minutes to learn about what this means by reading the article I wrote about the Slow Yarn Movement as part of my 6-part Sustainable Crochet Series.
I
If you’re interested in learning more about sustainable crochet you can read all about it in the 6-part series I wrote covering everything about Sustainable Crochet and how to implement it into your own crafting starting today!
Crochet Christmas Tree Pattern
NOTES:
- The tree is worked in continuous rounds – do not join each round
- The method is the same for the small, medium and large tree – but the larger the tree, the more rounds. Take note in the pattern below where to stop for each of the sizes. The last row of each of the trees will always be a row of slip stitches.
- The bpdc in this pattern is made around the short post immediately under the top 2 loops of the stitch VERSUS around the long post (see photo immediately below).

Use the yarn color for the size tree you’re making.
Rnd 1: st 6 sc in a magic circle [6]
Rnd 2: sc in each st around [6]
Rnd 3: (dc in next st, dc inc in next st) x3 [9]
Rnd 4: (dc in next 2 st, dc inc in next st) x3 [12]
Rnd 5: (dc in next 3 st, dc inc in next st) x3 [15]
Rnd 6: (dc in next 4 st, dc inc in next st) x3 [18]
Rnd 7: bpdc in each st around [18]
Rnd 8: (dc in next 5 st, dc inc in next st) x3 [21]
Rnd 9: bpdc in each st around [21]
Rnd 10: (dc in next 6 st, dc inc in next st) x3 [24]
Rnd 11: bpdc in each st around [24]
Rnd 12: (dc in next 7 st, dc inc in next st) x3 [27]
Rnd 13: bpdc in each st around [27]
Rnd 14: (dc in next 8 st, dc inc in next st) x3 [30]
FOR SMALL, SKIP TO “FINAL ROUND” BELOW
Rnd 15 (Medium & Large): bpdc in each st around [30]
Rnd 16: (dc in next 9 st, dc inc in next st) x3 [33]
Rnd 17: bpdc in each st around [33]
Rnd 18: (dc in next 10 st, dc inc in next st) x3 [36]
Rnd 19: bpdc in each st around [36]
Rnd 20: (dc in next 11 st, dc inc in next st) x3 [39]
FOR MEDIUM, SKIP TO “FINAL ROUND” BELOW
Rnd 21 (Large): bpdc in each st around [39]
Rnd 22: (dc in next 12 st, dc inc in next st) x3 [42]
Rnd 23: bpdc in each st around [42]
Rnd 24: (dc in next 13 st, dc inc in next st) x3 [45]
Rnd 25: bpdc in each st around [45]
Rnd 26: (dc in next 14 st, dc inc in next st) x3 [48]
Final Round: sl st in each st around [Sm: 30, Med: 39, Lg: 48]
Fasten off and weave in end.
ASSEMBLY:
Make cones out of the 3 thick pieces of craft paper to hold the shape of the trees. Cut to create a flat, round base edge. Slip inside the tree. The final row of slip stitches will grab around the bottom edge of the paper, keeping it in place. See photos below.

Crochet Christmas Tree Pattern Video Tutorial
I’d love to see your finished Christmas trees! Post pics on instagram and tag me @offthebeatenhook. Enjoy!
If you’re looking for other free Christmas crochet patterns, check these out!
- Vintage Christmas Lights & Star Garland
- Christmas Tree Advent Calendar (plus over 200 gift ideas to stuff the pockets!)
- Nativity Set


Leave a Reply