
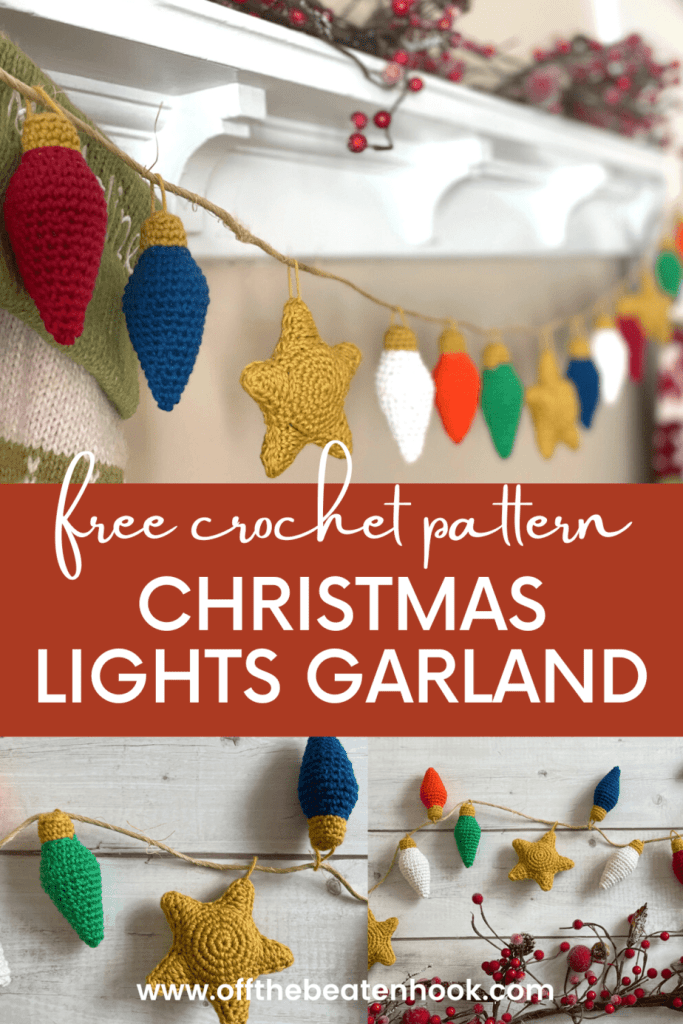
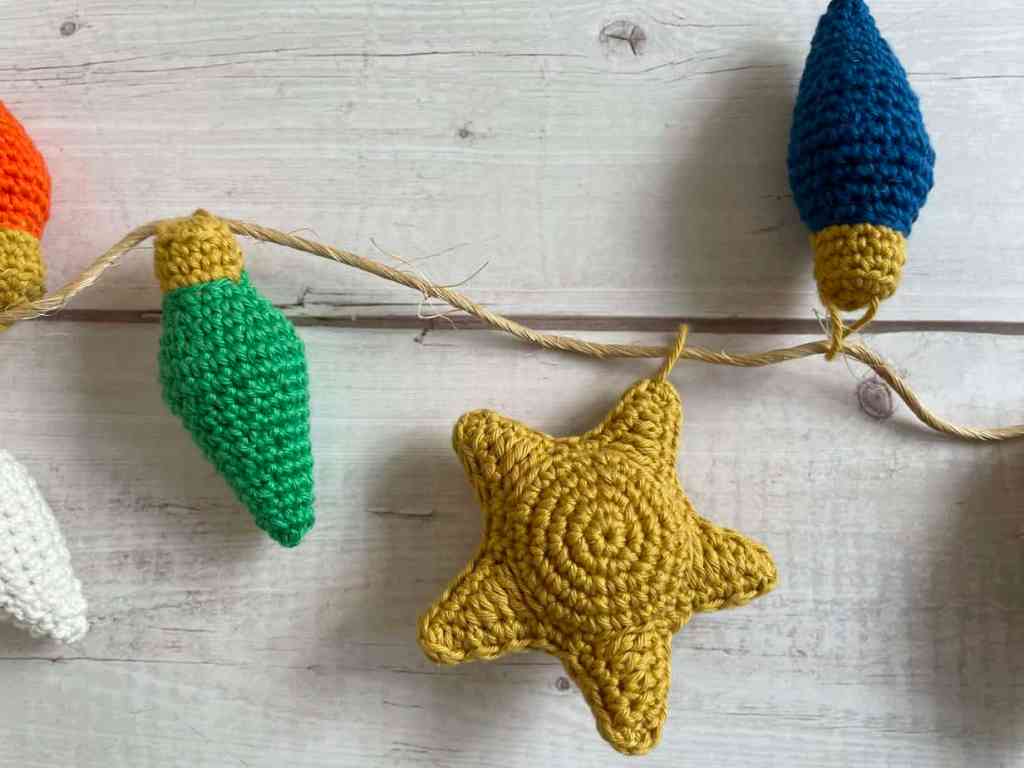
Do you ever miss the old “vintage” Christmas lights adorning all the houses in the neighborhood? They lasted forever, and when ONE went out, you could easily replace it. Yea, they just don’t make them like that anymore. So take a step back in time with this christmas lights garland free crochet pattern.
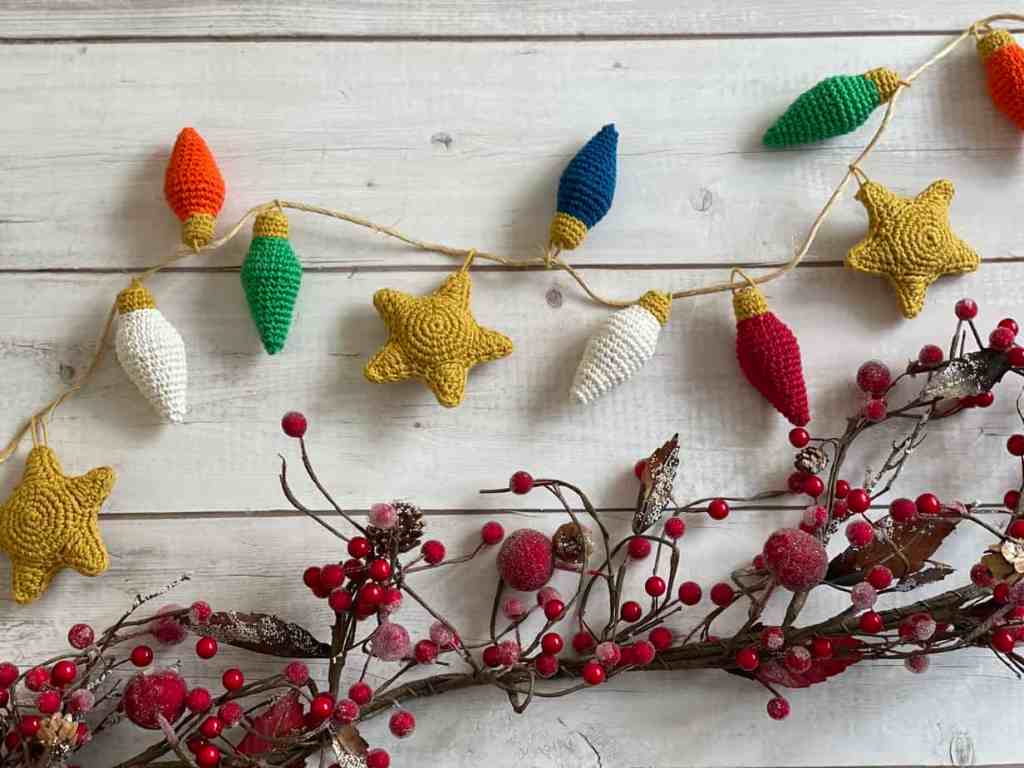
Spiffed up with a few golden stars, this garland can be used to decorate any room in the house! I needed my garland to fill a 58″ mantle. I made 10 bulbs and 3 stars, spacing them by about 3 inches each. Arranging them on the jute, I used the pattern: 2 bulbs, 1 star, 3 bulbs, 1 star, 3 bulbs, 1 star, 2 bulbs. Use your creative preference based on the space you want to fill with this garland!
This free pattern is supported by ads on my blog. You can also purchase the ad-free, printable pattern from my Etsy shop.
The 7-page PDF printable pattern includes lots of helpful in-the-making photos as well. You can download and print it, or simply save it to your computer to use for later.

General Notes:
This Christmas Lights Garland Free Crochet Pattern is written in US terms. If needed, you can find a handy term conversion chart right here in my Resource Library. I recommend giving the pattern a read-through before you begin so you can visualize the big picture and consider any specific notes for help along the way! If you find you’re having trouble, the printable pattern in my Etsy shop comes with lots of in-the-making photos for each step of the way as well.
Size & Gauge:
Size:
Star: 3.75″ x 3.75″
Bulb: 3.5″ x 1.5″
Gauge: 4?x4? of single crochet = 28 stitches x 30 rows. Ultimately with these, gauge isn’t critical. It won’t have to fit someone’s body or a specific space. My patterns will include the size of the finished item based on the yarn and hook I use. But if you want it smaller or bigger, just use a bigger or smaller yarn and hook!
Yarn & Stuffing:
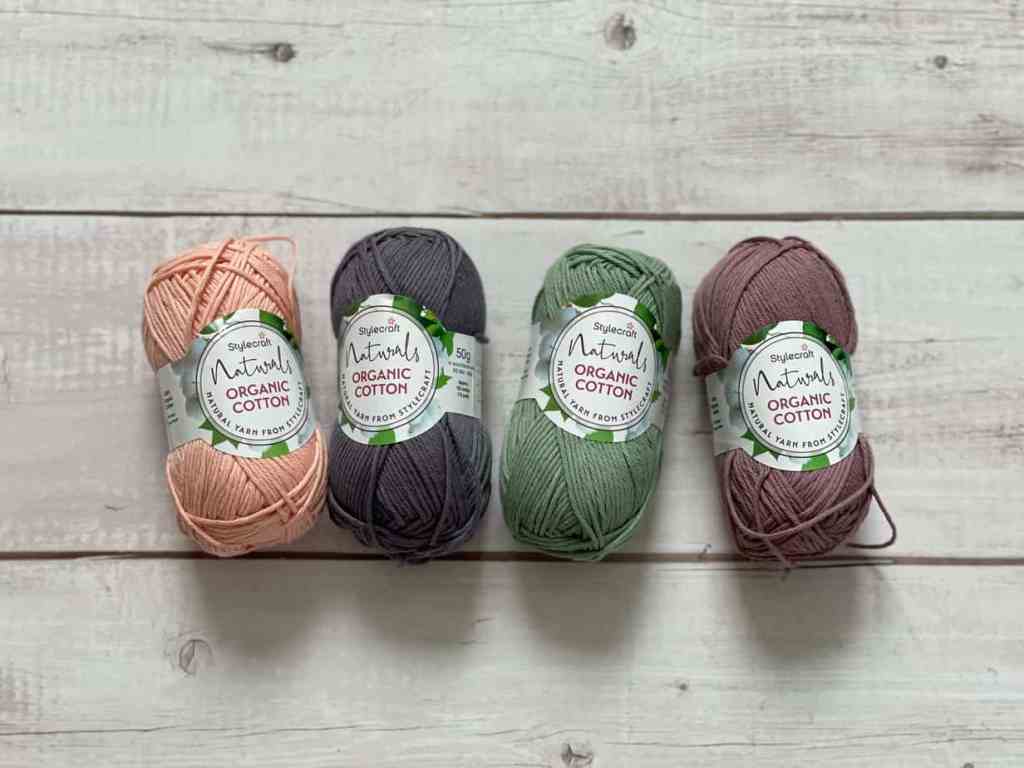
Yarn: Take your choice of yarn! Choose colors that bring you joy and fibers that feel good between your fingers. I use 100% organic cotton in a DK weight for this christmas lights garland.
It’s very important for me to use only sustainable and eco-friendly yarn so I feel good about the impact I’m making on the environment with my craft. With the bulbs and stars for this garland I use 100% organic cotton versus conventional cotton.
Sustainable Stuffing: Since these pieces are so small, it’s a great opportunity to use up all those little yarn bits you’ve been saving away – yea, the ones you snip off after weaving in ends and such. You can also use strips of old clothing cut up into strips. Even thrift stores can be picky these days, so turn your old dingy and stained clothing into stuffing bits!
The Legal Stuff:
This pattern or parts of it may not be reproduced, sold, distributed or translated without authorization. You can sell your finished items provided that you credit Off the Beaten Hook as the designer. Thank you for your respectfulness!
Materials you will need:
- Stylecraft Naturals Organic Cotton | 100% Organic Cotton | DK/Light Worsted
- CITRONELLE – x1
- AZURE – x1
- Crochet Hook Size: 3.0 mm
- Tapestry Needle
- Stitch Markers
- Scissors
- Stuffing
- Jute twine for hanging the garland
Abbreviations used in the christmas lights garland free crochet pattern:
ch – chain
st – stitch
hk – hook
sl st – slip stitch
sc – single crochet
hdc – half double crochet
dc – double crochet
tr – treble crochet
BLO – back loop only
(…) x – repeat instructions indicated number of times
[…] – number of stitches in row/round
The Pattern
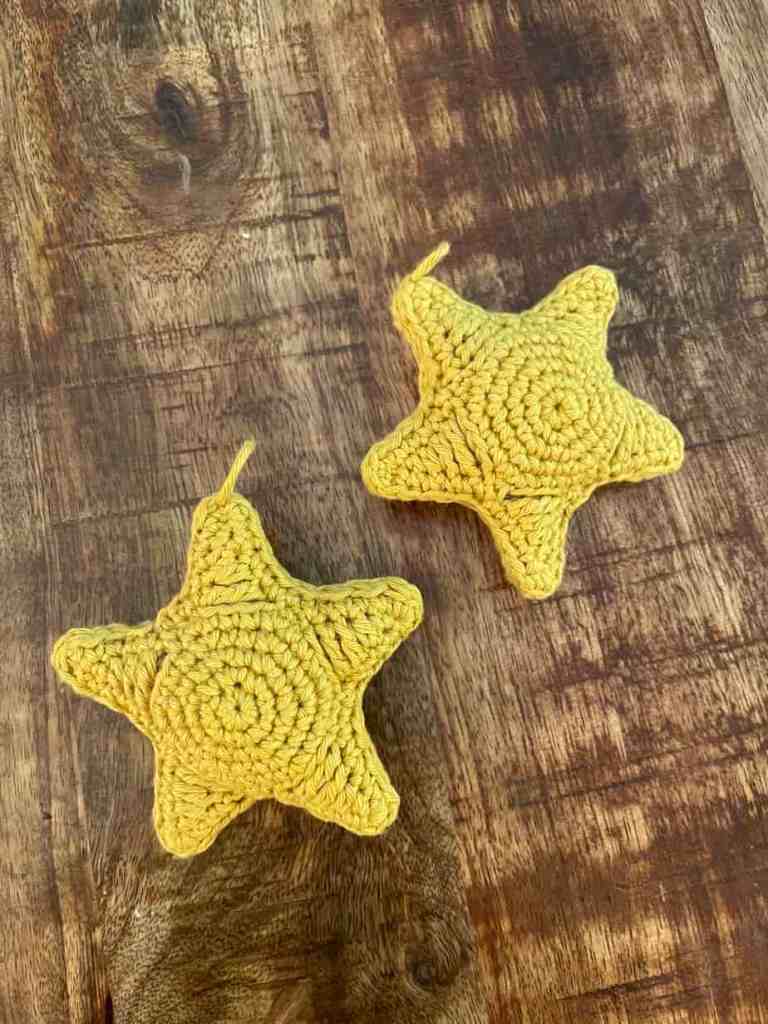
STAR – make 2 per star:
NOTES:
- The center of the star is worked in continuous rounds. The points are worked by making a chain and then working stitches into the chain back down to the circular center
- On one of the stars, leave a long tail for sewing them together
Rnd 1: st 6 in a magic circle [6]
Rnd 2: inc in each st around [12]
Rnd 3: (sc in next st, inc in next st) x6 [18]
Rnd 4: (sc in next 2 st, inc in next st) x6 [24]
Rnd 5: (sc in next 3 st, inc in next st) x6 [30]
You will now begin working on the 5 points of the star…
Rnd 6: (sl st in the next st, ch 7, sl st in the 2nd back bump from hk, sc in next ch, hdc in next ch, dc in next ch, tr in next ch. Sk next 3 st on the center of the star, sl st to next st, sc in next st) repeat 4 more times to make 5 points on the star
Rnd 7*: crochet a border of sc around the entire star [70]

*TIPS FOR CROCHETING THE BORDER AROUND THE STAR (RND 7):
- there will be a total of 70 sc making the border (14 for each of the 5 points)
- 5 stitches going up one side of the point
- 1 stitch made in the tip of the point
- 5 stitches going down the other side of the point
- 3 stitches in between each point
- the 5 stitches going up and down each side of the point are made in the (sl st, sc, hdc, dc, tr) combination that is made when crocheting into the chain creating each point
- the 3 stitches in between each point are made in the (sl st, sc, sl st) combination that happens between each triangular star point

ASSEMBLE THE STAR:
- Arrange the two stars with wrong sides facing in
- Using a tapestry and the long tail left on one of the stars, sew them together by inserting the needle under both loops of both starts, back and forth along the entire border (not a whip stitch).
- Before sewing the last point, lightly stuff the star, including the points. Don’t stuff so full that the stuffing will show through the looser dc and tr stitches.
- Using the yarn tail or another snippet of yarn, add a small loop to one of the points for hanging.
BULBS:
NOTES:
- The Christmas light bulb is worked in continuous rounds – do not join at the end of each round
Begin with the gold yarn
Rnd 1: st 6 in a magic circle [6]
Rnd 2: inc in each st around [12]
Rnd 3: BLO sc in each st around [12]
Rnd 4-5: sc in each st around [12]
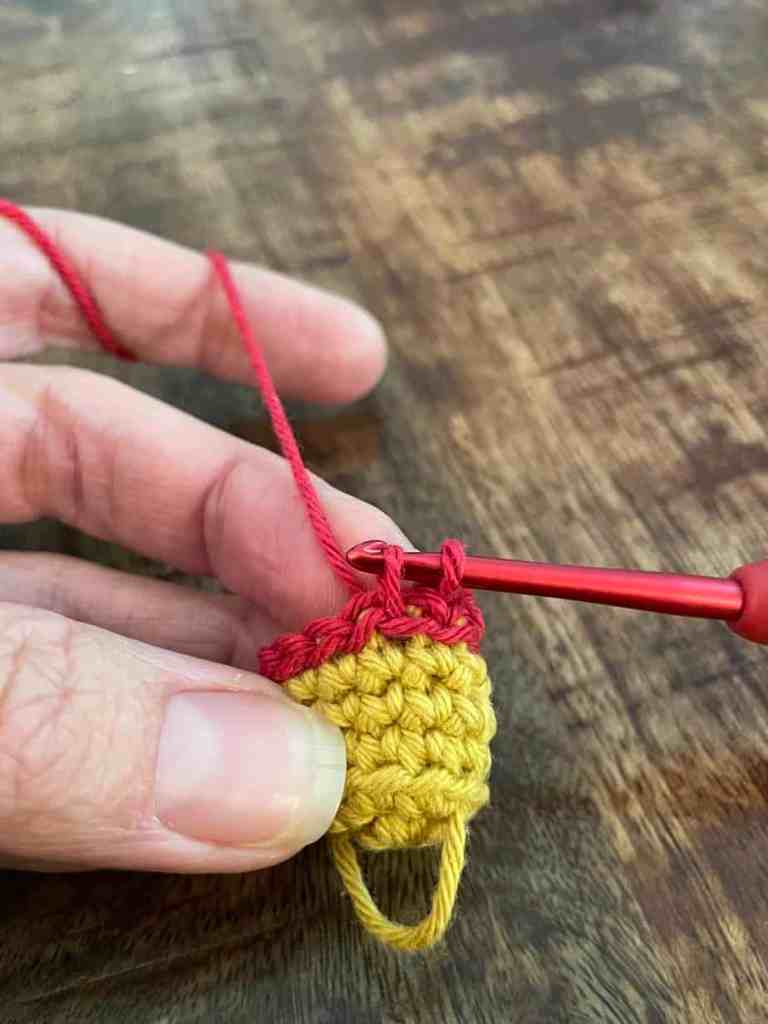
Using a tapestry needle and a 4 inch strand of gold yarn, thread the yarn from inside to outside and back to the inside between rounds 1 and 2. Tie off on the inside, creating a small loop for hanging. Switch to the light bulb yarn color
Rnd 6: sl st in each st around [12]
Rnd 7: pushing your hook in between the middle of the front two loops, sc in each st around [12]
Rnd 8: (sc in next st, inc in next st) x6 [18]
Rnd 9: sc in each st around [18]
Rnd 10: (sc in next 2 st, inc in next st) x6 [24]
Rnd 11-12: sc in each st around [24]
Rnd 13: (sc in next 2 st, dec in next st) x6 [18]
Rnd 14-15: sc in each st around [18]
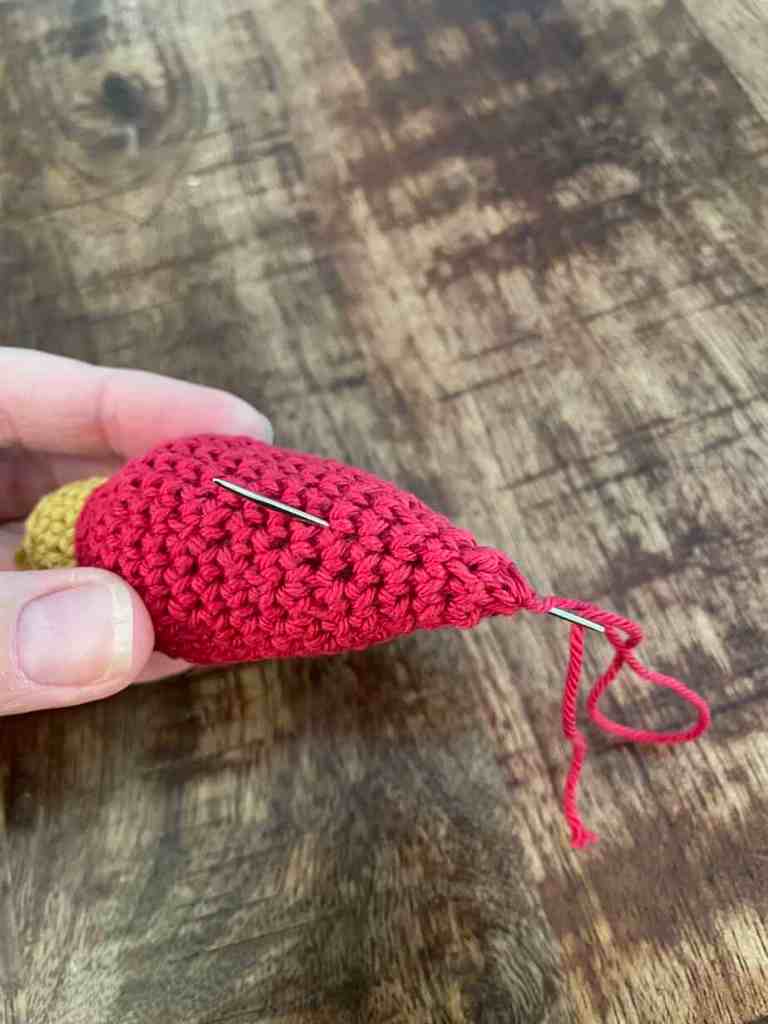
Stuff light bulb

Rnd 16: (sc in next 4 st, dec in next st) x3 [15]
Rnd 17: sc in each st around
Rnd 18: (sc in next 3 st, dec in next st) x3 [12]
Rnd 19: sc in each st around [12]
Stuff light bulb
Rnd 20: (sc in next 2 st, dec in next st) x3 [9]
Rnd 21: sc in each st around [9]
Rnd 22: (sc in next st, dec in next st) x3 [6]
Using a tapestry needle, weave the yarn end through the front loop of the remaining 6 stitches. Pull tightly to close. Bring the yarn to the inside, and outside one of the side walls. Snip cleanly with surface.
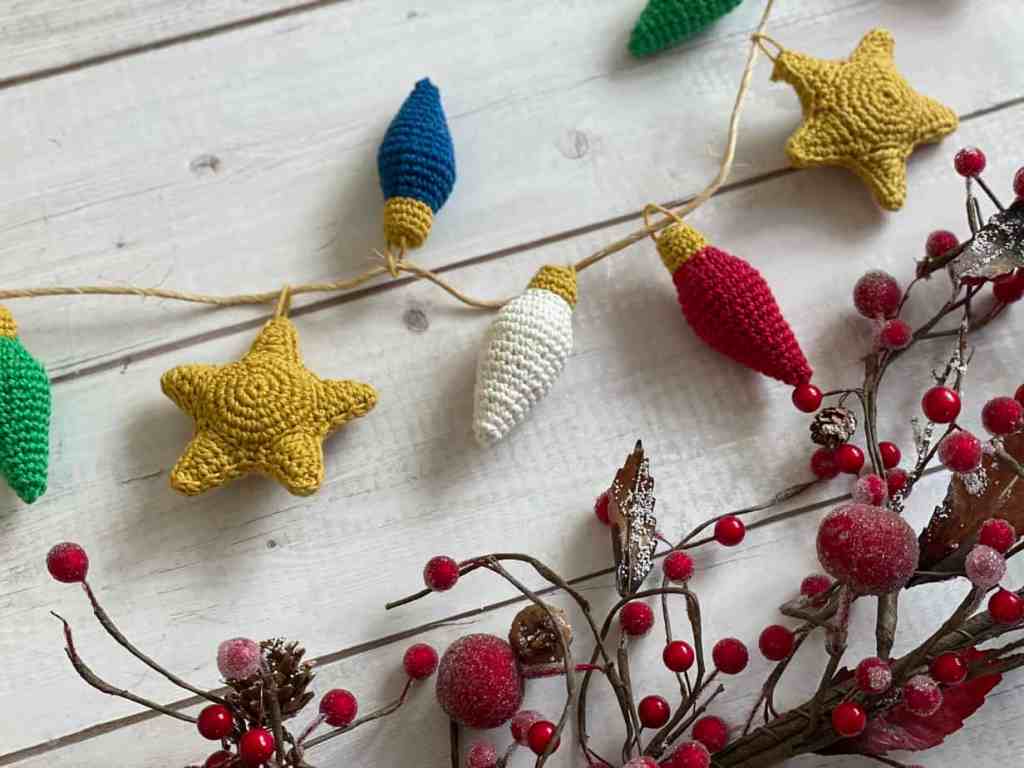
Thread the vintage bulbs and stars onto a length of jute twine to your liking. Display proudly and enjoy!
I would love to see your finished garlands! Post pics on Instagram and tag me @offthebeatenhook to share!

Did you love this vintage christmas lights garland free crochet pattern? Want more free house & home crochet patterns? Check these out!
- Autumn Pumpkin Decoration Free Crochet Pattern
- The Alpine Bath Washcloth Free Crochet Pattern
- Misty Peaks Throw Blanket Free Crochet Pattern
Leave a Reply