
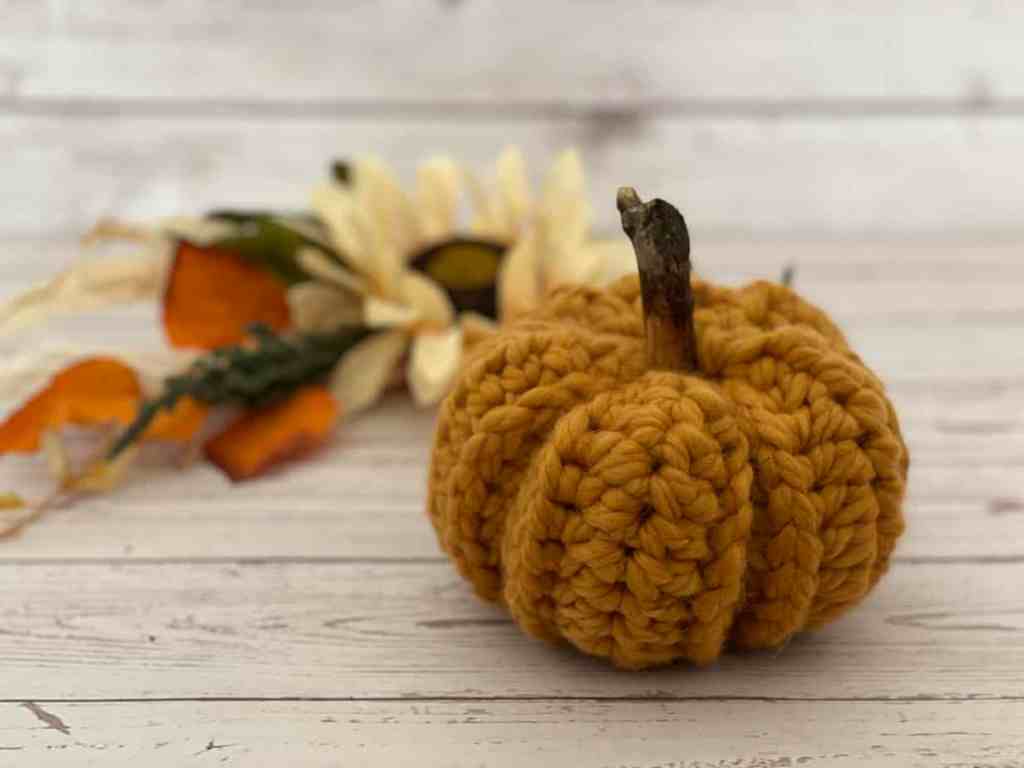
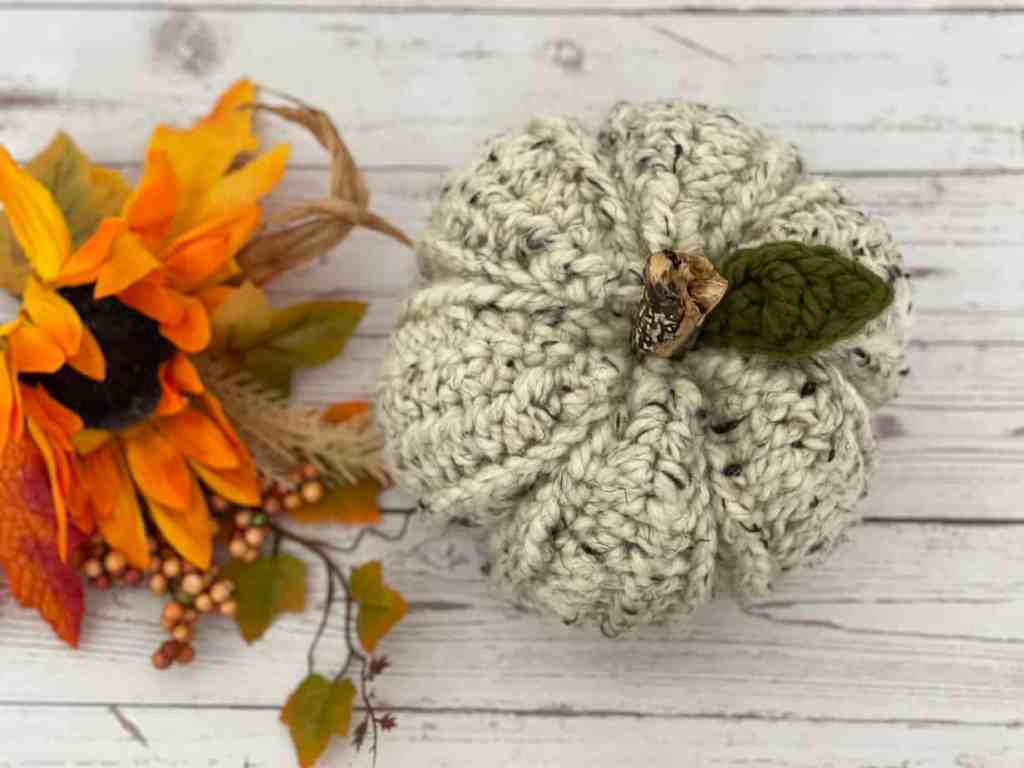
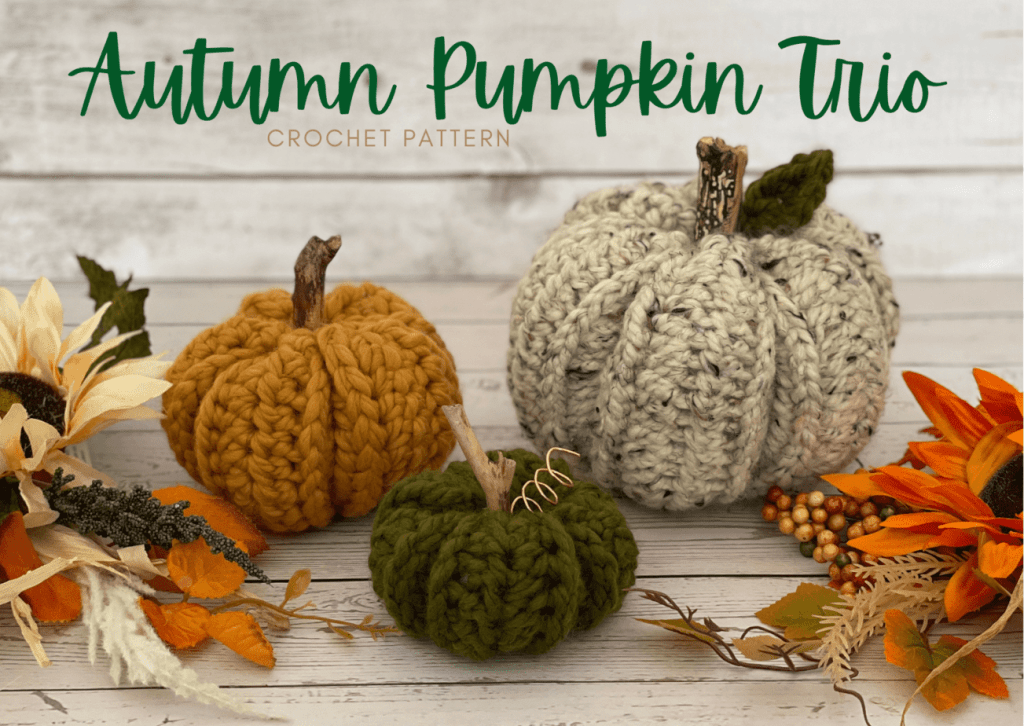
Add a little special handmade decor to fall this year with this adorable crochet pumpkin trio! Super quick and easy, these charming pumpkins will be done in no time (seriously, like 30 minutes each). These are perfect for the beginner who wants to learn some new stitch techniques. They are made completely of turning rows of half double crochet with some stitch techniques thrown in to add the beautiful ribbed texture. Have fun with this Autumn Pumpkin Decoration free crochet pattern!

I’m going to share a secret with you. These pumpkins don’t have to be orange at all! Find your own color inspiration! The options are endless – these pumpkins look great in all colors. Pick colors that match your home decor and you’ll have these crochet pumpkins featured as the centerpiece of your family dinner table for years to come.
This free pattern is supported by ads on my blog. You can also purchase the ad-free, printable pattern from my Etsy shop.
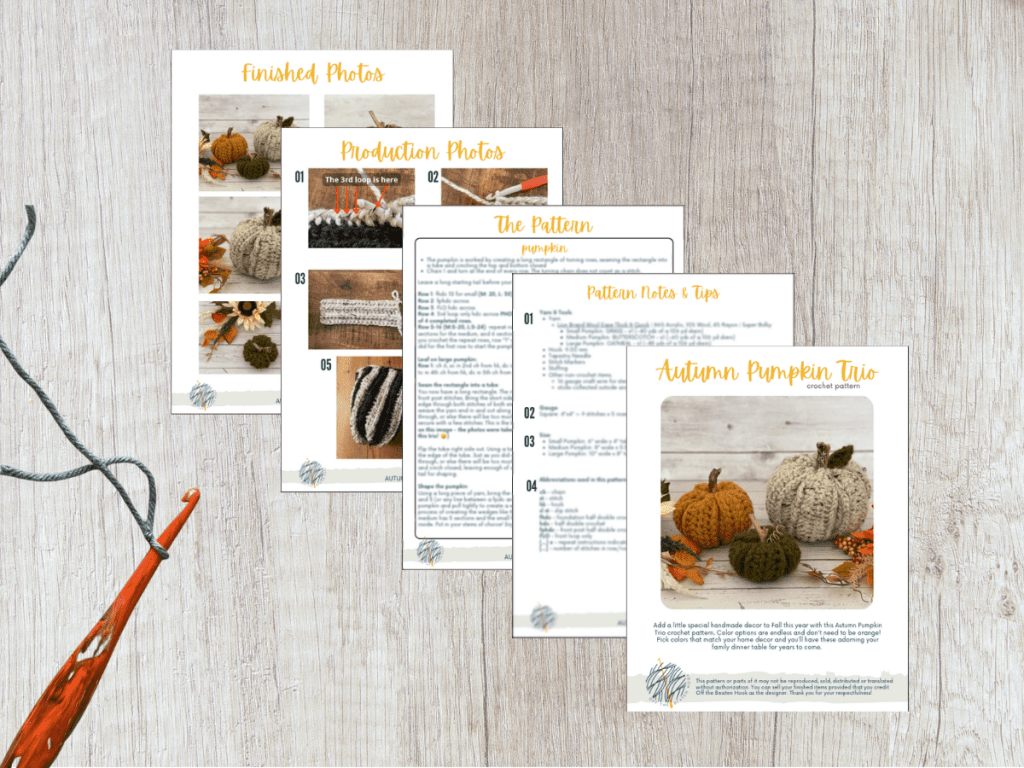
The 7-page PDF printable pattern includes lots of helpful in-the-making photos as well. You can download and print it, or simply save it to your computer to use for later.
General Notes:
This autumn pumpkin decoration free crochet pattern is written in US terms. If needed, you can find a handy term conversion chart right here in my Resource Library. I recommend giving the pattern a read-through before you begin so you can visualize the big picture and consider any specific notes for help along the way! If you find you’re having trouble, the printable pattern in my Etsy shop comes with lots of in-the-making photos for each step of the way as well.
Size & Gauge:
Size:
Small pumpkin: 6″ wide x 4″ tall
Medium pumpkin: 8: wide x 5.5″ tall
Large pumpkin: 10″ wide x 8″ tall
Gauge: 4�x4� of half double crochet = 9 stitches x 5 rows. Ultimately with these, gauge isn’t critical. It won’t have to fit someone’s body or a specific space. My patterns will include the size of the finished item based on the yarn and hook I use. But if you want it smaller or bigger, just use a bigger or smaller yarn and hook!
Yarn & Stuffing:
Yarn: Take your choice of yarn! Choose colors that bring you joy and fibers that feel good between your fingers. I use super chunky yarn for these pumpkins!
It’s very important for me to use only sustainable and eco-friendly yarn so I feel good about the impact I’m making on the environment with my craft. With these pumpkins, however, I shopped my stash to use up old yarn that had been waiting for a smaller project. You can do the same – but just remember if you use anything other than super bulky yarn, the finished pumpkins will be different sizes than mine (which is totally okay!)
The Legal Stuff:
This pattern or parts of it may not be reproduced, sold, distributed or translated without authorization. You can sell your finished items provided that you credit Off the Beaten Hook as the designer. Thank you for your respectfulness!
Materials you will need:
- Lion Brand Wool Ease Thick & Quick | 86% Acrylic, 10% Wool, 4% Rayon | Super Bulky
- GRASS – x1 (about 40 yds of a 106 yd skein)
- BUTTERSCOTCH – x1 (about 60 yds of a 106 yd skein)
- OATMEAL – x1 (about 85 yds of a 106 yd skein)
- Crochet Hook Size: 9.00 mm
- Tapestry Needle
- Stitch Markers
- Scissors
- Stuffing
- Sticks for stems
- OPTIONAL: 16 gauge craft wire for leaves
Abbreviations used in the autumn pumpkin decoration free crochet pattern:
ch – chain
st – stitch
hk – hook
sl st – slip stitch
sc – single crochet
fhdc – foundation half double crochet
hdc – half double crochet
fphdc – front post half double crochet
FLO – front loop only
(…) x – repeat instructions indicated number of times
[…] – number of stitches in row/round

The Pattern
Notes:
- The pumpkin is worked by creating a long rectangle of turning rows, seaming the rectangle into a tube and cinching the top and bottom closed
- Chain 1 and turn at the end of every row. The turning chain does not count as a stitch.
Leave a long starting tail before your slip knot. The tail will be used to cinch the pumpkin closed.
Row 1: fhdc 10 for small (M: 20, L: 30)
Row 2: fphdc across
Row 3: FLO hdc across
Row 4: 3rd loop only hdc across
Row 5-16 (M:5-20, L:5-24): repeat rows 1-4, for a total of 4 sections for the small pumpkin, 5 sections for the medium, and 6 sections for the large. Each section consists of 4 rows. Note, that as you crochet the repeat rows, row “1” will be a row of standard hdc, versus the foundation hdc you did for the first row to start the pumpkin.
LEAF ON LARGE PUMPKIN:
Row 1: ch 6, sc in 2nd ch from hk, dc in 3rd ch from hk,
tc in 4th ch from hk, dc in 5th ch from hk, sc in last ch. Fasten off.
SEAM THE RECTANGLE INTO A TUBE:
You now have a long rectangle. The right side is the one with the ridges that were created by the front post stitches. Bring the short sides together, with the wrong side facing out. Sl st along the edge through both stitches of both ends. Still with the wrong side out, use a tapestry needle and weave the yarn end in and out along the edge of the tube. Only pick up a single loop as you weave through, or else there will be too much material when you cinch the tube closed. Cinch tightly and secure with a few stitches. This is the bottom of the pumpkin.
Flip the tube right side out. Using a tapestry needle and a yarn tail, weave the end in and out along the edge of the tube. Just as you did with the bottom, only pick up a single loop as you weave through, or else there will be too much material when you cinch the tube closed. Stuff the pumpkin and cinch closed, leaving enough of a gap to insert your stem of choice. Tie off, but leave a long tail for shaping.

SHAPE THE PUMPKIN
Using a long piece of yarn, bring the yarn from top to bottom along the outside, in between row 2 and 3 (or any line between a fpdc and FLO hdc row). Thread the needle through the bottom of the pumpkin and pull tightly to create a wedge. Secure the yarn on the bottom and continue the process of creating the wedges like this all the way around. The large pumpkin has 6 sections, the medium has 5 sections and the small has 4 sections. Secure and tie off the yarn and pull to the inside. Put in your stems of choice! Enjoy!
I would love to see your finished pumpkins! Post pics on Instagram and tag me @offthebeatenhook to share!
Did you love this autumn pumpkin decoration free crochet pattern? Want more free house & home crochet patterns? Check these out!
Leave a Reply