
Uncover the secret to the magic circle. This must-know crochet technique will help you start your crochet projects with confidence and ease. Whether you are new to the world of crochet or are looking to level up your skills, I will break down each step as I show you how to make a crochet magic circle.
From understanding how to crochet a magic circle to troubleshooting tips, I’ve got you covered. Join me as I guide you through the process of mastering this transformative technique once and for all!
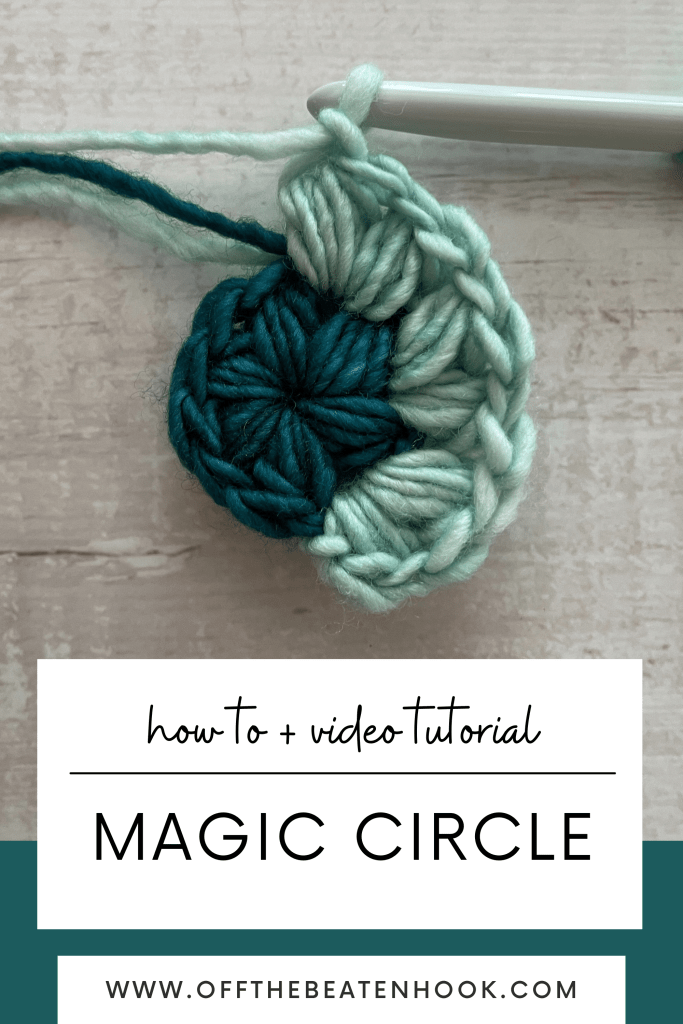
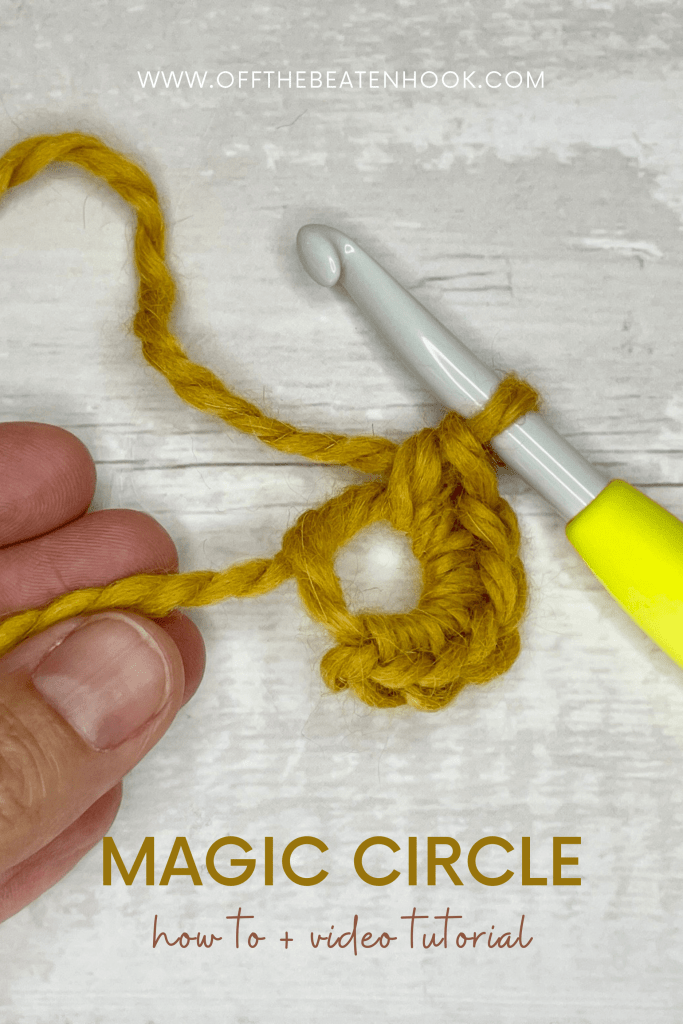
Learn How to Make a Crochet Magic Circle now, or pin it for later here:
UNDERSTANDING THE MAGIC CIRCLE:
Let’s take a moment to understand this intriguing crochet technique. The magic circle, also known as the magic ring or adjustable ring, is a method used to start crocheting in the round. It allows you to create a tightly closed center for your project, eliminating any unsightly gaps that may appear when using the traditional starting technique of making a small chain and then joining it into a ring.
Yay for NO GAPS, right!?
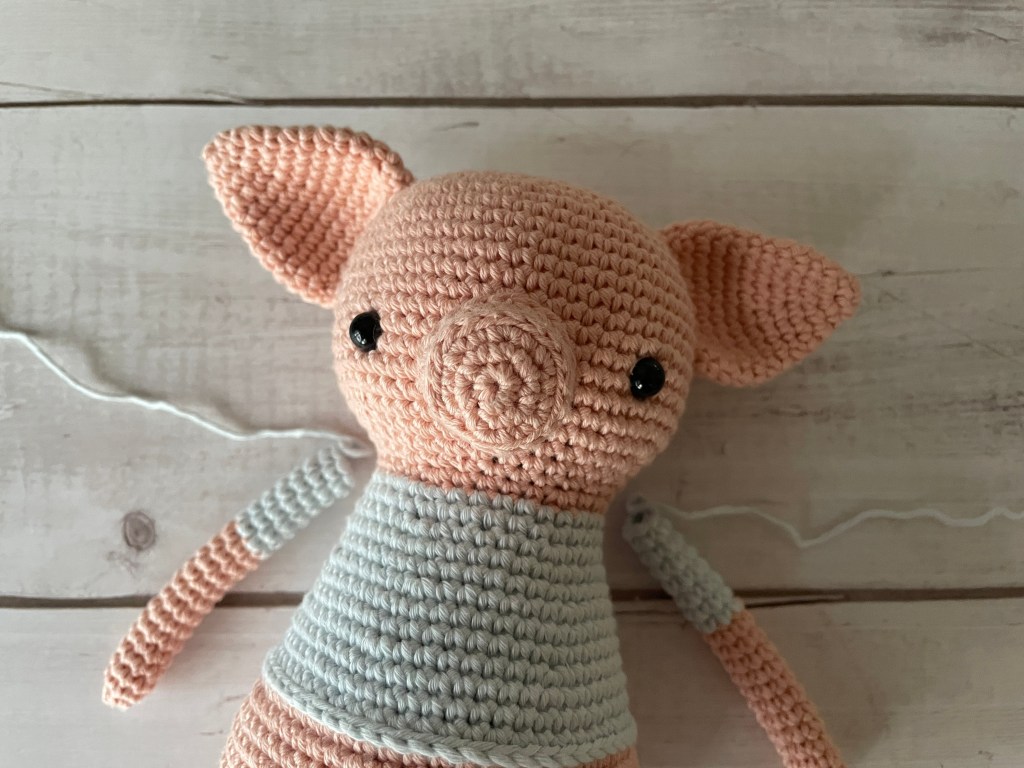
The magic circle is particularly useful for creating items such as amigurumi, hats, or mandalas, where a closed circle is essential. By starting your project with a magic circle, you can easily control the size of the center hole, making it adjustable to fit your needs. This technique provides a seamless and professional finish to your work, giving your crochet projects that extra touch of perfection.
MAGIC CIRCLE ABBREVIATION:
The crochet magic circle is also commonly referred to as the magic ring. In a pattern using US terms, the magic circle is abbreviated: MC. If the pattern refers to it as the magic ring, it will be abbreviated MR. Moving forward in this article, for simplicity, I often refer to the technique using just it’s abbreviation of “MC”.
So let’s learn how to do it!

How to Make a Crochet Magic Circle:
To create a magic circle, you will form a loop with your yarn and then work your stitches into this loop. The loop is adjustable, allowing you to tighten or loosen it as required. This flexibility is what gives the magic circle its name and its magical properties.
It will probably feel awkward at first. Just keep practicing and you’ll have it down in no time!
You can also watch how to make a crochet magic circle in the video tutorial further down in this post.
MC WRITTEN STEPS:
- Take about 6 inches from the yarn tail and create a loop just like you’re tying a regular ol’ knot – just don’t tighten it closed
- Holding it with your non-dominant hand, flip the circle over so the working yarn end is coming up and over (on top) and dangling towards the back. Hold the circle with your thumb and middle finger to stabilize it.
- Insert your hook through the circle from front to back
- Snatch the yarn and pull it up through the circle
- Yarn over and pull through – this creates your slip knot
WRITTEN STEPS WITH PHOTO TUTORIALS:
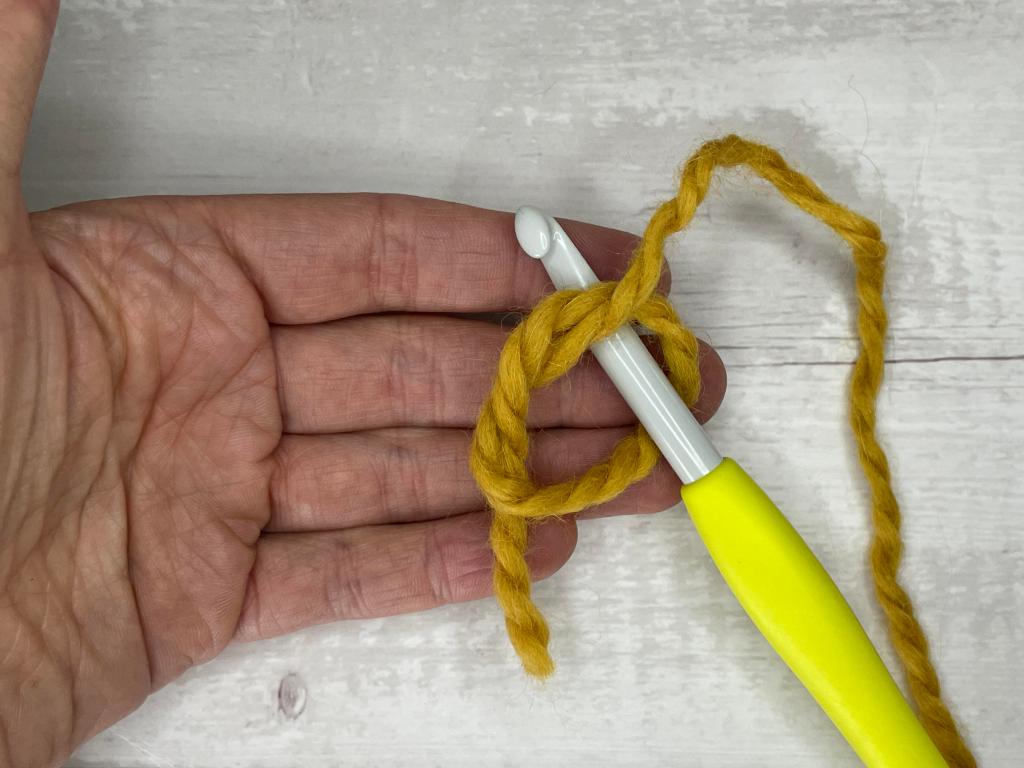
1. Take about 6 inches from the yarn tail and create a loop just like you’re tying a regular ol’ knot – just don’t tighten it closed

2. Holding it with your non-dominant hand, flip the circle over so the working yarn end is coming up and over (on top) and dangling towards the back. Hold the circle with your thumb and middle finger to stabilize it.

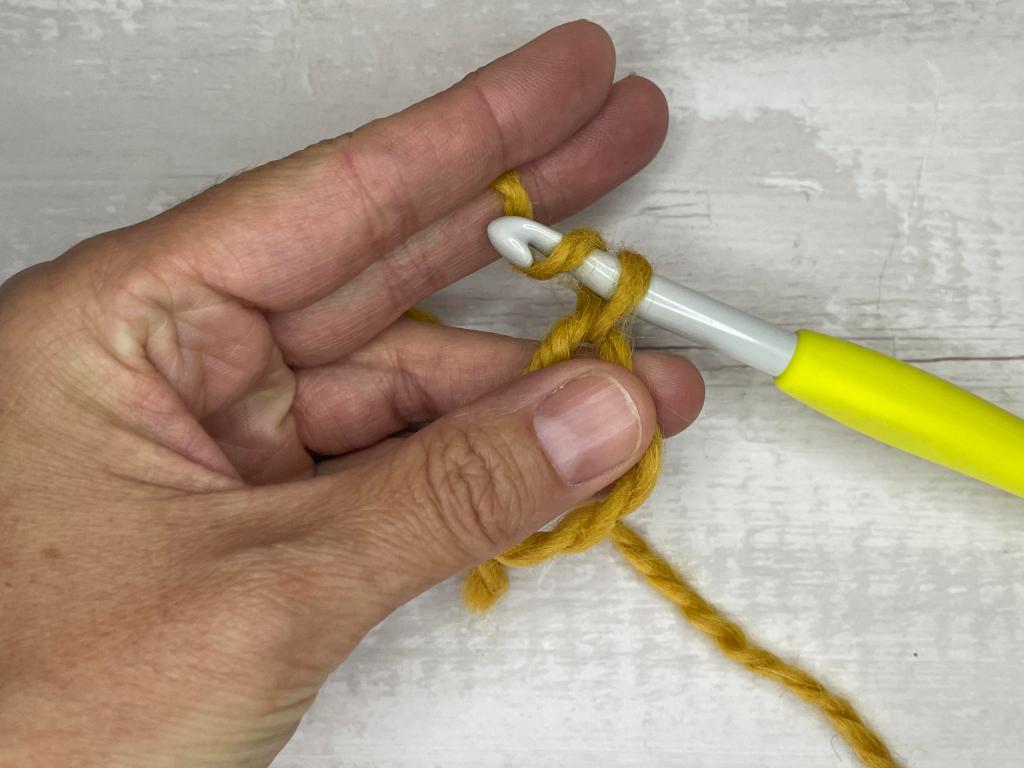
3. Insert your hook through the circle from front to back
4. Snatch the yarn and pull it up through the circle
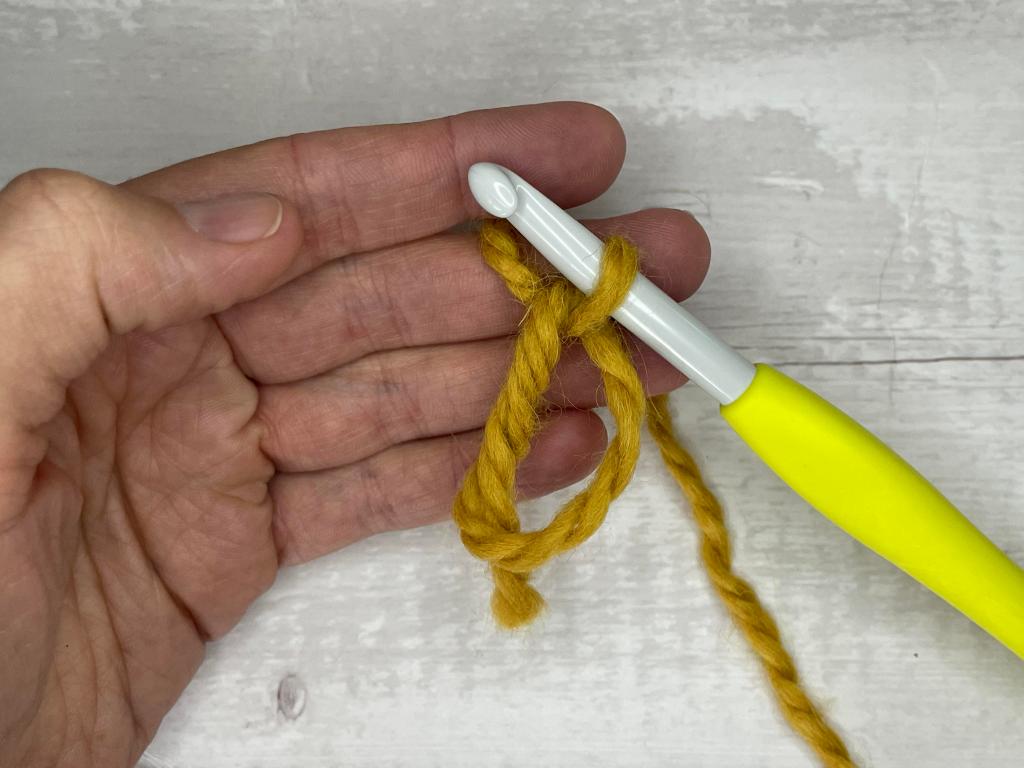
5. Yarn over and pull through – this creates your slip knot

WHAT HAPPENS NEXT?
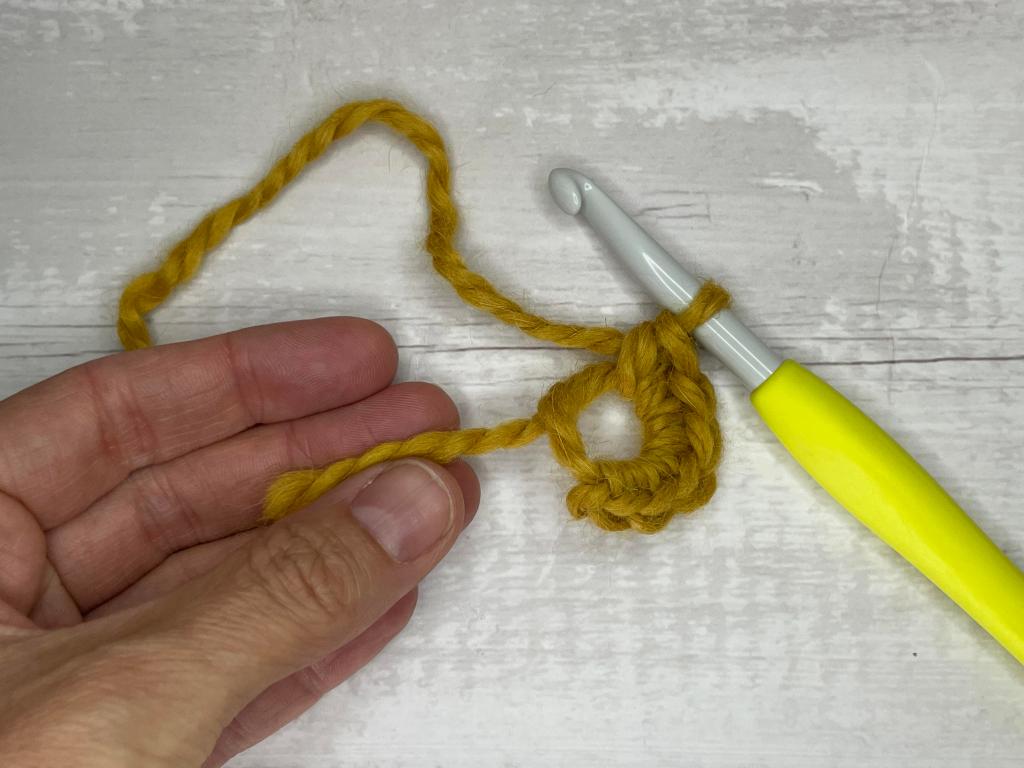
After you’ve created your magic circle, the pattern you’re following will direct you as to the specific number of stitches to work into the magic circle. This can range from single crochet stitches to double crochets or even more complex stitch combinations. Follow the instructions closely, ensuring each stitch is inserted into the center of the circle, right next to the tail end of the yarn.
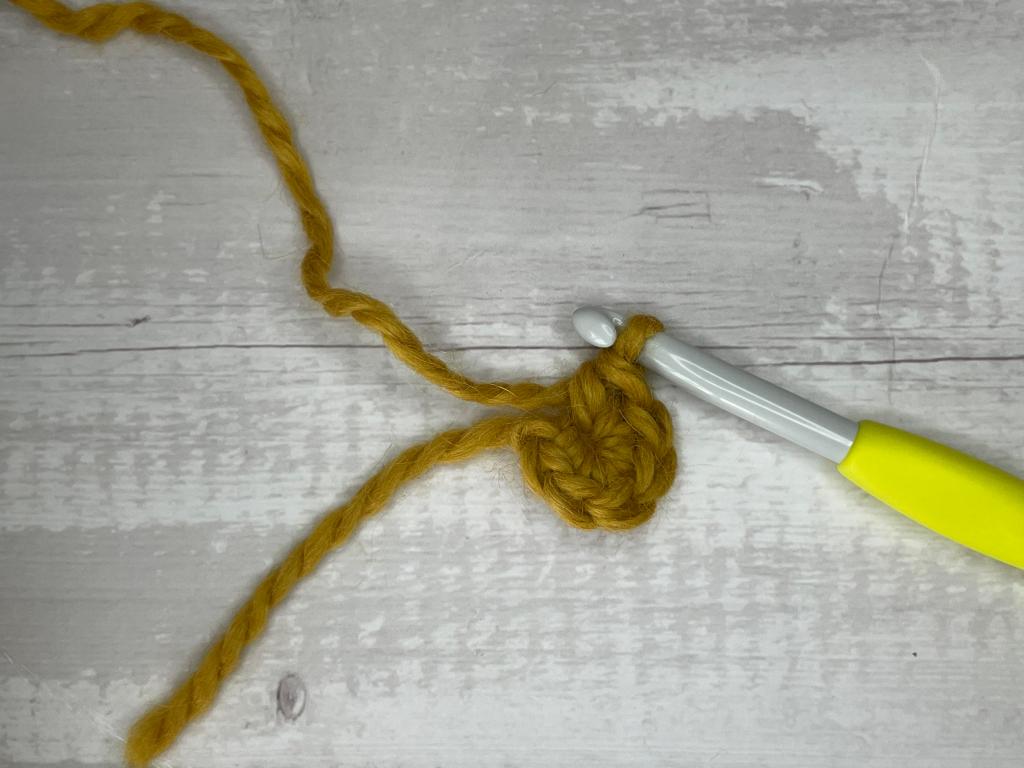
As you work your way around the circle, you will notice the stitches start to form a ring. Take your time to create even and consistent stitches, keeping the tension of your yarn consistent to maintain a professional finish.
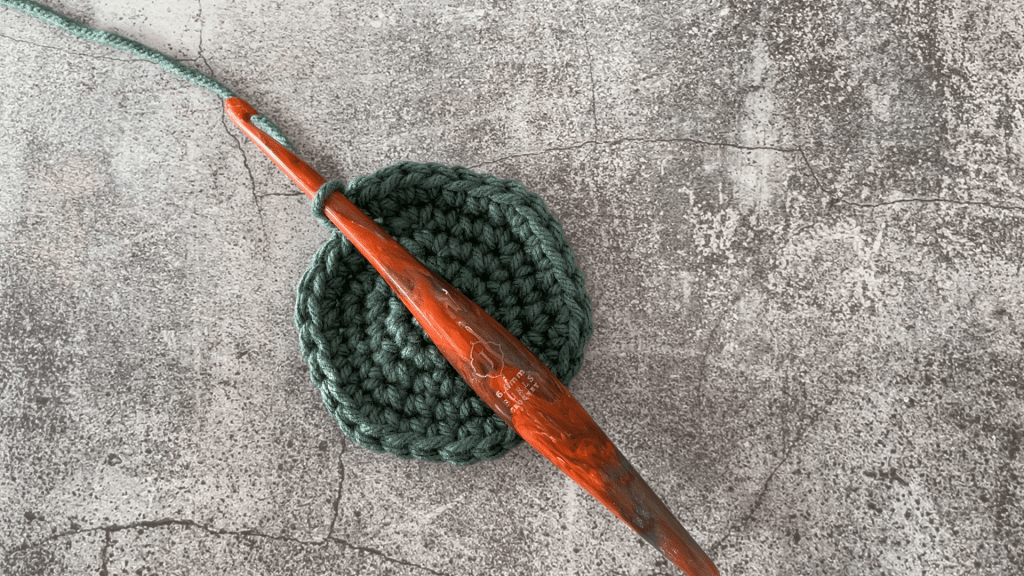
Once you have completed the first round, you can release your hold on the tail end of the yarn. Now, grab the dangly yarn tail end and pull tightly to close the circle. Voila! With the foundation set, you’re ready to create your masterpiece.
VIDEO TUTORIAL – How to Make a Crochet Magic Circle:
TROUBLESHOOTING ISSUES WITH THE MAGIC CIRCLE:
With your crochet repertoire expanding, you may encounter a few hiccups along the way. Here are a few troubleshooting tips to help you overcome common challenges and ensure your crochet projects turn out flawless every time.
One common issue that comes up when attempting the magic circle is not pulling the yarn tail tight enough. If you notice a gap or hole forming in the center of your magic circle as you work your subsequent rounds of stitches, simply pull tightly again to close. This will create a secure foundation and prevent any unraveling or loose stitches as you work your remaining rounds. Weaving in the yarn tail will secure it futher as well.
Uneven tension is another issue that can arise when crocheting the magic circle. To achieve the desired result, it’s important to maintain consistent tension throughout your stitches. If you find that your work is too tight or too loose, try adjusting how tightly you hold the yarn and hook. If you crochet the first round of stitches into your circle to tightly it’ll be really hard to get in that second round with ease. Practice will help you develop a sense of balance and control, leading to more even stitches and a polished final product.
If you’re still struggling to master the magic circle despite following these troubleshooting tips, don’t get discouraged. Crocheting, like any skill, takes practice and patience. Take the time to review the video tutorial. With perseverance and determination, you’ll soon conquer the magic circle and open up a world of possibilities for your crocheting projects.
Now that you have learned how to crochet a magic circle, you can confidently embark on your crochet project. Practice, experiment, and let your creativity flow. Don’t forget to share your masterpieces with the crochet community and inspire others to embrace this exciting craft. Happy crocheting!
If you want to save this to refer to later, you can PIN it here!

LOOKING TO LEARN OR REFINE SOME OTHER CROCHET SKILLS? Here are some articles you might like:
- How to Foundation Single Crochet (fsc)
- How to Foundation Half Double Crochet (fhdc)
- How to Single Crochet Stitch (sc)
- How to Half Double Crochet Stitch (hdc)
- How to Double Crochet Stitch (dc)
Leave a Reply