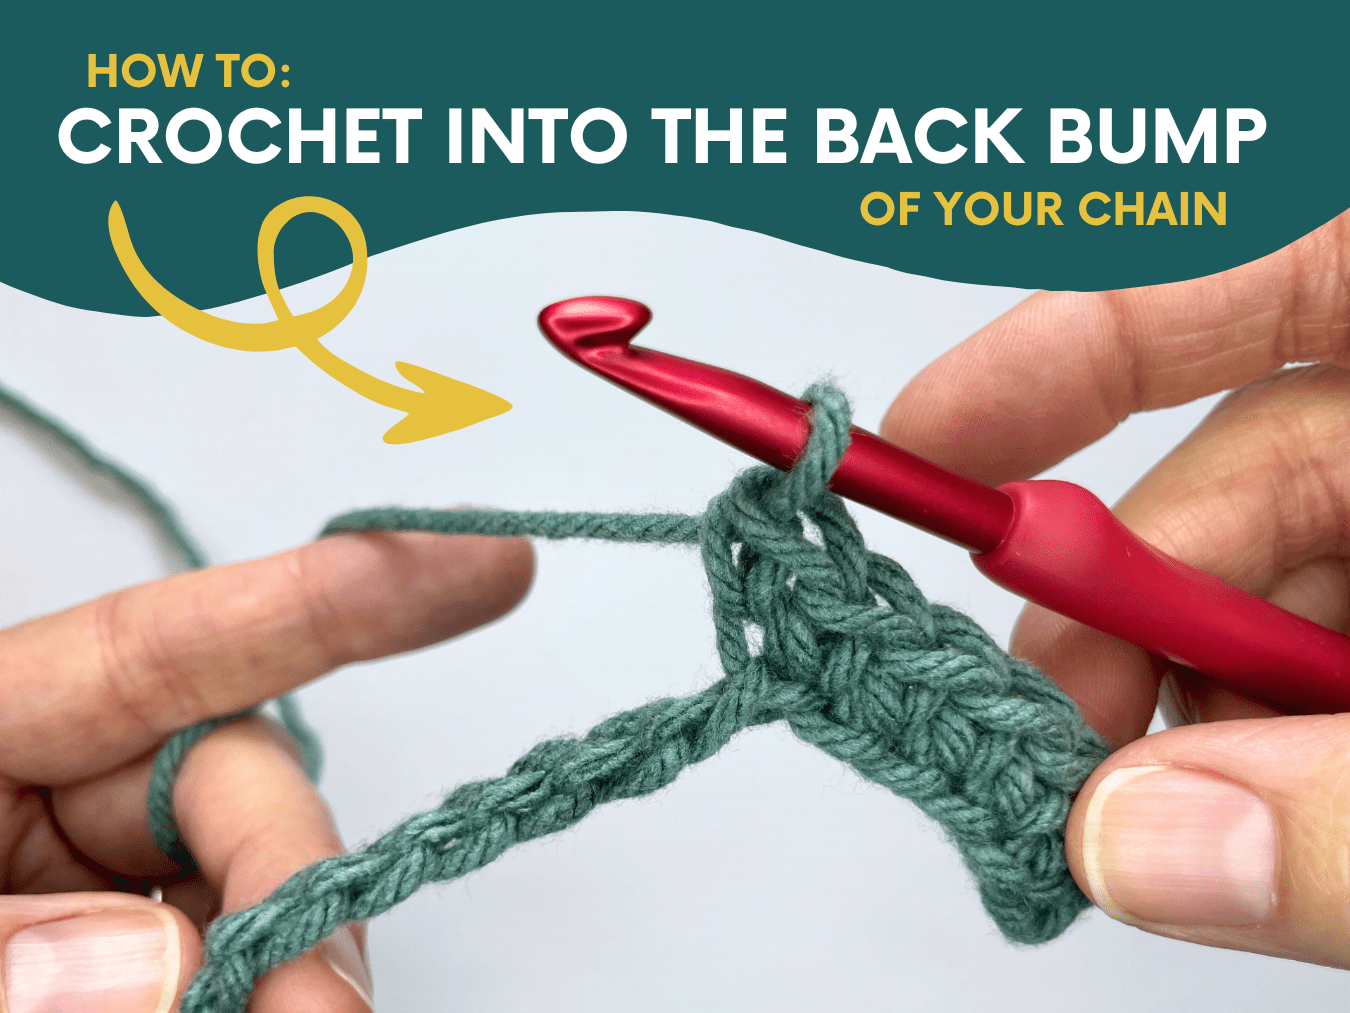
When I committed to mastering the skill of how to crochet into the back bump of a chain, it revolutionized the finished product of my crochet projects. REVOLUTIONIZED. So, get ready to revolutionize your crochet game by learning how to crochet into the elusive back bump of your chain. This technique will perfect the texture and appearance of your first row, giving them the professional finish you’re looking for.
I promise.
Momma always told me not to say “hate”, so I’ll say I REALLY DISLIKE crocheting into a chain. Which is also why I mastered the foundation crochet chaining method.
There are several reason why I really dislike crocheting into a chain, but the main reason USED TO BE because of the ugly, horrible, annoying GAPS IN EVERY STITCH along the first row of my project. Crocheting into the back bump of a chain completely eliminates those gaps and allows your first row to blend seamlessly into the rest without standing out and completely interrupting the cohesiveness of your project.
Enough said about the horrors of the first-row-gap.
So in an attempt to bring you over to my side on this topic, I’ve created a video tutorial on just how easy it is to switch to this method of crocheting into your chain. I’ll give you written steps below, but it might be more helpful to just watch my video tutorial which I’ve included below too!
Back Bump Crochet Terminology:
In a pattern, the back bump can also be referred to the “third loop”, “back loop”, “back bar” or “bottom loop”. Just a heads up there – all the same thing.

How to Locate the Back Bump
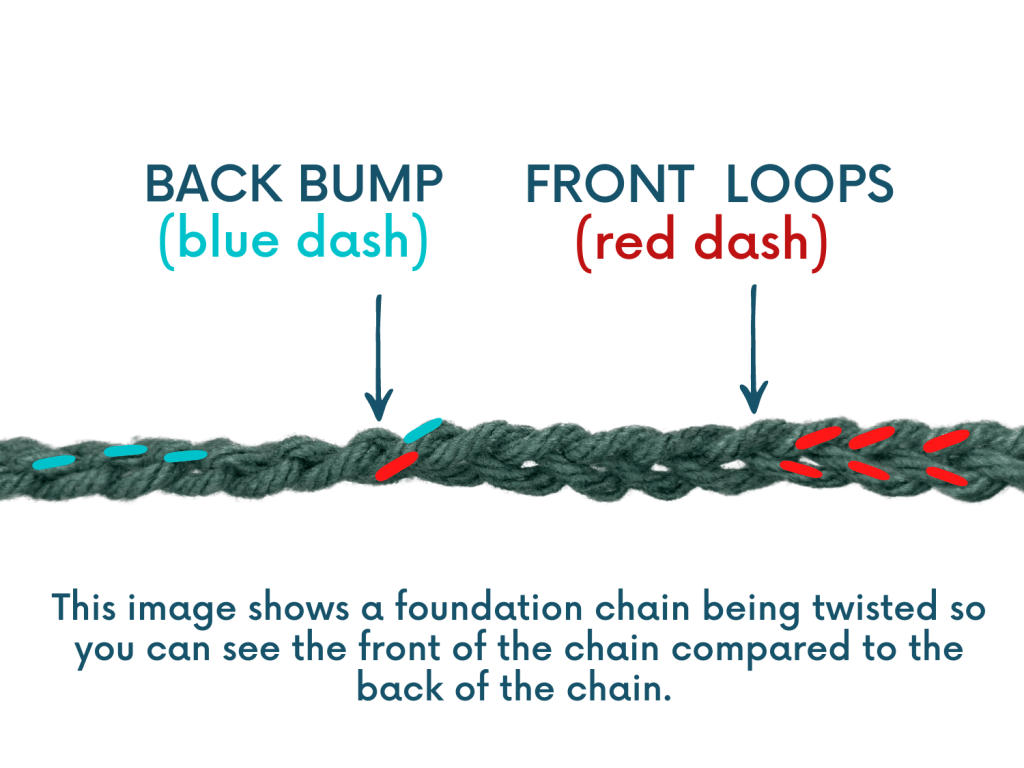
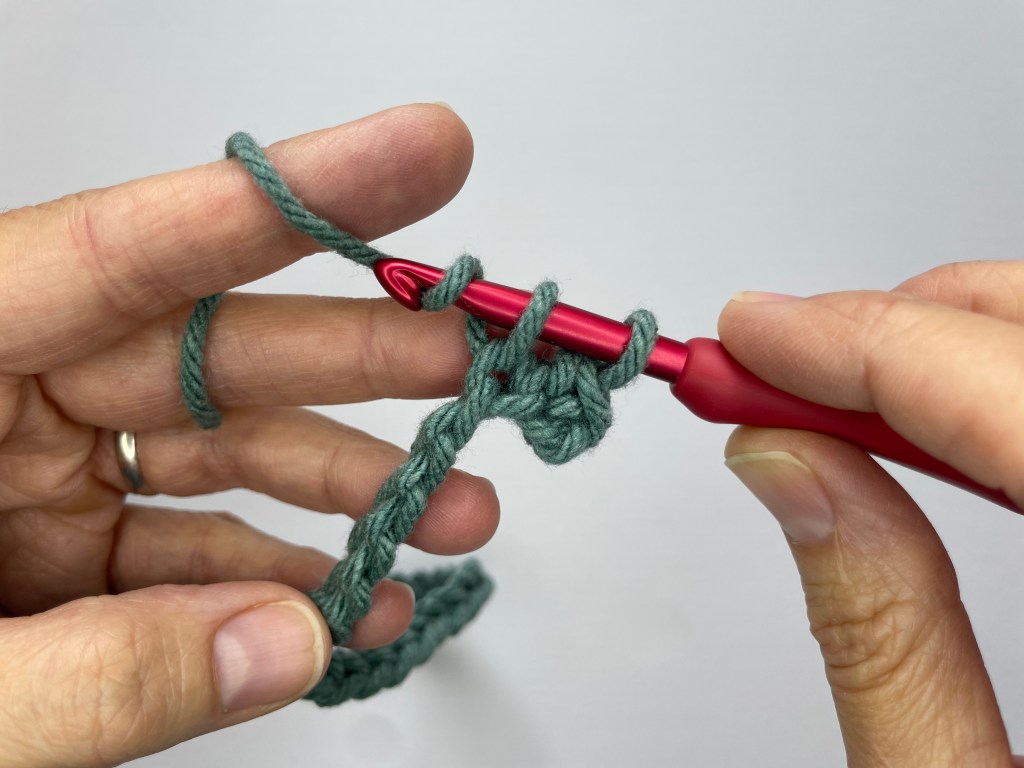
So where, exactly, IS the back bump then? The back bump refers to the horizontal bar located on the back side of the foundation chain. After creating your chain, you’ll have 3 loops that make up each chain. There are two front loops which are the ones that make the classic “v” shape of the top of the stitch. Then, if you rotate the chain over and look behind those two front loops, you’ll see the back bump of the chain. These are the ones we’re talking about in this article.


How to Back Bump Crochet Stitch
The back bump crochet stitch placement can be used with any stitch along your first row. You’re still making the same stitch your pattern calls for, but you’re intentionally placing it into the back bump (versus the top loop of the front of the chain). Why again? Because it makes the first row clean, tight, straight and gap-free.
Steps:
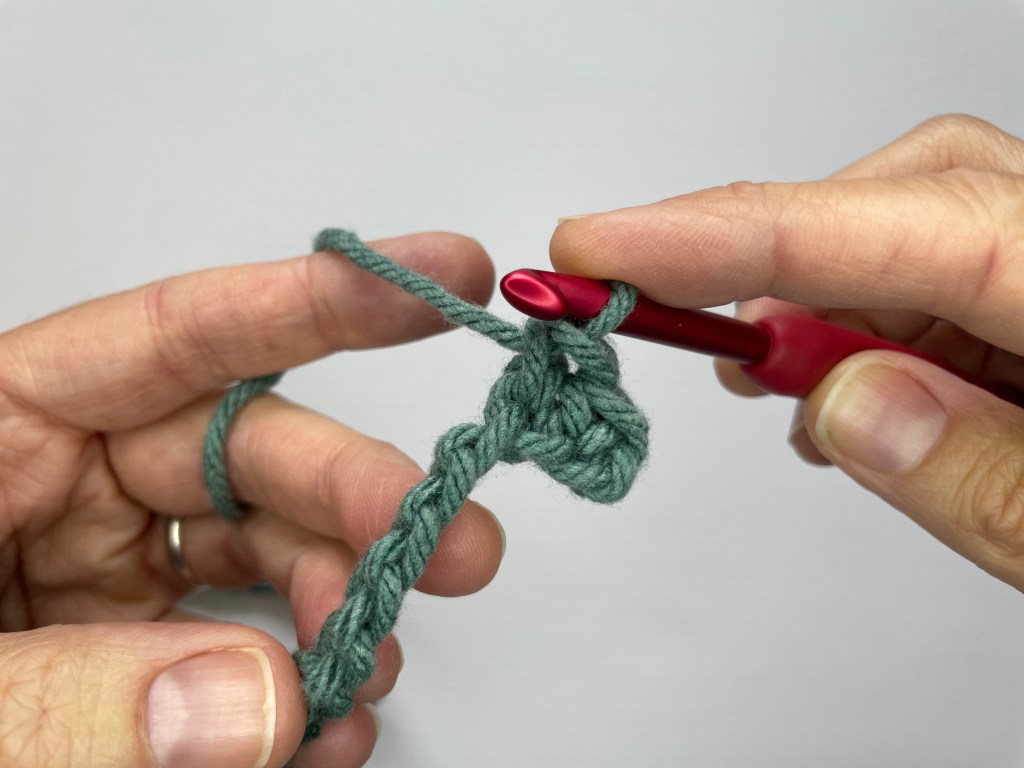
- Identify the back bump: each chain of your chain is made up of three loops. Identify the front two loops which together create a “V” shape. Turn them over to identify the back bump (aka “third loop”). Study the photos above to help you with this!
- Make your first stitch into the appropriate back bump as specified by your pattern and which stitch you are using. This is typically the
- second bump from the hook if using single crochet,
- third bump from the hook if using half double crochet
- fourth bump from the hook if using double crochet
- fifth bump from the hook if using treble crochet
- Continue on down the chain, making a stitch into each of the back bumps of your chain until you reach the end!
Single Crochet into the Back Bump:
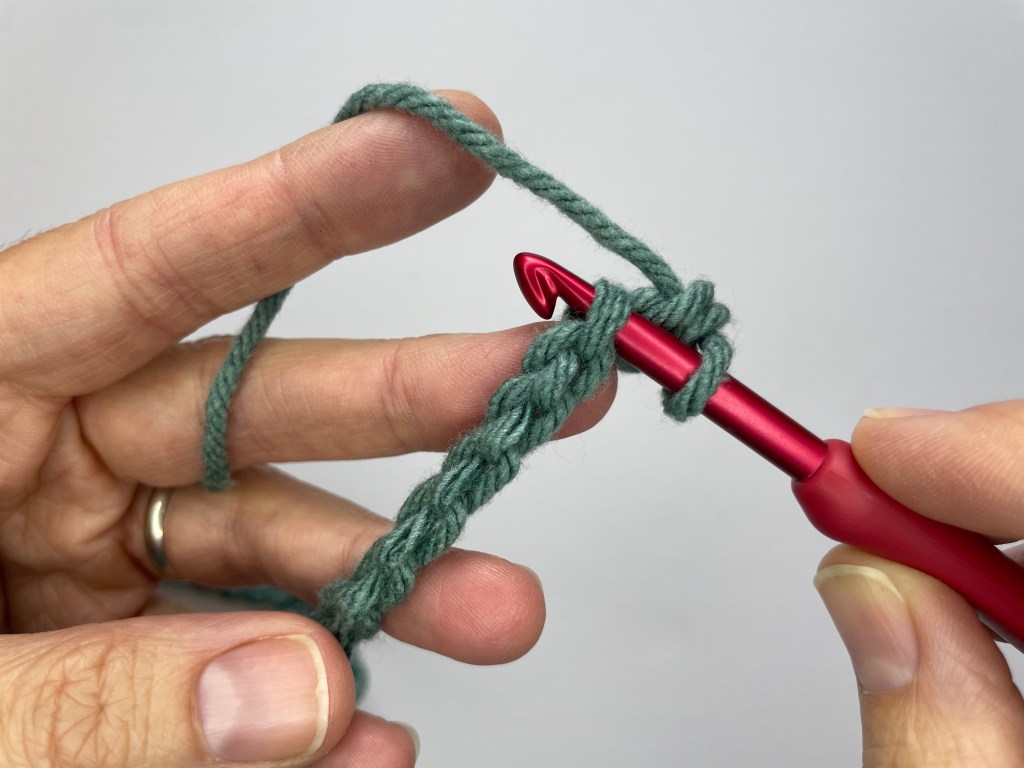
- After making your chain, insert your hook into the 2nd back bump from the hook:
2. Yarn over and pull up a loop:


3. Yarn over again and pull through both loops on hook:
Wanna see it in action? Check out the tutorial below.
Back Bump Crochet Stitch Video Tutorial:
Once you feel comfortable working into the back bump, experiment with different stitches and patterns to see how this technique can enhance the texture and structure of your crochet projects. Although it might feel a little different or challenging at first, practice makes perfect!
If you’re looking for other, alternative ways to start the first row of your project, check out these techniques next!
- Single Crochet Foundation Chain (aka chainless foundation single crochet)
- Double Crochet Foundation Chain (aka chainless foundation double crochet)
- Half Double Crochet Foundation Chain (aka chainless foundation half double crochet)

Leave a Reply