
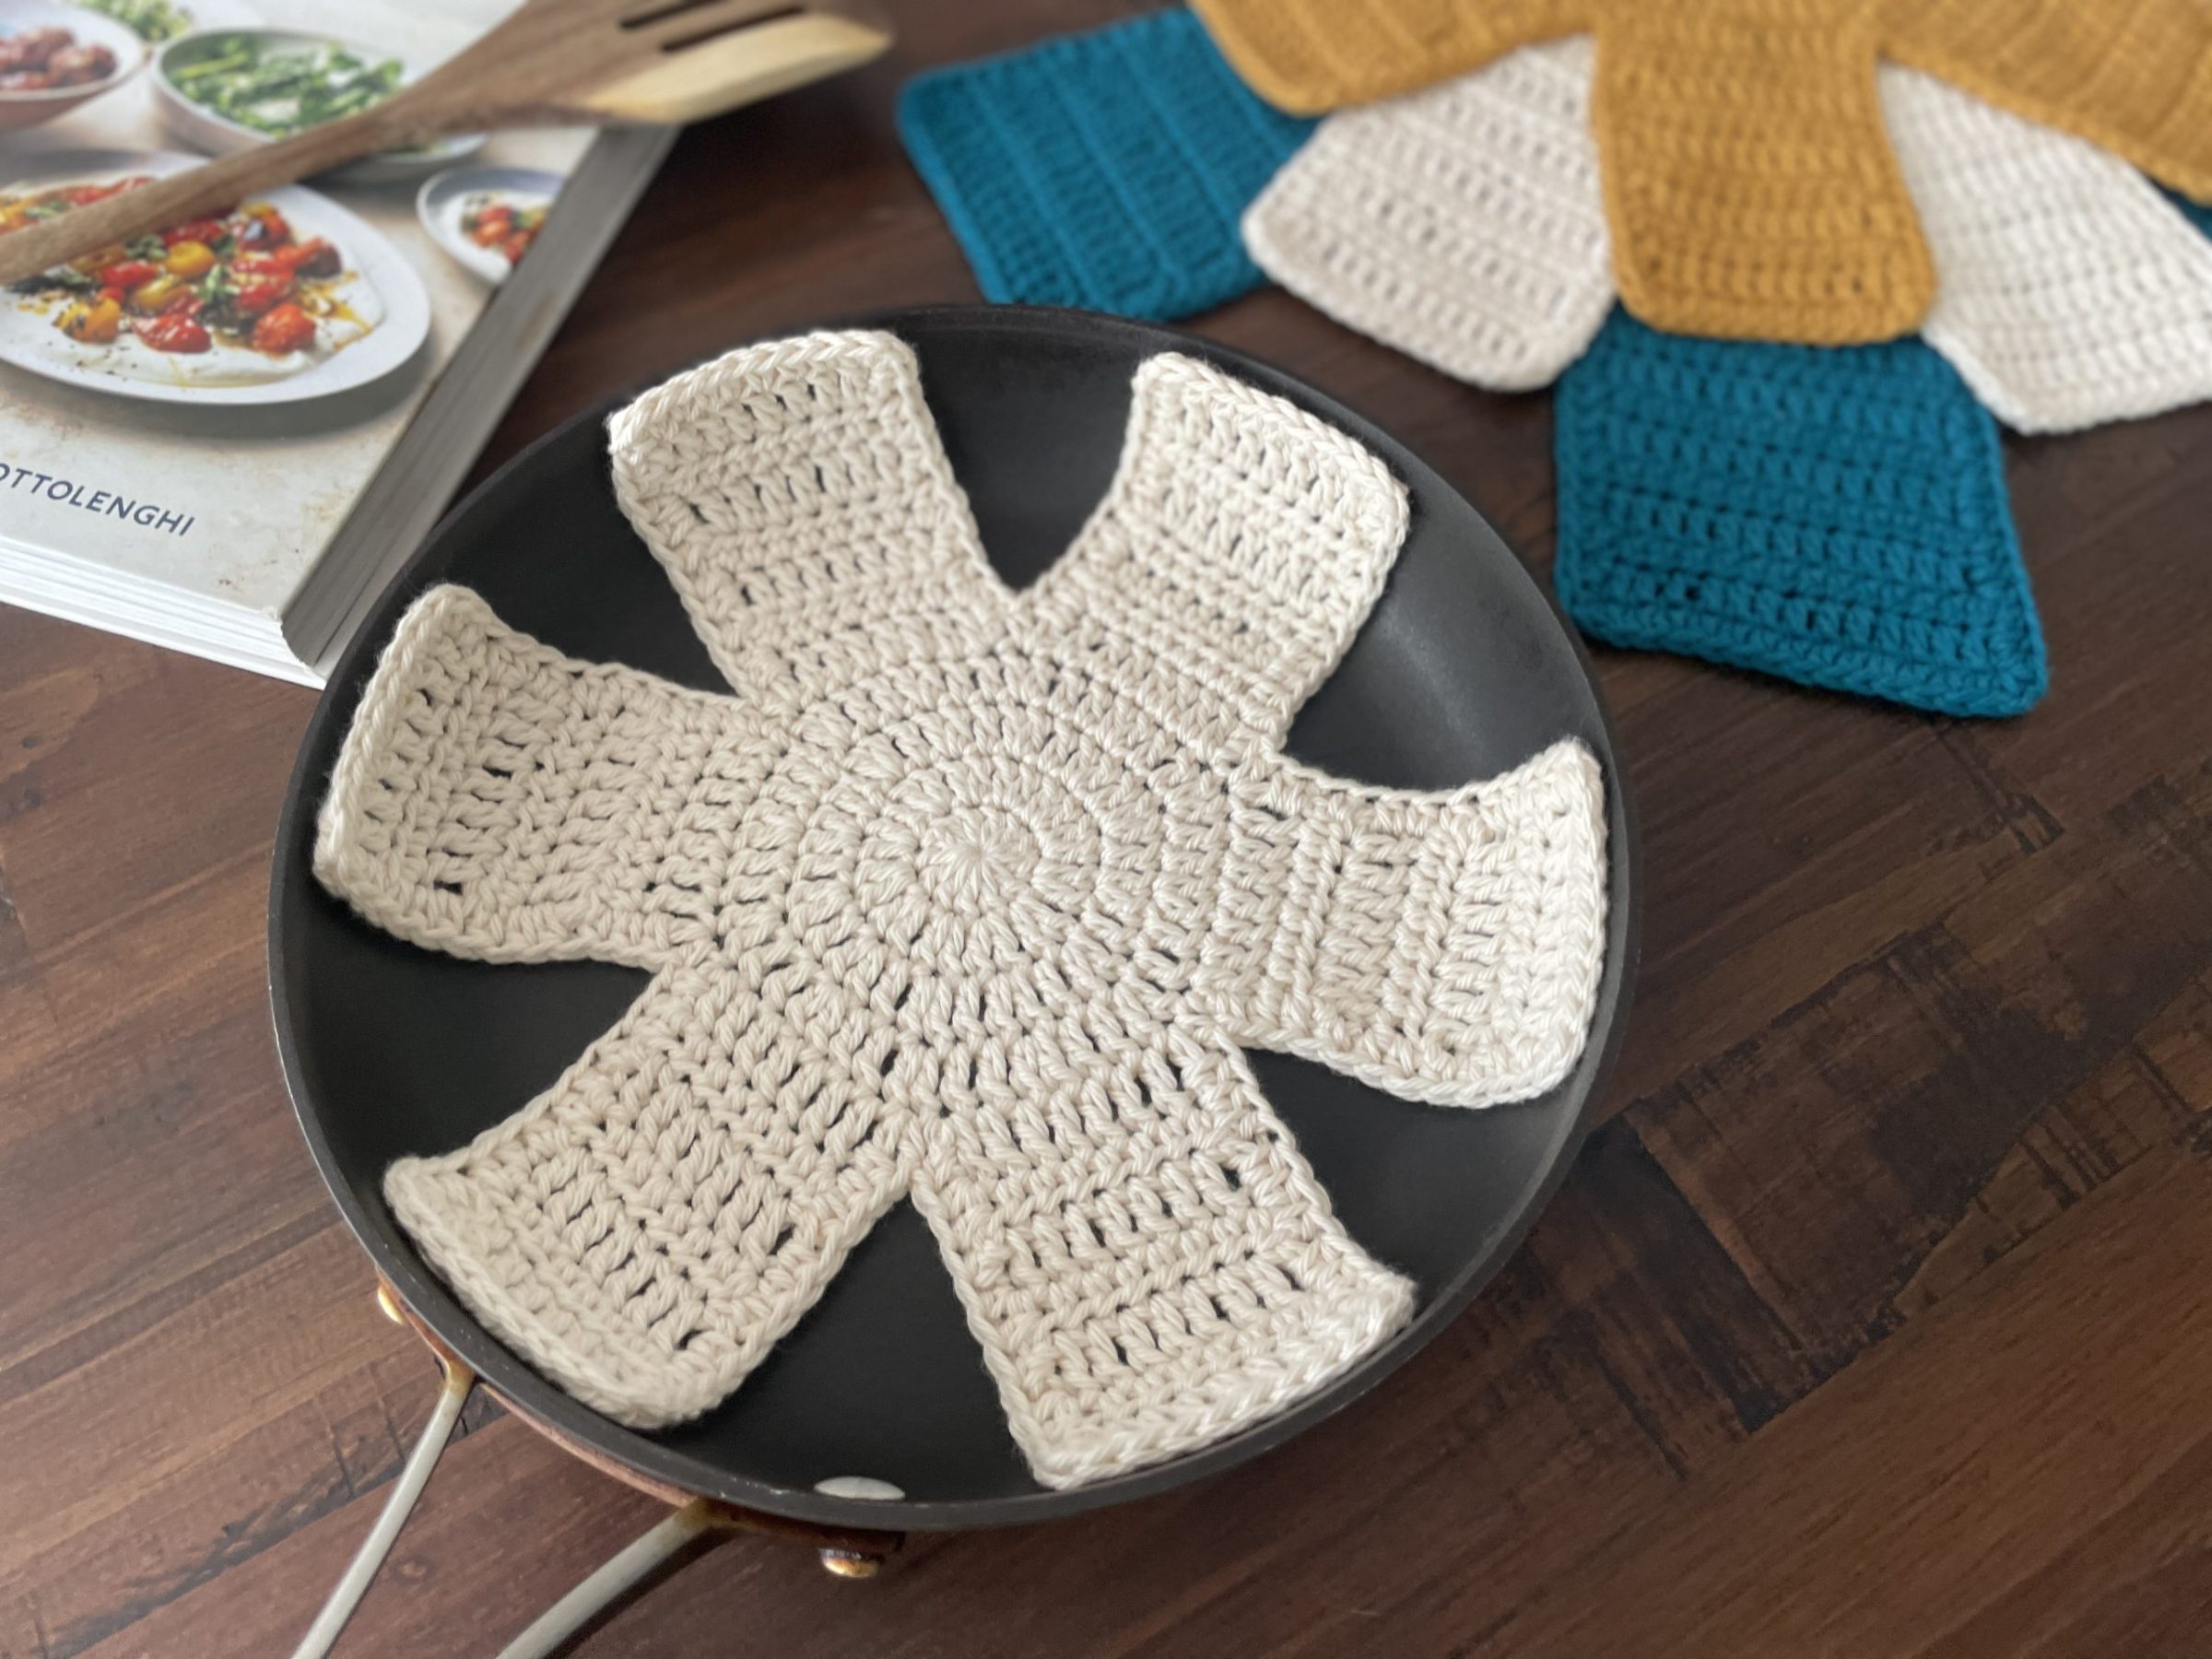
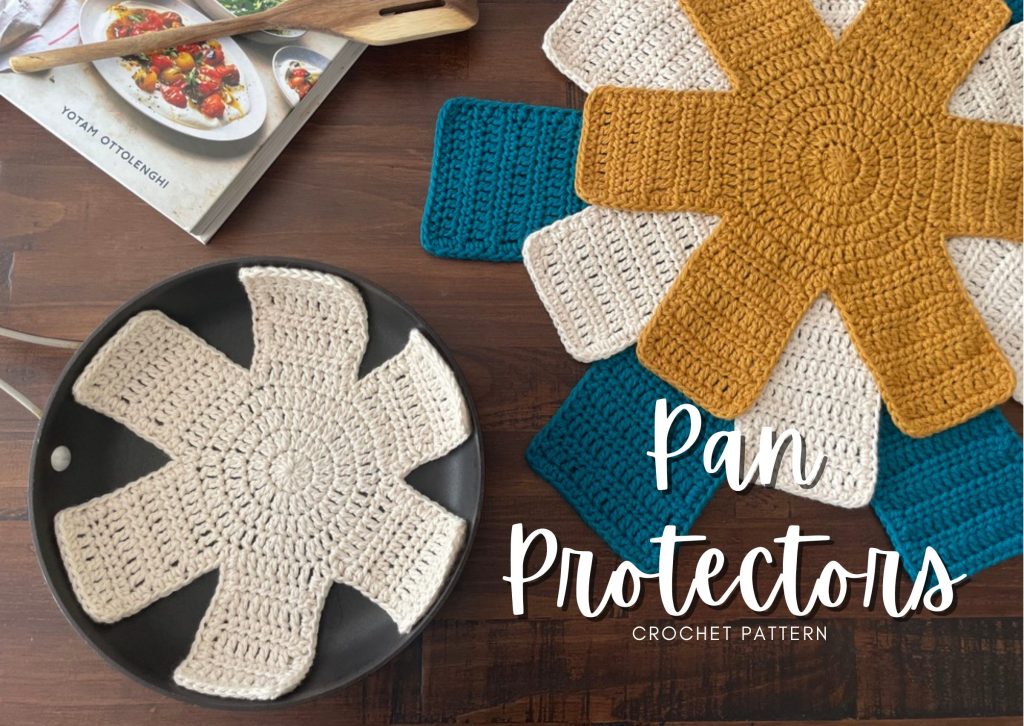
If your cookware cabinet sounds like a crash scene every time you pull out a pan… it might be time for some crochet pan protectors!
These quick and practical crochet pan protectors help prevent scratches, dents, and damage while keeping stacked pans organized. They’re functional, beginner-friendly, stash-busting, and honestly? Weirdly satisfying to make.
This free crochet pan separator pattern works up quickly and is a great way to use leftover cotton yarn while creating something you’ll actually use every single day.
Whether you’re organizing your kitchen, making handmade housewarming gifts, or just looking for a fast crochet project that isn’t another coaster, these crochet pan protectors are such a fun make.
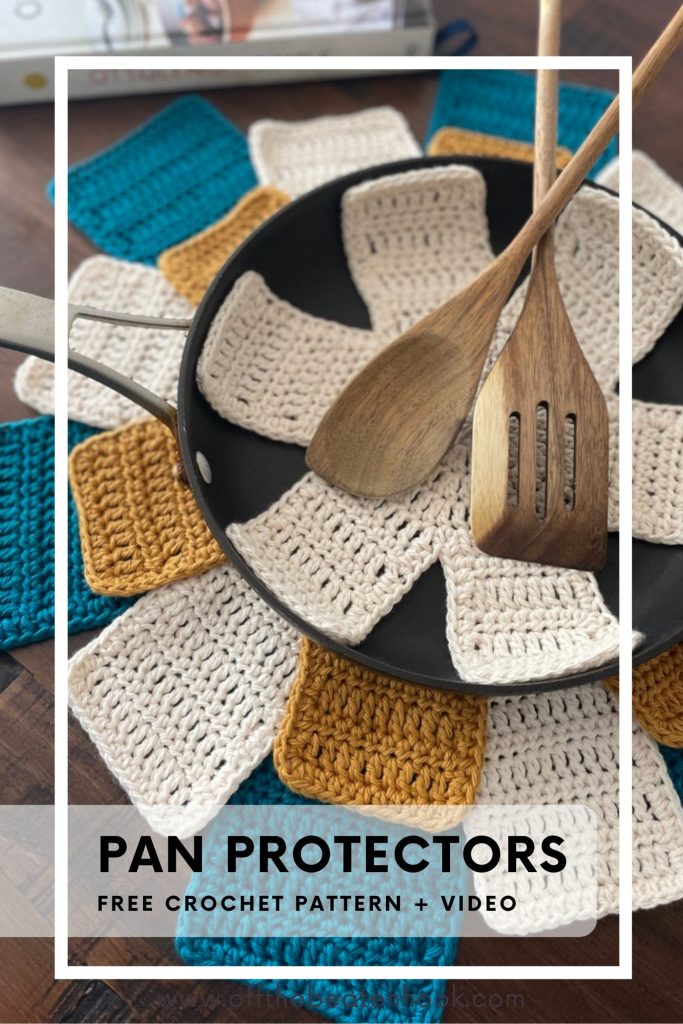
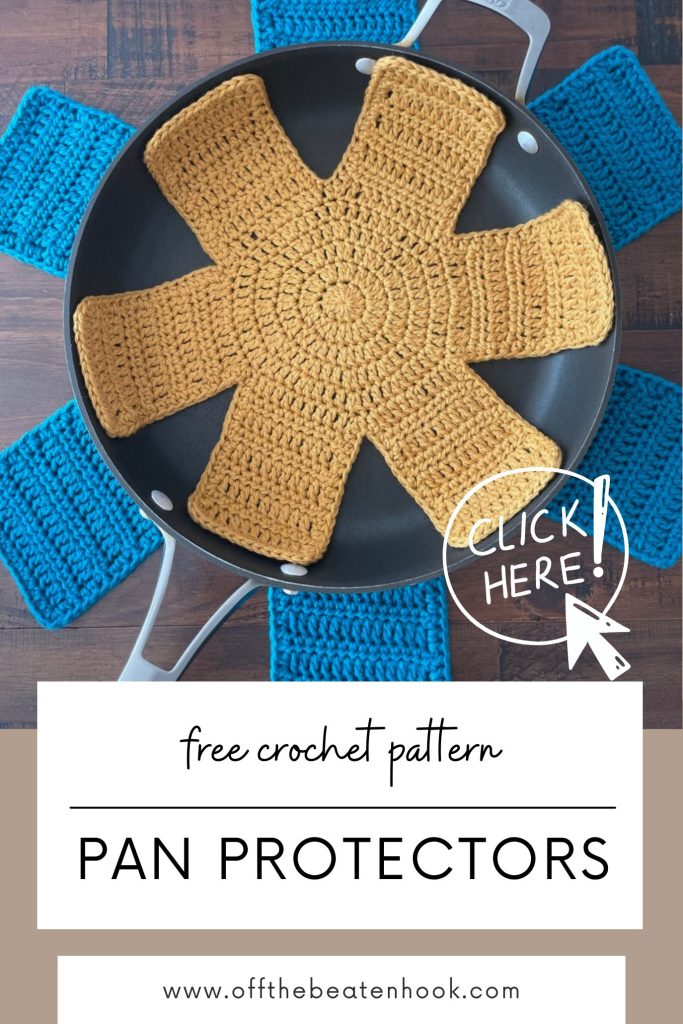
Jump into the crochet pan protectors pattern now, or pin it for later here!
LOVE COLLECTING Patterns?
If you love collecting crochet patterns, you might enjoy my Fiber Love Club — it gives you lifetime access to every pattern I’ve ever designed (plus all future releases).
Instead of buying patterns one by one, unlock the full pattern vault forever in one simple payment.
Why You’ll Love These Crochet Pan Protectors
I’ve created a helpful video tutorial for this pattern as well. You can find that further down in this post or access it straight away on YouTube here.
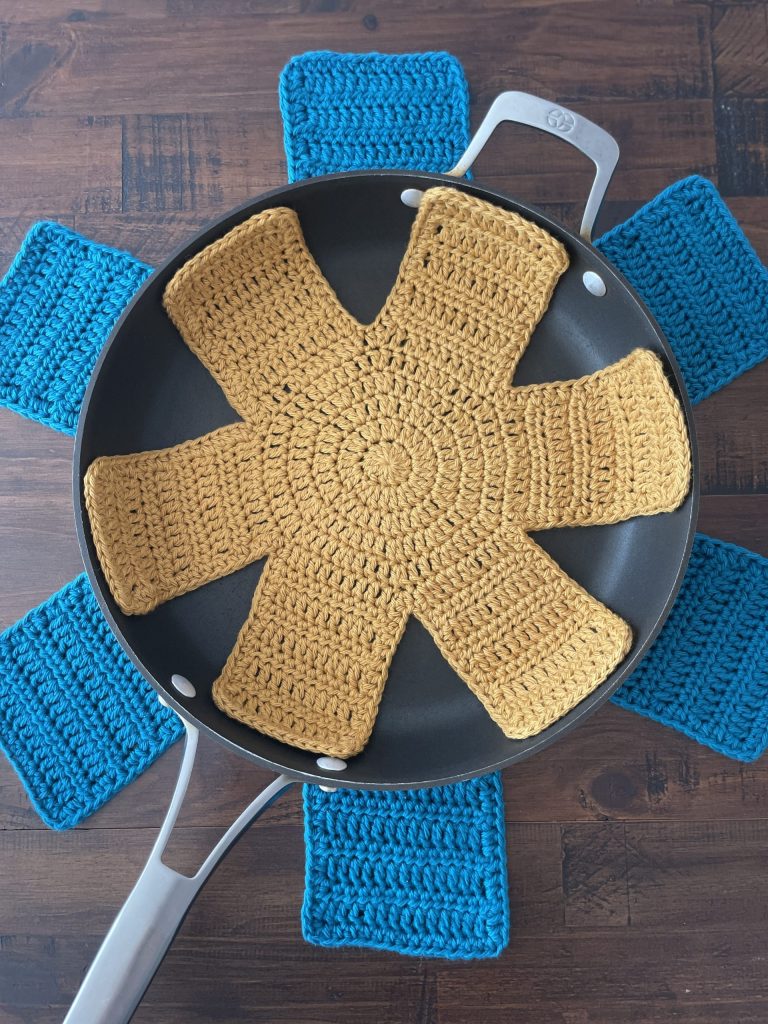
These crochet pan protectors sit between stacked pots and pans to create a soft barrier that helps reduce scratching and clanging. Plus, they make your kitchen drawer feel just a little more put together.
- Written in 4 different sizes so you can protect every single pot & pan
- Quick and beginner-friendly project
- Great for using scrap yarn
- Helps protect cookware from scratches
- Perfect practical crochet gift
- Easy to customize for different pan sizes
- Works up fast for markets and craft fairs
I’ve created a helpful video tutorial for this pattern as well. You can find that further down in this post or access it straight away on YouTube here.
Printable PDF Crochet Pattern
This crochet pattern is reader supported by ads on my blog. If you’d rather print the pattern for some cozy couch crocheting, you can find the ad-free, printable PDF in my shop here or on Ravelry here.
🌿 Eco-Friendly Crafting
What makes this crochet pattern eco-friendly and sustainable?
THE YARN: I use only sustainable and eco-friendly yarn that has been ethically grown/raised and processed, putting the people and the planet first. This is why I chose 100% natural yarn for this pattern.
HANDMADE FOR LONGEVITY: Creating your own kitchen accessories promotes mindful consumption. These durable, handmade crochet pan protectors reduce the need for mass-produced alternatives.
THE SLOW YARN MOVEMENT: I’m participating in the Slow Yarn Movement. There’s far too much to talk about here, but please take a few minutes to learn about what this means by reading the article I wrote about the Slow Yarn Movement as part of my 6-part Sustainable Crochet Series.
If you’re interested in learning more about sustainable crochet you can read all about it in the 6-part series I wrote covering everything about Sustainable Crochet and how to implement it into your own crafting starting today!
Materials You Will Need For These Crochet Pan Protectors
Yarn
100% Cotton | 4/Worsted | Choose your favorite colors! Some great options are:
- Lion Brand 24/7 Cotton Yarn
- Caron All Day Cotton Yarn
- Hobby Lobby I Love This Cotton
- Or any other worsted weight cotton yarn!
Quantity
- Small – 37g (68 yards)
- Medium – 55g (102 yards)
- Large – 73g (135 yards)
- XLarge – 106g (96 yards)
Crochet Hooks Needed
Additional Supplies Needed
- Tapestry Needle (bent tips make all the difference!)
- Stitch Markers
- Scissors
- Measuring Tape (optional)
Crochet Pan Protectors Video Tutorial:
Sizing
Small: 12″
Medium: 14″
Large: 17″
X-Large: 21″
Gauge
Gauge: N/A
Abbreviations Used in the Crochet Pan Protectors Pattern
This pattern is written in English, using US terms. If needed, you can find a handy term conversion chart right here in my Resource Library.
ch – chain
st – stitch
hk – hook
mc – magic circle/magic ring
sl st – slip stitch
hdc – half double crochet
dc – double crochet
inc – increase
RS – right side
WS – wrong side
rep – repeat
PH – photo reference number
(…) x – repeat instructions indicated number of times
[…] – number of stitches in row/round
Skill Level
Beginner
Perfect for crocheters who are just getting started! This pattern uses basic stitches and simple construction with step-by-step instructions to help build confidence as you crochet.
FAQ & Terms
Affiliate Links & Ad Support
This post may contain affiliate links. At no extra cost to you, purchases made through these links may earn Off the Beaten Hook a small commission which in no way affects the cost to you. The content on this site is supported by advertisements. By using this site, you agree not to circumvent, block, or tamper with these ads.
Copyright & Intellectual Property
All content on this blog, including free crochet patterns, instructions, charts, photos, videos, and written materials, are the property of Off the Beaten Hook and are protected under copyright and other intellectual property laws. Screenshots or any other method of copying the pattern for offline use or redistribution is prohibited. Sharing patterns in forums, social media groups, or private messages without permission is also prohibited.
Personal Viewing & Use Only
Free patterns published on this site are provided for viewing only on this blog. You may not copy, download, print, take screenshots, or redistribute the pattern in any form (digital or physical) outside this blog. You may not post the pattern or instructions elsewhere online or share it publicly without written consent.
Questions & Permissions
For questions about these permissions or to use or share patterns outside of these rules, please contact Off the Beaten Hook in writing.
Absolutely! You may sell finished items made from Off the Beaten Hook’s patterns, but please credit:
“Pattern by Off the Beaten Hook”
Pattern Support is only available in our Facebook Community group and Video Tutorials. No additional support is provided for modified patterns, alternate yarns, or changes to gauge.

Tips for Using Crochet Pan Protectors
- Use cotton yarn for best durability
- Make several sizes for different cookware
- Add a loop for hanging storage
- Create matching kitchen sets for gifts
These also pair perfectly with handmade kitchen towels, potholders, and dishcloths if you’re putting together a crochet kitchen gift basket.

The Crochet Pan Protectors Pattern:
Size Small (12″)
NOTES:
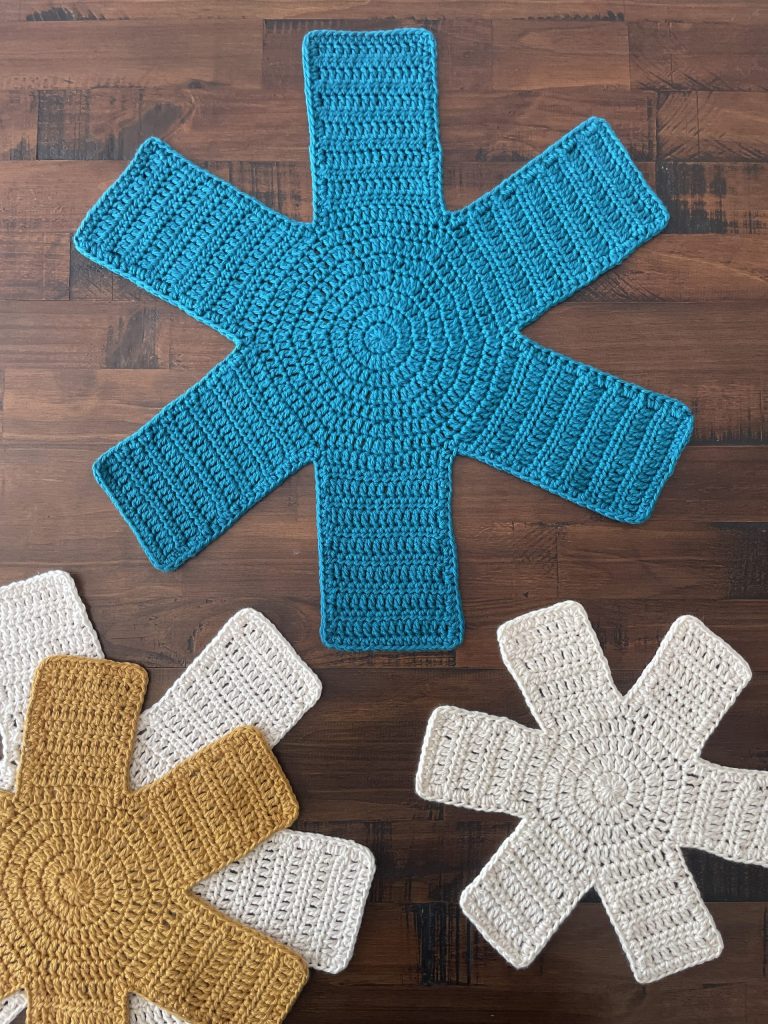
- The center of the pan protector is worked in joined rounds. Then, we will switch to turning rows to create the 6 wings.
- The ch 2 at the beginning or end of each round or row never counts as a stitch
| Make a magic circle and ch 2 (doesn’t count as a st) | ||
| Rnd 1: | st 12 dc into the mc, sl st to first st to join, ch 2 | PH 01 | [12] |
| Rnd 2: | 2 dc in each st around, sl st to first st to join, ch 2 | PH 02 | [24] |
| Rnd 3: | (1 dc in next st, 2 dc in next st) x6, sl st to first st to join, ch 2 | PH 03 | [36] |
| Rnd 4: | (1 dc in next 2 st, 2 dc in next st) x6, sl st to first st to join | PH 04 | [48] |
| Wings: You will now split Rnd 4 to create 6 wings. Picking up where you left off: | ||
| Row 1 (RS): | ch 2, dc in next 8 st, turn | [8] |
| Row 2 (WS): | ch 1, hdc in each st across, turn | [8] |
| Row 3: | ch 2, dc in each st across, turn | [8] |
| Row 4-7: | repeat rows 2 & 3. Row 7 will be a row of dc | [8] |
| Fasten off. Rejoin yarn in next available st along Rnd 4 and repeat Row 1-7, 5 more times until all 6 wings are complete – do not fasten off after the last wing is complete, but instead move forward to create the border as follows. | ||
| Border: You will now create a border of hdc all the way around the pan protector which creates a beautiful finish!Ch 1, hdc your way all the way around the pan protector making 2 hdc at the end of every dc row of the length of the wings, 1 hdc at the end of ever hdc row of the length of the wings, 1 hdc at the bottom of the “V” in between each of the wings, and 3 hdc in each of the two corners of the last row of the wings (top outside corners). After you’ve made your way around the border, fasten off and weave in ends. Finally give your pan protector a quick spritz or steam block to help it lay perfectly flat. If you’ve never blocked an item before, you can learn all about how to do it in my tutorial here. | ||

Size Medium (14″)
NOTES:
- The center of the pan protector is worked in joined rounds. Then, we will switch to turning rows to create the 6 wings.
- The ch 2 at the beginning or end of each round or row never counts as a stitch
| Make a magic circle and ch 2 (doesn’t count as a st) | ||
| Rnd 1: | st 12 dc into the mc, sl st to first st to join, ch 2 | PH 01 | [12] |
| Rnd 2: | 2 dc in each st around, sl st to first st to join, ch 2 | PH 02 | [24] |
| Rnd 3: | (1 dc in next st, 2 dc in next st) x6, sl st to first st to join, ch 2 | PH 03 | [36] |
| Rnd 4: | (1 dc in next 2 st, 2 dc in next st) x6, sl st to first st to join, ch 2 | PH 04 | [48] |
| Rnd 5: | (1 dc in next 3 st, 2 dc in next st) x6, sl st to first st to join | PH 05 | [60] |
| Wings: You will now split Rnd 5 to create 6 wings. Picking up where you left off: | ||
| Row 1 (RS): | ch 2, dc in next 10 st, turn | PH 06 | [10] |
| Row 2 (WS): | ch 1, hdc in each st across, turn | PH 07 | [10] |
| Row 3: | ch 2, dc in each st across, turn | [10] |
| Row 4-9: | repeat rows 2 & 3. Row 9 will be a row of dc | PH 08 | [10] |
| Fasten off. Rejoin yarn in next available st along Rnd 5 (PH 09) and repeat Row 1-9, 5 more times until all 6 wings are complete (PH 12) – do not fasten off after the last wing is complete, but instead move forward to create the border as follows. | ||
| Border: You will now create a border of hdc all the way around the pan protector which creates a beautiful finish!Ch 1, hdc your way all the way around the pan protector making 2 hdc at the end of every dc row of the length of the wings, 1 hdc at the end of ever hdc row of the length of the wings, 1 hdc at the bottom of the “V” in between each of the wings, and 3 hdc in each of the two corners of the last row of the wings (top outside corners) – PH 13. After you’ve made your way around the border, fasten off and weave in ends. Finally give your pan protector a quick spritz or steam block to help it lay perfectly flat. If you’ve never blocked an item before, you can learn all about how to do it in my tutorial here. | ||
Size Large (17″)
NOTES:
- The center of the pan protector is worked in joined rounds. Then, we will switch to turning rows to create the 6 wings.
- The ch 2 at the beginning or end of each round or row never counts as a stitch
| Make a magic circle and ch 2 (doesn’t count as a st) | ||
| Rnd 1: | st 12 dc into the mc, sl st to first st to join, ch 2 | PH 01 | [12] |
| Rnd 2: | 2 dc in each st around, sl st to first st to join, ch 2 | PH 02 | [24] |
| Rnd 3: | (1 dc in next st, 2 dc in next st) x6, sl st to first st to join, ch 2 | PH 03 | [36] |
| Rnd 4: | (1 dc in next 2 st, 2 dc in next st) x6, sl st to first st to join, ch 2 | PH 04 | [48] |
| Rnd 5: | (1 dc in next 3 st, 2 dc in next st) x6, sl st to first st to join, ch 2 | PH 05 | [60] |
| Rnd 6: | (1 dc in next 4 st, 2 dc in next st) x6, sl st to first st to join | [72] |
| Wings: You will now split Rnd 6 to create 6 wings. Picking up where you left off: | ||
| Row 1 (RS): | ch 2, dc in next 12 st, turn | [12] |
| Row 2 (WS): | ch 1, hdc in each st across, turn | [12] |
| Row 3: | ch 2, dc in each st across, turn | [12] |
| Row 4-11: | repeat rows 2 & 3. Row 11 will be a row of dc | [12] |
| Fasten off. Rejoin yarn in next available st along Rnd 6 and repeat Row 1-11, 5 more times until all 6 wings are complete – do not fasten off after the last wing is complete, but instead move forward to create the border as follows. | ||
| Border: You will now create a border of hdc all the way around the pan protector which creates a beautiful finish!Ch 1, hdc your way all the way around the pan protector making 2 hdc at the end of every dc row of the length of the wings, 1 hdc at the end of ever hdc row of the length of the wings, 1 hdc at the bottom of the “V” in between each of the wings, and 3 hdc in each of the two corners of the last row of the wings (top outside corners). After you’ve made your way around the border, fasten off and weave in ends. Finally give your pan protector a quick spritz or steam block to help it lay perfectly flat. If you’ve never blocked an item before, you can learn all about how to do it in my tutorial here. | ||

X-Large (21″)
NOTES:
- The center of the pan protector is worked in joined rounds. Then, we will switch to turning rows to create the 6 wings.
- The ch 2 at the beginning or end of each round or row never counts as a stitch
| Make a magic circle and ch 2 (doesn’t count as a st) | ||
| Rnd 1: | st 12 dc into the mc, sl st to first st to join, ch 2 | PH 01 | [12] |
| Rnd 2: | 2 dc in each st around, sl st to first st to join, ch 2 | PH 02 | [24] |
| Rnd 3: | (1 dc in next st, 2 dc in next st) x6, sl st to first st to join, ch 2 | PH 03 | [36] |
| Rnd 4: | (1 dc in next 2 st, 2 dc in next st) x6, sl st to first st to join, ch 2 | PH 04 | [48] |
| Rnd 5: | (1 dc in next 3 st, 2 dc in next st) x6, sl st to first st to join, ch 2 | PH 05 | [60] |
| Rnd 6: | (1 dc in next 4 st, 2 dc in next st) x6, sl st to first st to join, ch 2 | [72] |
| Rnd 7: | (1 dc in next 5 st, 2 dc in next st) x6, sl st to first st to join | [84] |
| Wings: You will now split Rnd 7 to create 6 wings. Picking up where you left off: | ||
| Row 1 (RS): | ch 2, dc in next 14 st, turn | [14] |
| Row 2 (WS): | ch 1, hdc in each st across, turn | [14] |
| Row 3: | ch 2, dc in each st across, turn | [14] |
| Row 4-13: | repeat rows 2 & 3. Row 13 will be a row of dc | [14] |
| Fasten off. Rejoin yarn in next available st along Rnd 7 and repeat Row 1-13, 5 more times until all 6 wings are complete – do not fasten off after the last wing is complete, but instead move forward to create the border as follows. | ||
| Border: You will now create a border of hdc all the way around the pan protector which creates a beautiful finish!Ch 1, hdc your way all the way around the pan protector making 2 hdc at the end of every dc row of the length of the wings, 1 hdc at the end of ever hdc row of the length of the wings, 1 hdc at the bottom of the “V” in between each of the wings, and 3 hdc in each of the two corners of the last row of the wings (top outside corners). After you’ve made your way around the border, fasten off and weave in ends. Finally give your pan protector a quick spritz or steam block to help it lay perfectly flat. If you’ve never blocked an item before, you can learn all about how to do it in my tutorial here. | ||
Show Off Your Work! ✨
I love crochet projects that are both cute and useful, and these crochet pan protectors definitely check both boxes. They’re quick, practical, satisfying to make, and they help keep your cookware protected at the same time.
If you make this crochet pan separator pattern, I’d love to see your version! Be sure to tag me on social media @offthebeatenhook or use the hashtag #offthebeatenhook so I can admire your makes. ❤️
🔗 Other House & Home Patterns To Check Out:
- Abundance Apron Crochet Pattern
- Timberline Chunky Blanket Crochet Pattern
- Teardrop Hanging Baskets Crochet Pattern
- Crochet Mop Covers Pattern
SOCIAL MEDIA YOUR THING?
Connect with me on your favorite social network!
Pin the Crochet Pan Protectors Pattern Here:

Leave a Reply