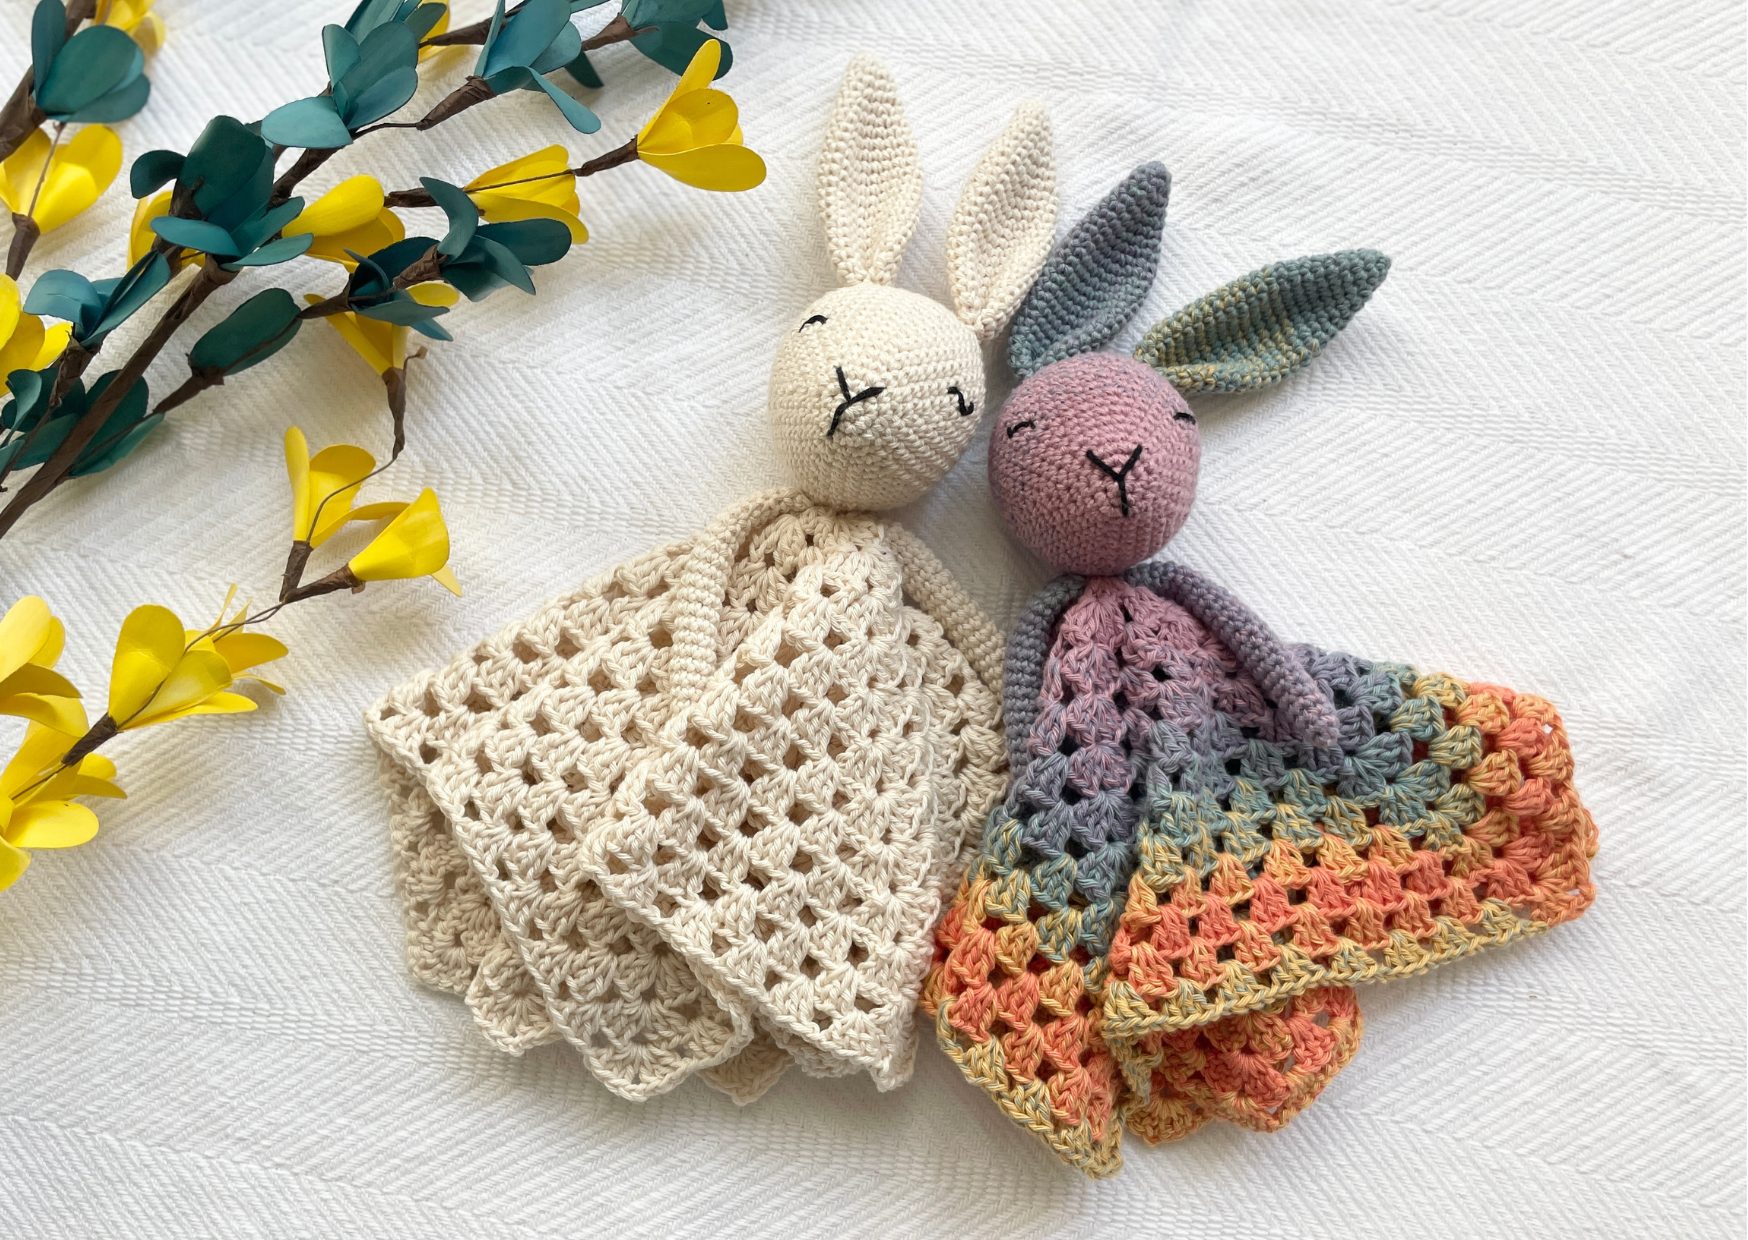
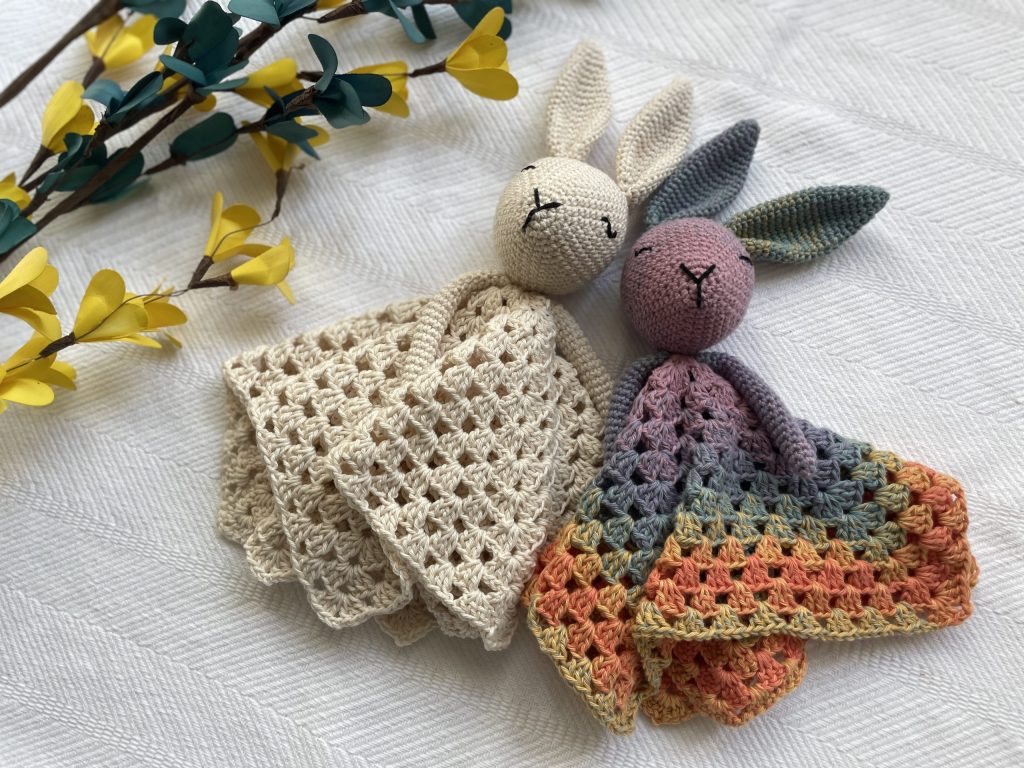
If you’re looking for the perfect baby shower gift, nursery accessory, or cuddly handmade comfort toy, this bunny lovey crochet pattern is the sweetest project to add to your hook list! This soft and snuggly crochet bunny lovey combines an adorable bunny head with a lightweight comfort blanket, making it perfect for little hands to hold and love.
Whether you’re making a thoughtful handmade gift or adding a new favorite to your market prep lineup, this beginner-friendly crochet bunny lovey pattern works up beautifully and creates an heirloom-style keepsake that babies and toddlers will treasure for years.
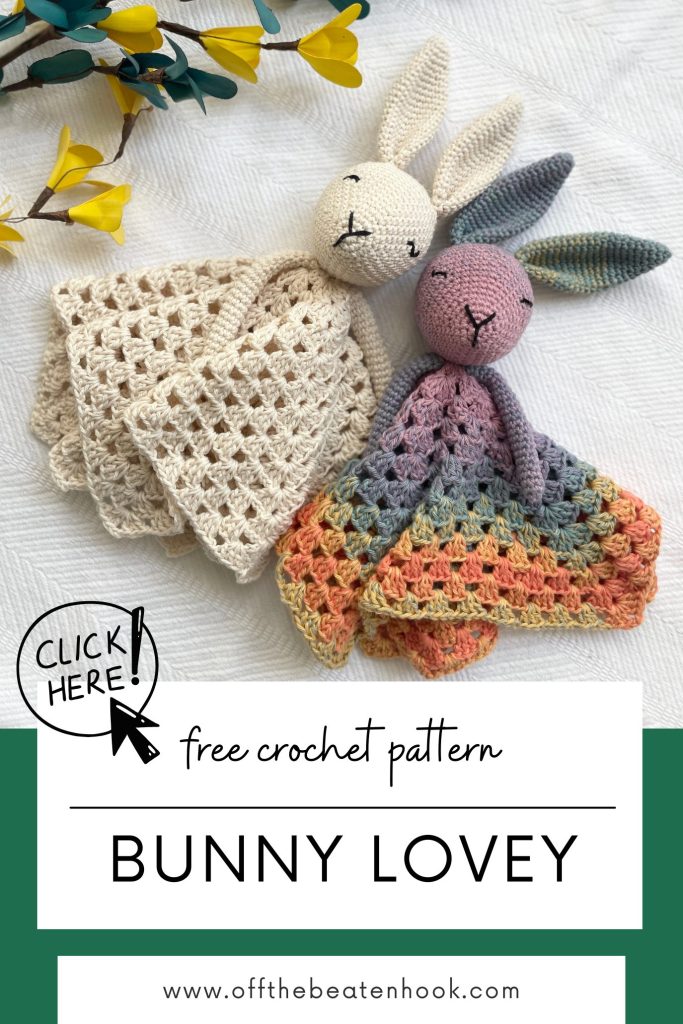
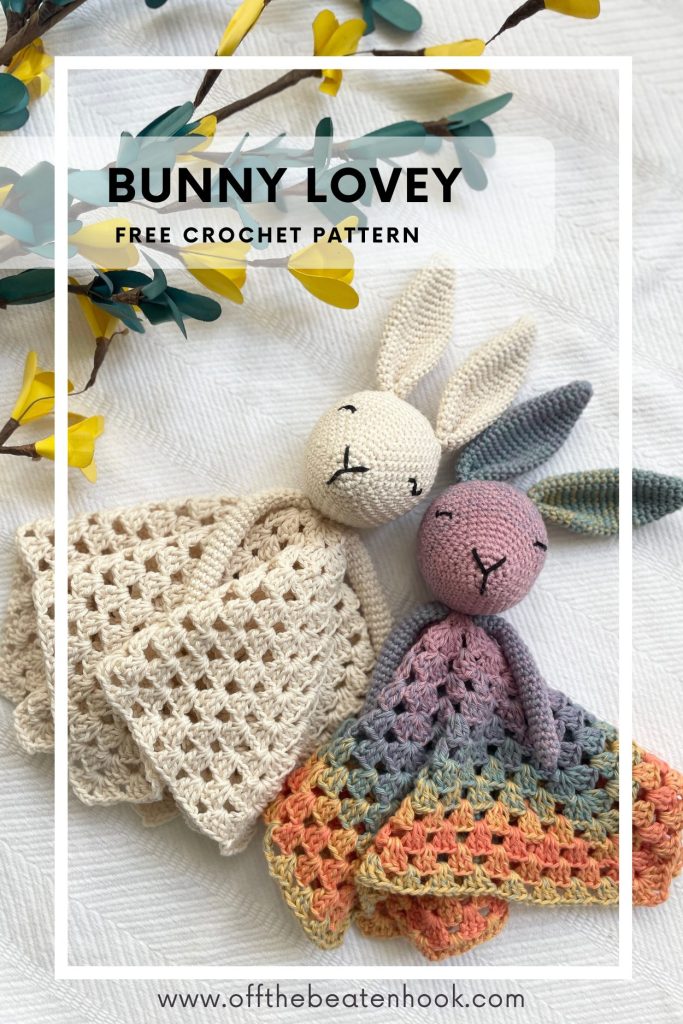
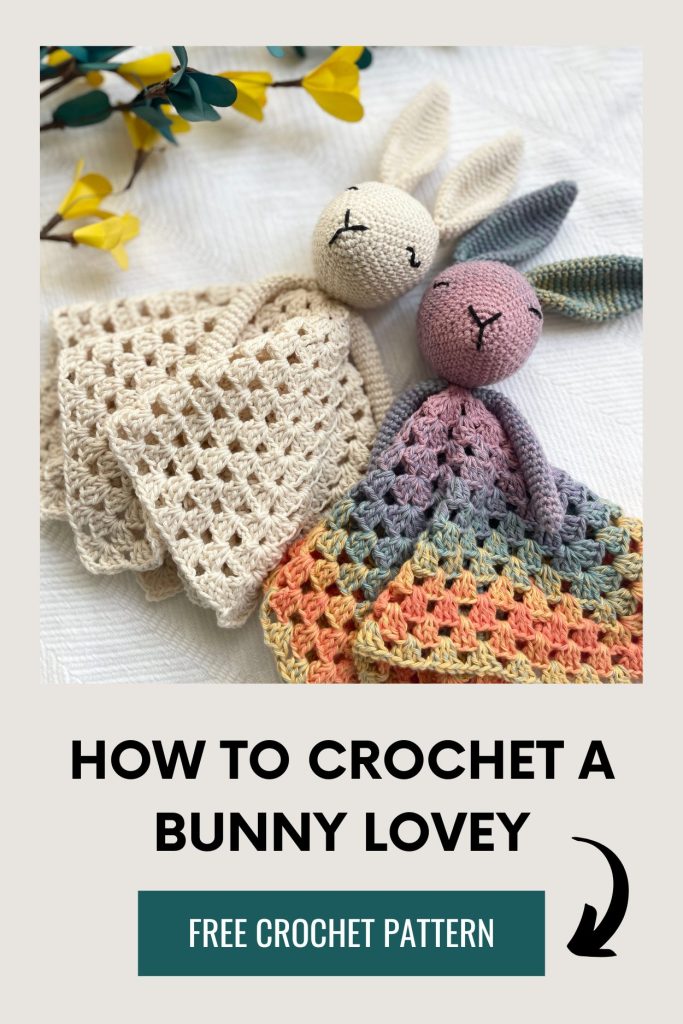
Jump into the bunny lovey crochet pattern now, or pin it for later here!
LOVE COLLECTING Patterns?
If you love collecting crochet patterns, you might enjoy my Fiber Love Club — it gives you lifetime access to every pattern I’ve ever designed (plus all future releases).
Instead of buying patterns one by one, unlock the full pattern vault forever in one simple payment.
Why You’ll Love This Bunny Lovey Crochet Pattern
- Beginner-friendly construction
- Soft, cuddly, and lightweight
- Makes an adorable baby shower gift
- Easy to customize with different yarn colors
- Works up quickly for gifting or selling
- Perfect balance between plushie and blanket
This bunny lovey crochet pattern is designed to be simple, relaxing, and enjoyable to make while still creating a polished finished project.
Bunny Lovey Crochet Pattern Video Tutorial Help
The bunny head, ears and arms are very basic amigurumi technique so I didn’t make a video tutorial for that part. However, if making a hexagon is new to you, watch the first 10 minutes of my Hexagon Cardigan pattern tutorial which will show you how! Click here or copy/paste this link into a new tab: https://youtu.be/NA0G1yQCFQ4).
This crochet pattern is reader supported by ads on my blog. If you’d rather print the pattern for some cozy couch crocheting, you can find the ad-free, printable PDF in my shop here or on Ravelry here.

🌿 Eco-Friendly Crafting
What makes this crochet pattern eco-friendly and sustainable?
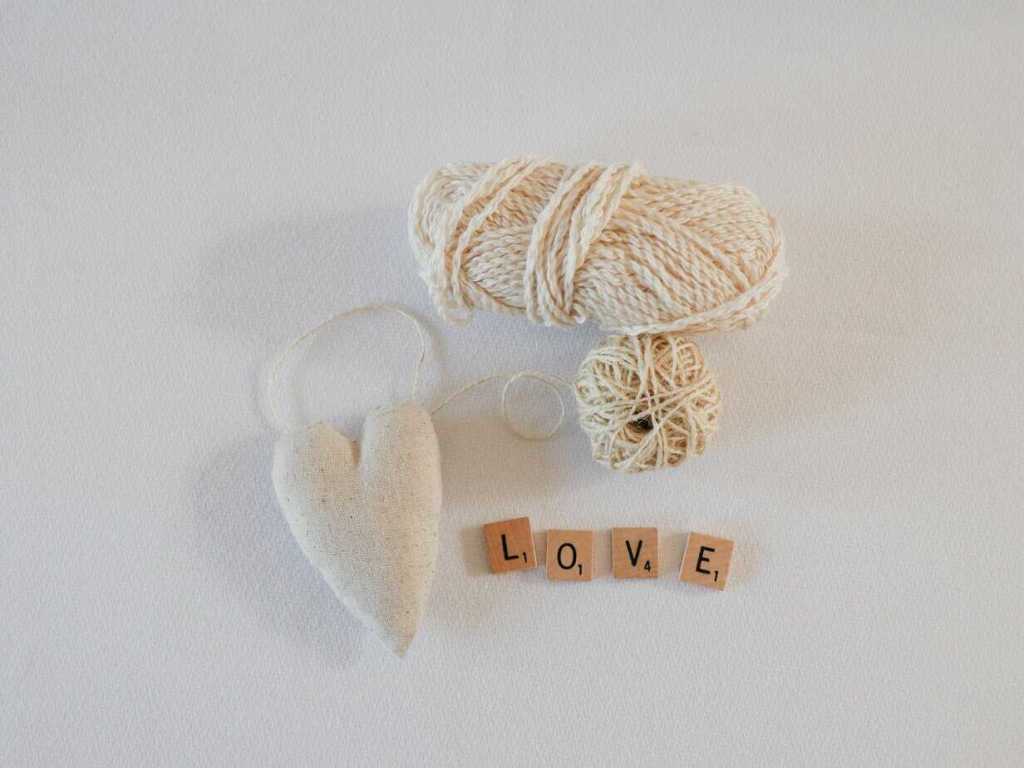
THE YARN: I use only sustainable and eco-friendly yarn that has been ethically grown/raised and processed, putting the people and the planet first. This is why I chose 100% natural yarn for this pattern.
HANDMADE FOR LONGEVITY: Creating your own gifts and kids’ toys promotes mindful consumption. This durable, handmade bunny lovey reduces the need for mass-produced alternatives.
THE SLOW YARN MOVEMENT: I’m participating in the Slow Yarn Movement. There’s far too much to talk about here, but please take a few minutes to learn about what this means by reading the article I wrote about the Slow Yarn Movement as part of my 6-part Sustainable Crochet Series.
If you’re interested in learning more about sustainable crochet you can read all about it in the 6-part series I wrote covering everything about Sustainable Crochet and how to implement it into your own crafting starting today!
Materials you will need for this bunny lovey crochet pattern
Yarn
I choose 100% cotton yarn when I’m making crochet gifts for kids. Cotton is hypo-allergenic making it perfect for sensitive tiny baby skin. Also, it is washable and extremely durable!
COLORFUL BUNNY – RICORUMI SPIN SPIN DK:
- Yarn specs: 100% Cotton | Weight 3/DK
- Color: Earthy Rainbow x3 | you’ll need 375 yds (120 g)
NEUTRAL BUNNY – PAINTBOX YARNS COTTON DK
- Yarn specs: 100% Cotton | Weight 3/DK
- Color: Vanilla Cream | you’ll need 375 yds (120 g)
Crochet Hooks needed
Additional Supplies Needed
- OPTIONAL: Safety Eyes: 6.00 mm (SERIOUSLY, these are the ones with the backs that are easier to put on!)
- Tapestry Needle (bent tips make all the difference!)
- Stitch Markers
- Scissors
- Stuffing
Learn how to make a hexagon blanket here:
Sizing
Height: 13″ | Blanket: 16″ point to point
Gauge
Gauge & Stitch Multiple: N/A
Abbreviations used in the bunny lovey crochet pattern
This pattern is written in English, using US terms. If needed, you can find a handy term conversion chart right here in my Resource Library.
ch – chain
st – stitch
hk – hook
sk – skip
mc – magic circle/magic ring
sl st – slip stitch
sc – single crochet
dc – double crochet
inc – increase
dec – decrease
rep – repeat
(…) x – repeat instructions indicated number of times
[…] – number of stitches in row/round
PH – photo reference number
Skill Level
Advanced Beginner
A great next step after learning the basics. This pattern includes simple stitch combinations, shaping, or light assembly while still being approachable for newer crocheters ready to grow their skills.

FAQ & Terms
Affiliate Links & Ad Support
This post may contain affiliate links. At no extra cost to you, purchases made through these links may earn Off the Beaten Hook a small commission which in no way affects the cost to you. The content on this site is supported by advertisements. By using this site, you agree not to circumvent, block, or tamper with these ads.
Copyright & Intellectual Property
All content on this blog, including free crochet patterns, instructions, charts, photos, videos, and written materials, are the property of Off the Beaten Hook and are protected under copyright and other intellectual property laws. Screenshots or any other method of copying the pattern for offline use or redistribution is prohibited. Sharing patterns in forums, social media groups, or private messages without permission is also prohibited.
Personal Viewing & Use Only
Free patterns published on this site are provided for viewing only on this blog. You may not copy, download, print, take screenshots, or redistribute the pattern in any form (digital or physical) outside this blog. You may not post the pattern or instructions elsewhere online or share it publicly without written consent.
Questions & Permissions
For questions about these permissions or to use or share patterns outside of these rules, please contact Off the Beaten Hook in writing.
Absolutely! You may sell finished items made from Off the Beaten Hook’s patterns, but please credit:
“Pattern by Off the Beaten Hook”
Pattern Support is only available in our Facebook Community group and Video Tutorials. No additional support is provided for modified patterns, alternate yarns, or changes to gauge.

The Bunny Lovey Crochet Pattern
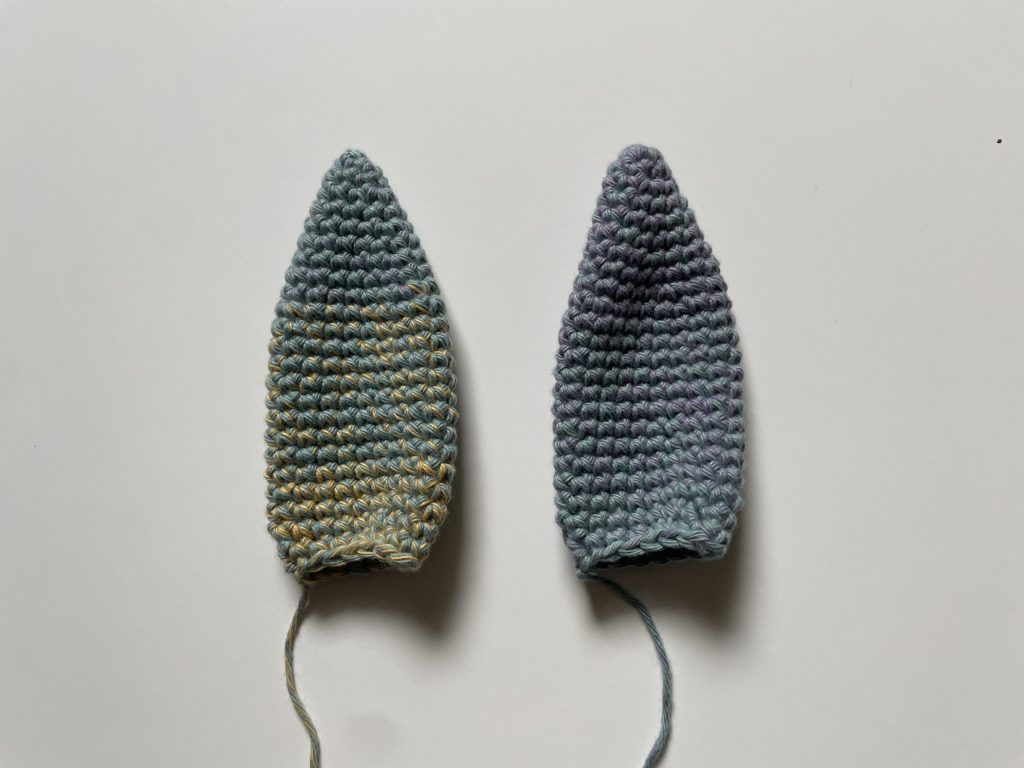
Ears – make 2
NOTES:
- For the bunny (ears, head & arms), use the smaller hook size
- The ears are worked in continuous rounds – do not join after each round
- You will crochet the ears, flatten them, and then sew them on later
Rnd 1: st 6 sc in a mc [6]
Rnd 2: (sc, inc) x3 [9]
Rnd 3: sc around [9]
Rnd 4: (sc 2, inc) x3 [12]
Rnd 5: sc around [12]
Rnd 6: (sc 3, inc) x 3 [15]
Rnd 7: sc around [15]
Rnd 8: (sc 4, inc) x3 [18]
Rnd 9: sc around [18]
Rnd 10: (sc 5, inc) x 3 [21]
Rnd 11-22: sc around [21]
Rnd 23: (sc 5, dec) x3 [18]
Rnd 24: (sc 4, dec) x3 [15]
Sl st to next st to fasten off. Snip leaving a long tail to sew on. Flatten and pinch the ears and sew them closed across the bottom.
Head
NOTE: The head is worked in continuous rounds – do not join after each round
Rnd 1: st 6 sc in a mc [6]
Rnd 2: inc in each st around [12]
Rnd 3: (sc, inc) x6 [18]
Rnd 4: sc around [18]
Rnd 5: (sc 2, inc) x6 [24]
Rnd 6: sc around [24]
Rnd 7: (sc 3, inc) x6 [30]
Rnd 8: sc around [30]
Rnd 9: (sc 4, inc) x6 [36]
Rnd 10: sc around [36]
Rnd 11: (sc 5, inc) x6 [42]
Rnd 12: sc around [42]
Rnd 13: (sc 6, inc) x6 [48]
Rnd 14-18: sc around [48]
Drop the yarn for now, but do not break it. You will now add the facial features and then pick back up where you left off to complete the head.
Add facial features:
NOSE: Using a tapestry needle and the black yarn, embroider the nose by inserting the needle from inside to outside through the magic circle and back to the inside between rounds 3 and 4, repeat twice using the below photo as your guide for the “Y” shape.
EYES: Using black yarn, embroider the eyes over Rnds 10-12 in somewhat of a zig-zag pattern, using the photo below as your guide for the placement. Alternatively, you can use safety eyes. I recommend size 8mm.


Head continued…
Rnd 19: (sc 6, dec) x6 [42]
Rnd 20: (sc 5, dec) x6 [36]
Stuff head.
Rnd 21: (sc 4, dec) x6 [30]
Rnd 22: (sc 3, dec) x6 [24]
Rnd 23: (sc 2, dec) x6 [18]
Rnd 24: (sc, dec) x6 [12]
Stuff one last time.
Rnd 25: dec around [6]
Sl st in the next st and snip, leaving a long tail. Pull the tail through the final 2 loops. Using the yarn end and a tapestry needle, thread the yarn through the front loop only of the remaining 6 stitches and pull tightly to close. Bring the yarn to the inside and back out one of the side walls. Snip cleanly with the surface.
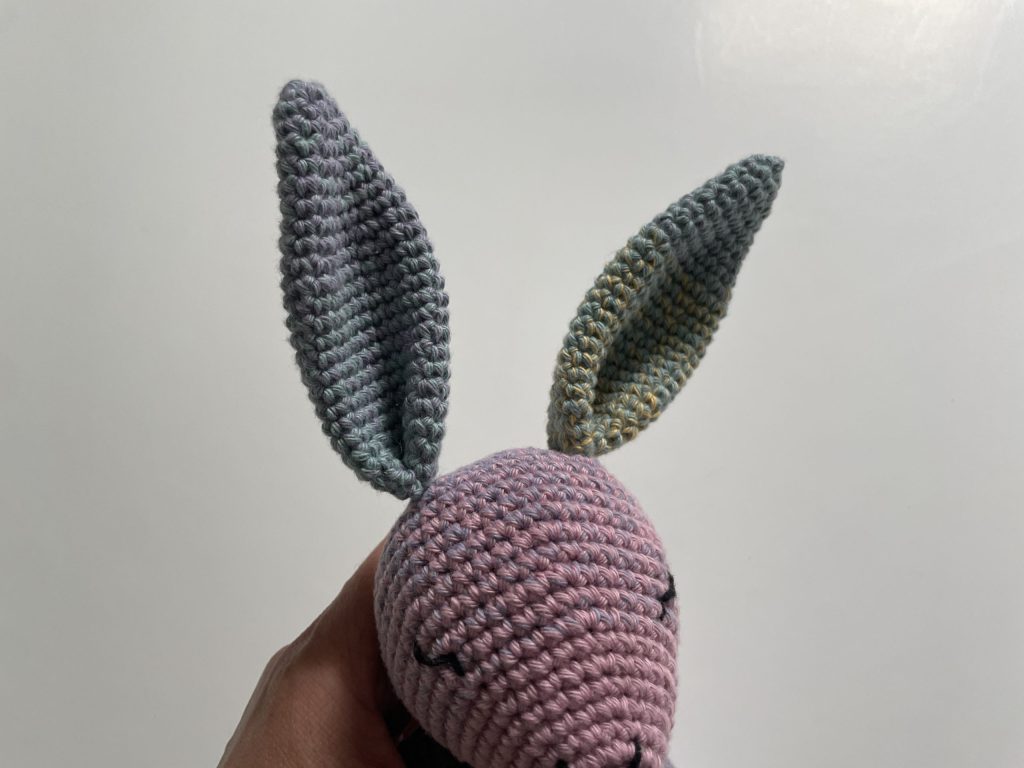
Sew on the ears over rounds 18-20, spaced by about 6 stitches in between them.
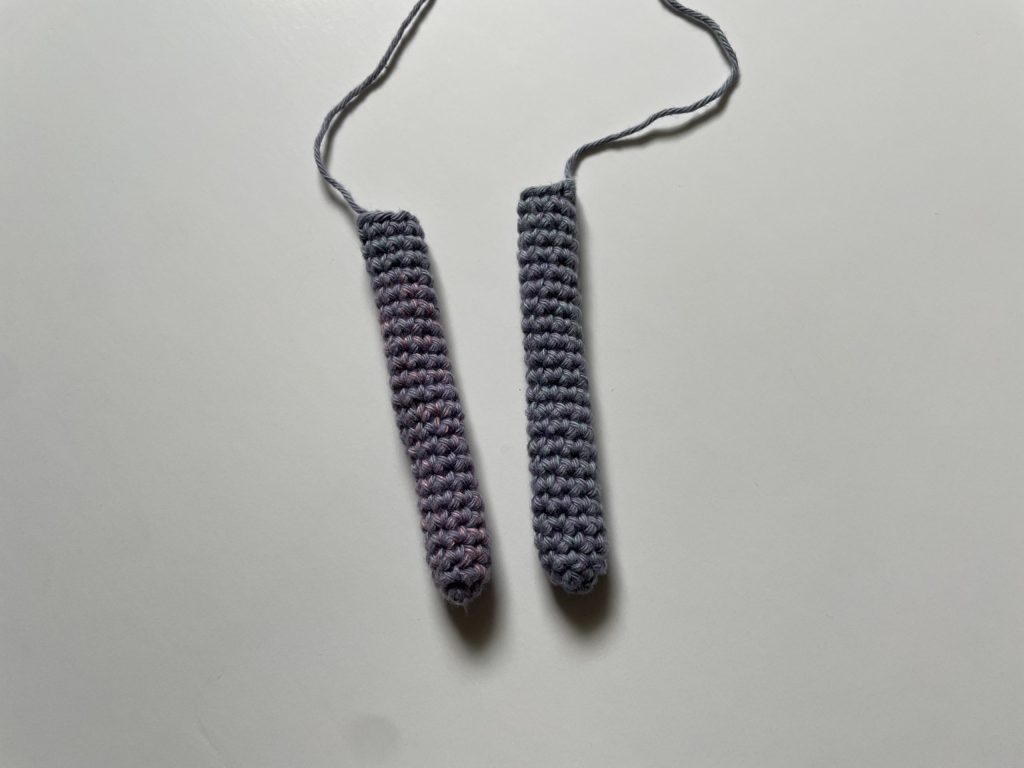
Arms – make 2
Rnd 1: st 4 sc in a mc [4]
Rnd 2: inc in each st around [8]
Rnd 3-24: sc around [8]
Sl st to next st to fasten off. Snip leaving a long tail to sew on. Stuff lightly. Flatten and pinch the arms and sew them closed across the top.
Hexagon Blanket
NOTES:
- Use the larger sized hook
- The hexagon blanket is worked in continuous rounds, joined after each round (do not turn)
- The method below gives instructions on how to transition rounds when using the SAME color. If you are choosing a different color scheme and you want to change colors after a completed row, simply fasten off after joining the round and add your new color into the next ch-2 corner space. You won’t have to start the Rnd with the “3 sl st across to next ch 2 sp”, you’ll simply fasten off and rejoin in the next ch sp.
- You’ll find the hexagon begins to ruffle and remains ruffled the whole time – that is what is supposed to happen – you’re not doing anything wrong!
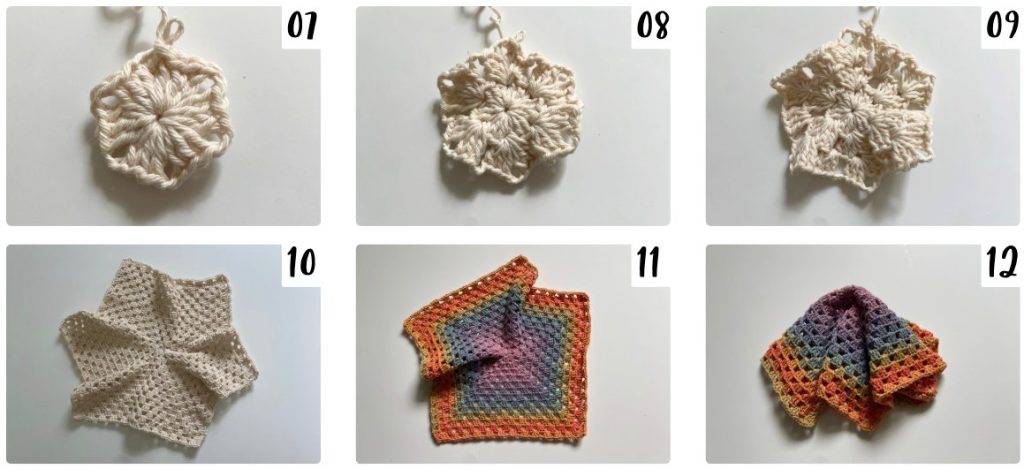
| Rnd 1: | Make a magic circle, ch 3 (counts as your first dc here and throughout), dc 2, ch 1 (first cl made), *cl, ch 1* into mc 5 times, sl st to the top of beg ch-3 to join, close mc | PH 07 | [6 cl] |
| Rnd 2: | 3 sl st across to next ch 1 sp, into ch sp: (ch 3, dc 2, ch 2, cl, ch 1), *into next ch 1 sp: (cl, ch 2, cl), ch 1, rep from *4 more times, sl st to beg ch-3 to join rnd (12 clusters/6 corners made) | PH 08 | [12 cl] |
| Rnd 3: | 3 sl st across to next ch 2 sp, into ch 2 sp: (ch 3, dc 2, ch 2, cl, ch 1), *cl in next ch 1 sp, ch 1, into next ch 2 sp: (cl, ch 2, cl,) ch 1, rep from *4 more times, cl in next ch 1 sp, ch 1, sl st to beg ch 3 to join rnd. | PH 09 | [18 cl] |
| Rnd 4: | 3 sl st across to next ch 2 sp, into ch 2 sp: (ch 3, dc 2, ch 2, cl, ch 1), *(cl, ch 1) in each ch 1 sp across to next ch 2 sp, into ch 2 sp: (cl, ch 2, cl,) ch 1, rep from *4 more times, (cl, ch 1) across to end of rnd, sl st to beg ch 3 to join rnd. | [24 cl] |
| Rnd 5-13: | Repeat Rnd 4 | PH 10-12 (feel free to keep going if you want your blanket bigger! | |
| Fasten off and weave in ends. | ||
Assembly
After you complete the blanket (next page), lay the arms on the center of the blanket and use a long length of yarn to sew them on securely by passing the needle & yarn back and forth from the underside of the blanket to the topside, and then passing through a stitch from the last row of the arm – go back and forth several times until secure. Then, place the head on top of the arms and secure similarly using another length of yarn (or the same one if you still have some left). Fasten off securely.
Show Off Your Work! ✨
I can’t wait to see your adorable bunny loveys! Be sure to tag me on social media @offthebeatenhook or use the hashtag #offthebeatenhook so I can admire your makes. ❤️
🔗 Other Giftable Patterns To Check Out:
SOCIAL MEDIA YOUR THING?
Connect with me on your favorite social network!
Pin this bunny lovey crochet pattern here:
Leave a Reply