Skip to content
Search
Home
Resource Library
Sustainable Crochet
Patterns
Video Tutorials
Printable Guides & Resources
Pattern Roundups
Shop
About
Purpose & Mission
About
Sign Up
Account
Log in
Category:
Animal Patterns
Giant Octopus Crochet Pattern: Free Pattern + Video Tutorial
Crochet Crab Pattern: Free Pattern + Video Tutorial
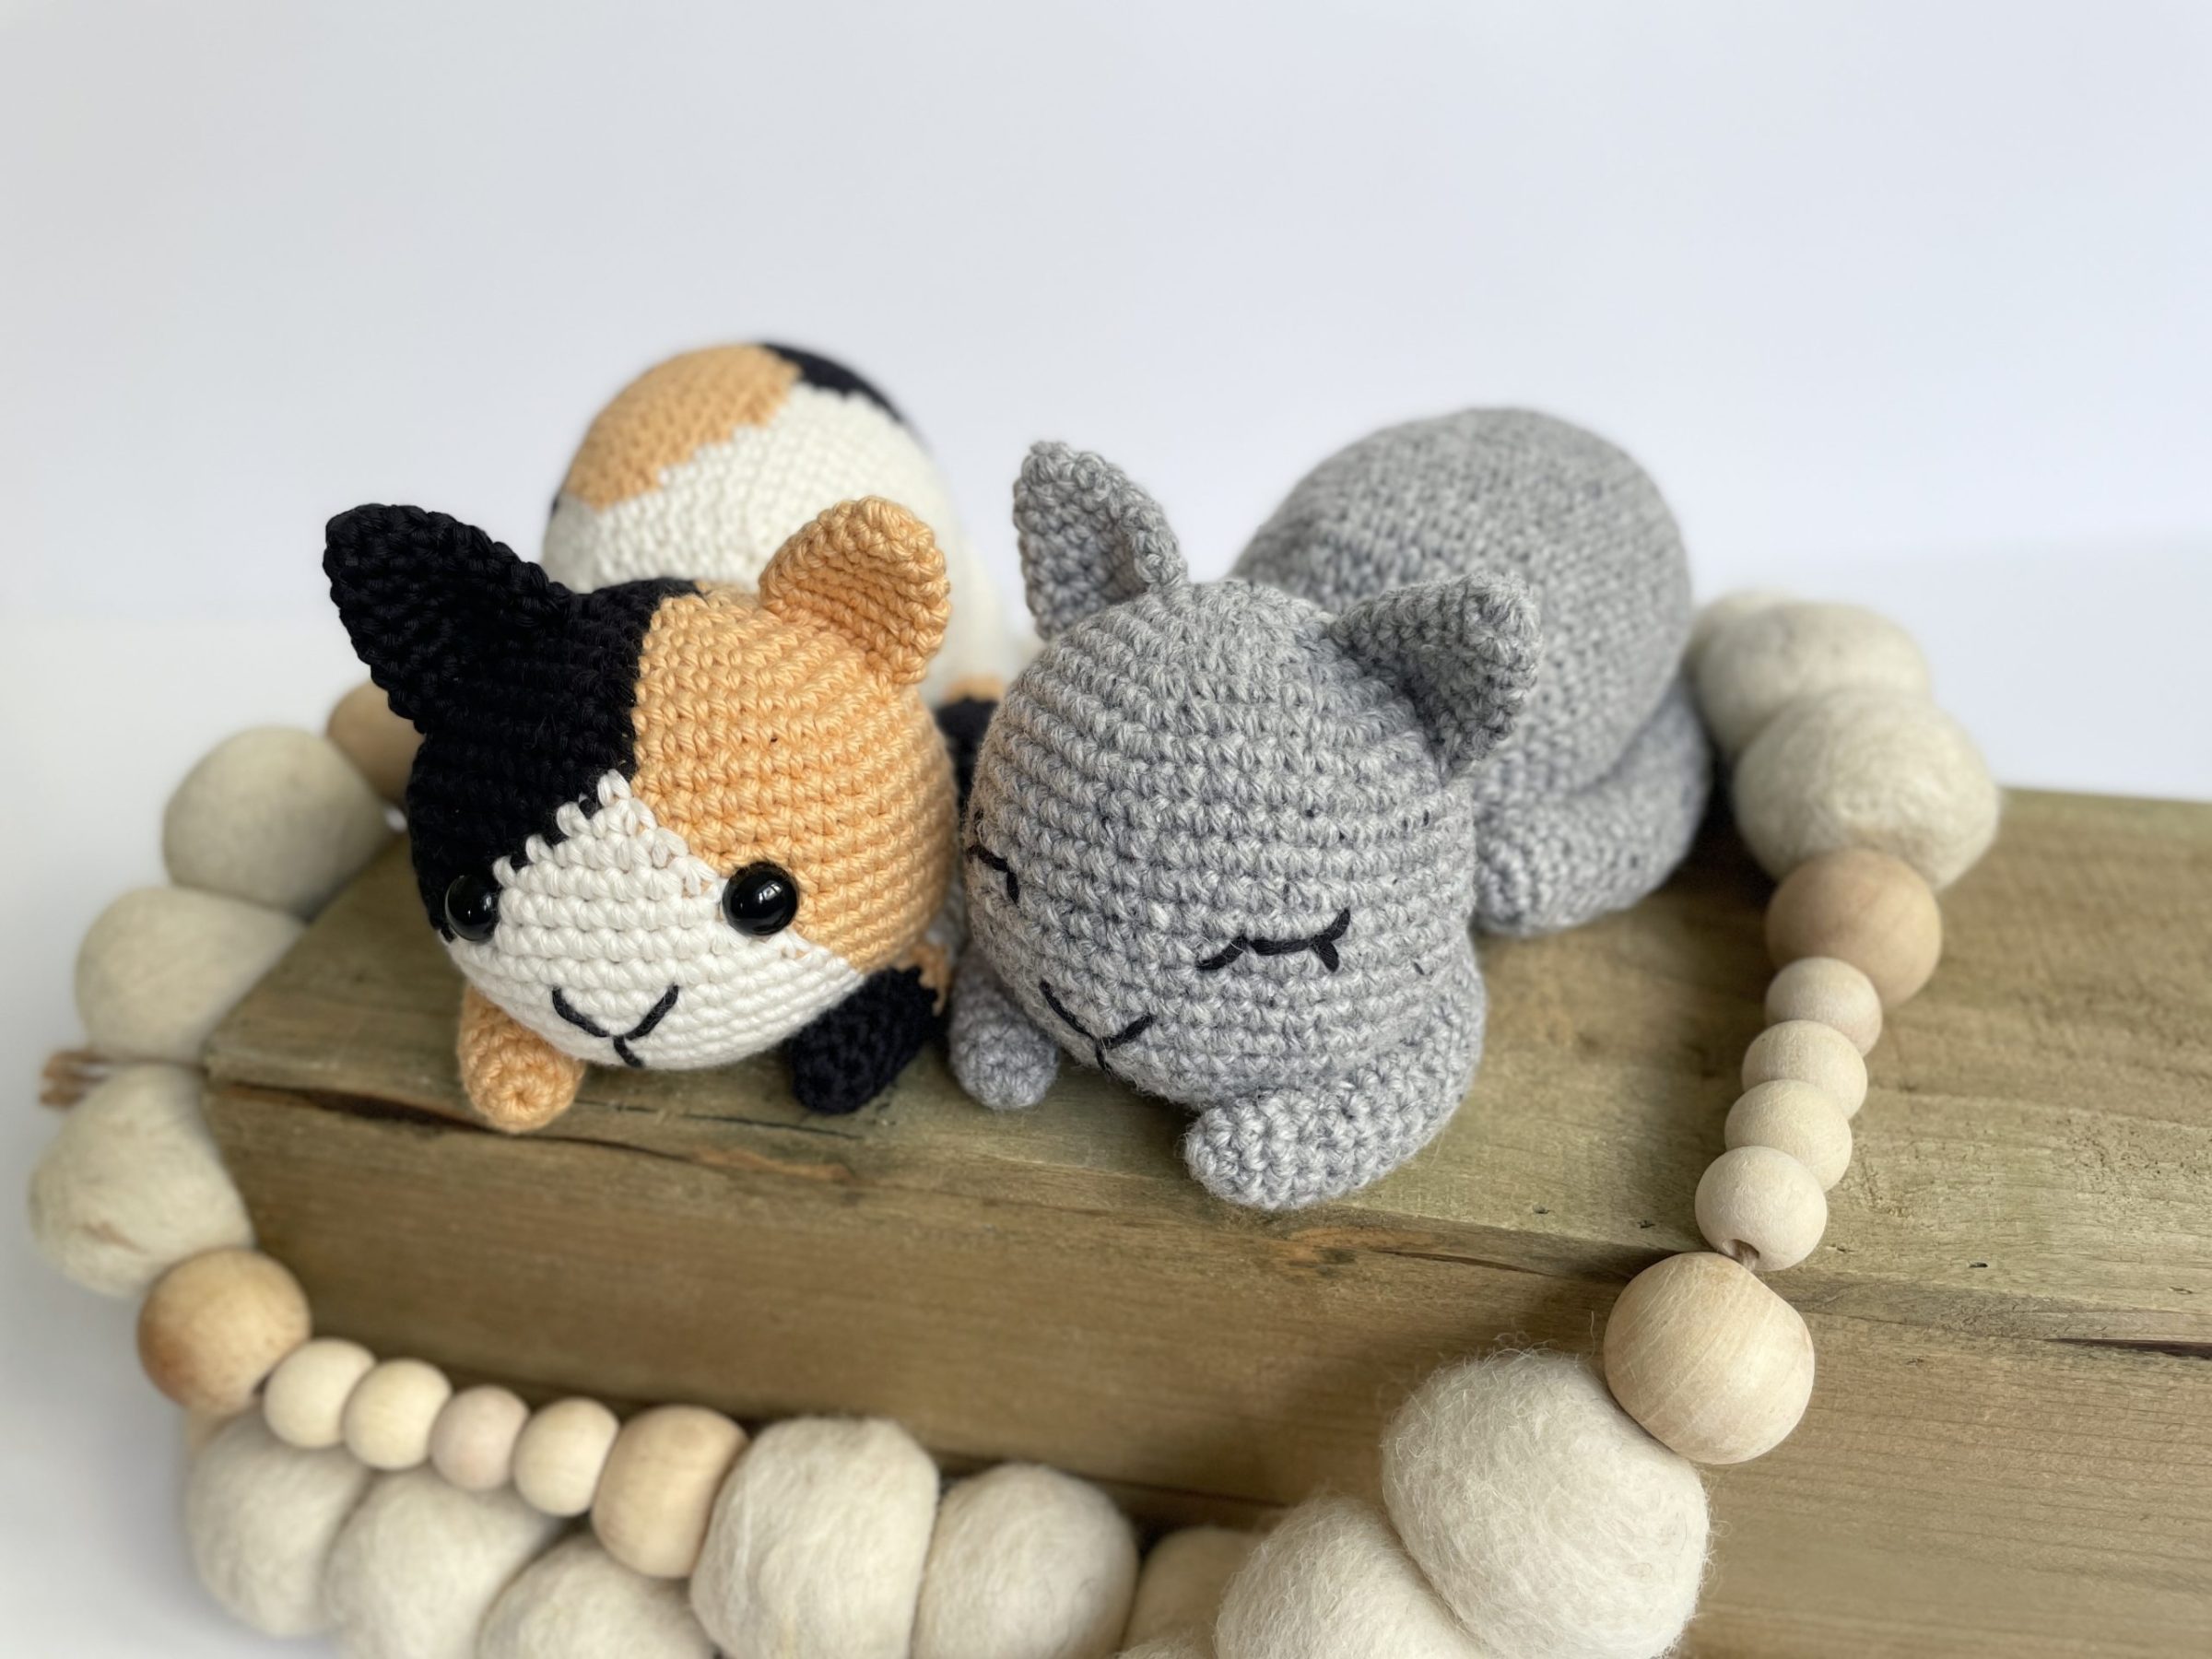
Free Crochet Cat Pattern – Beginner Calico Cat Loaf
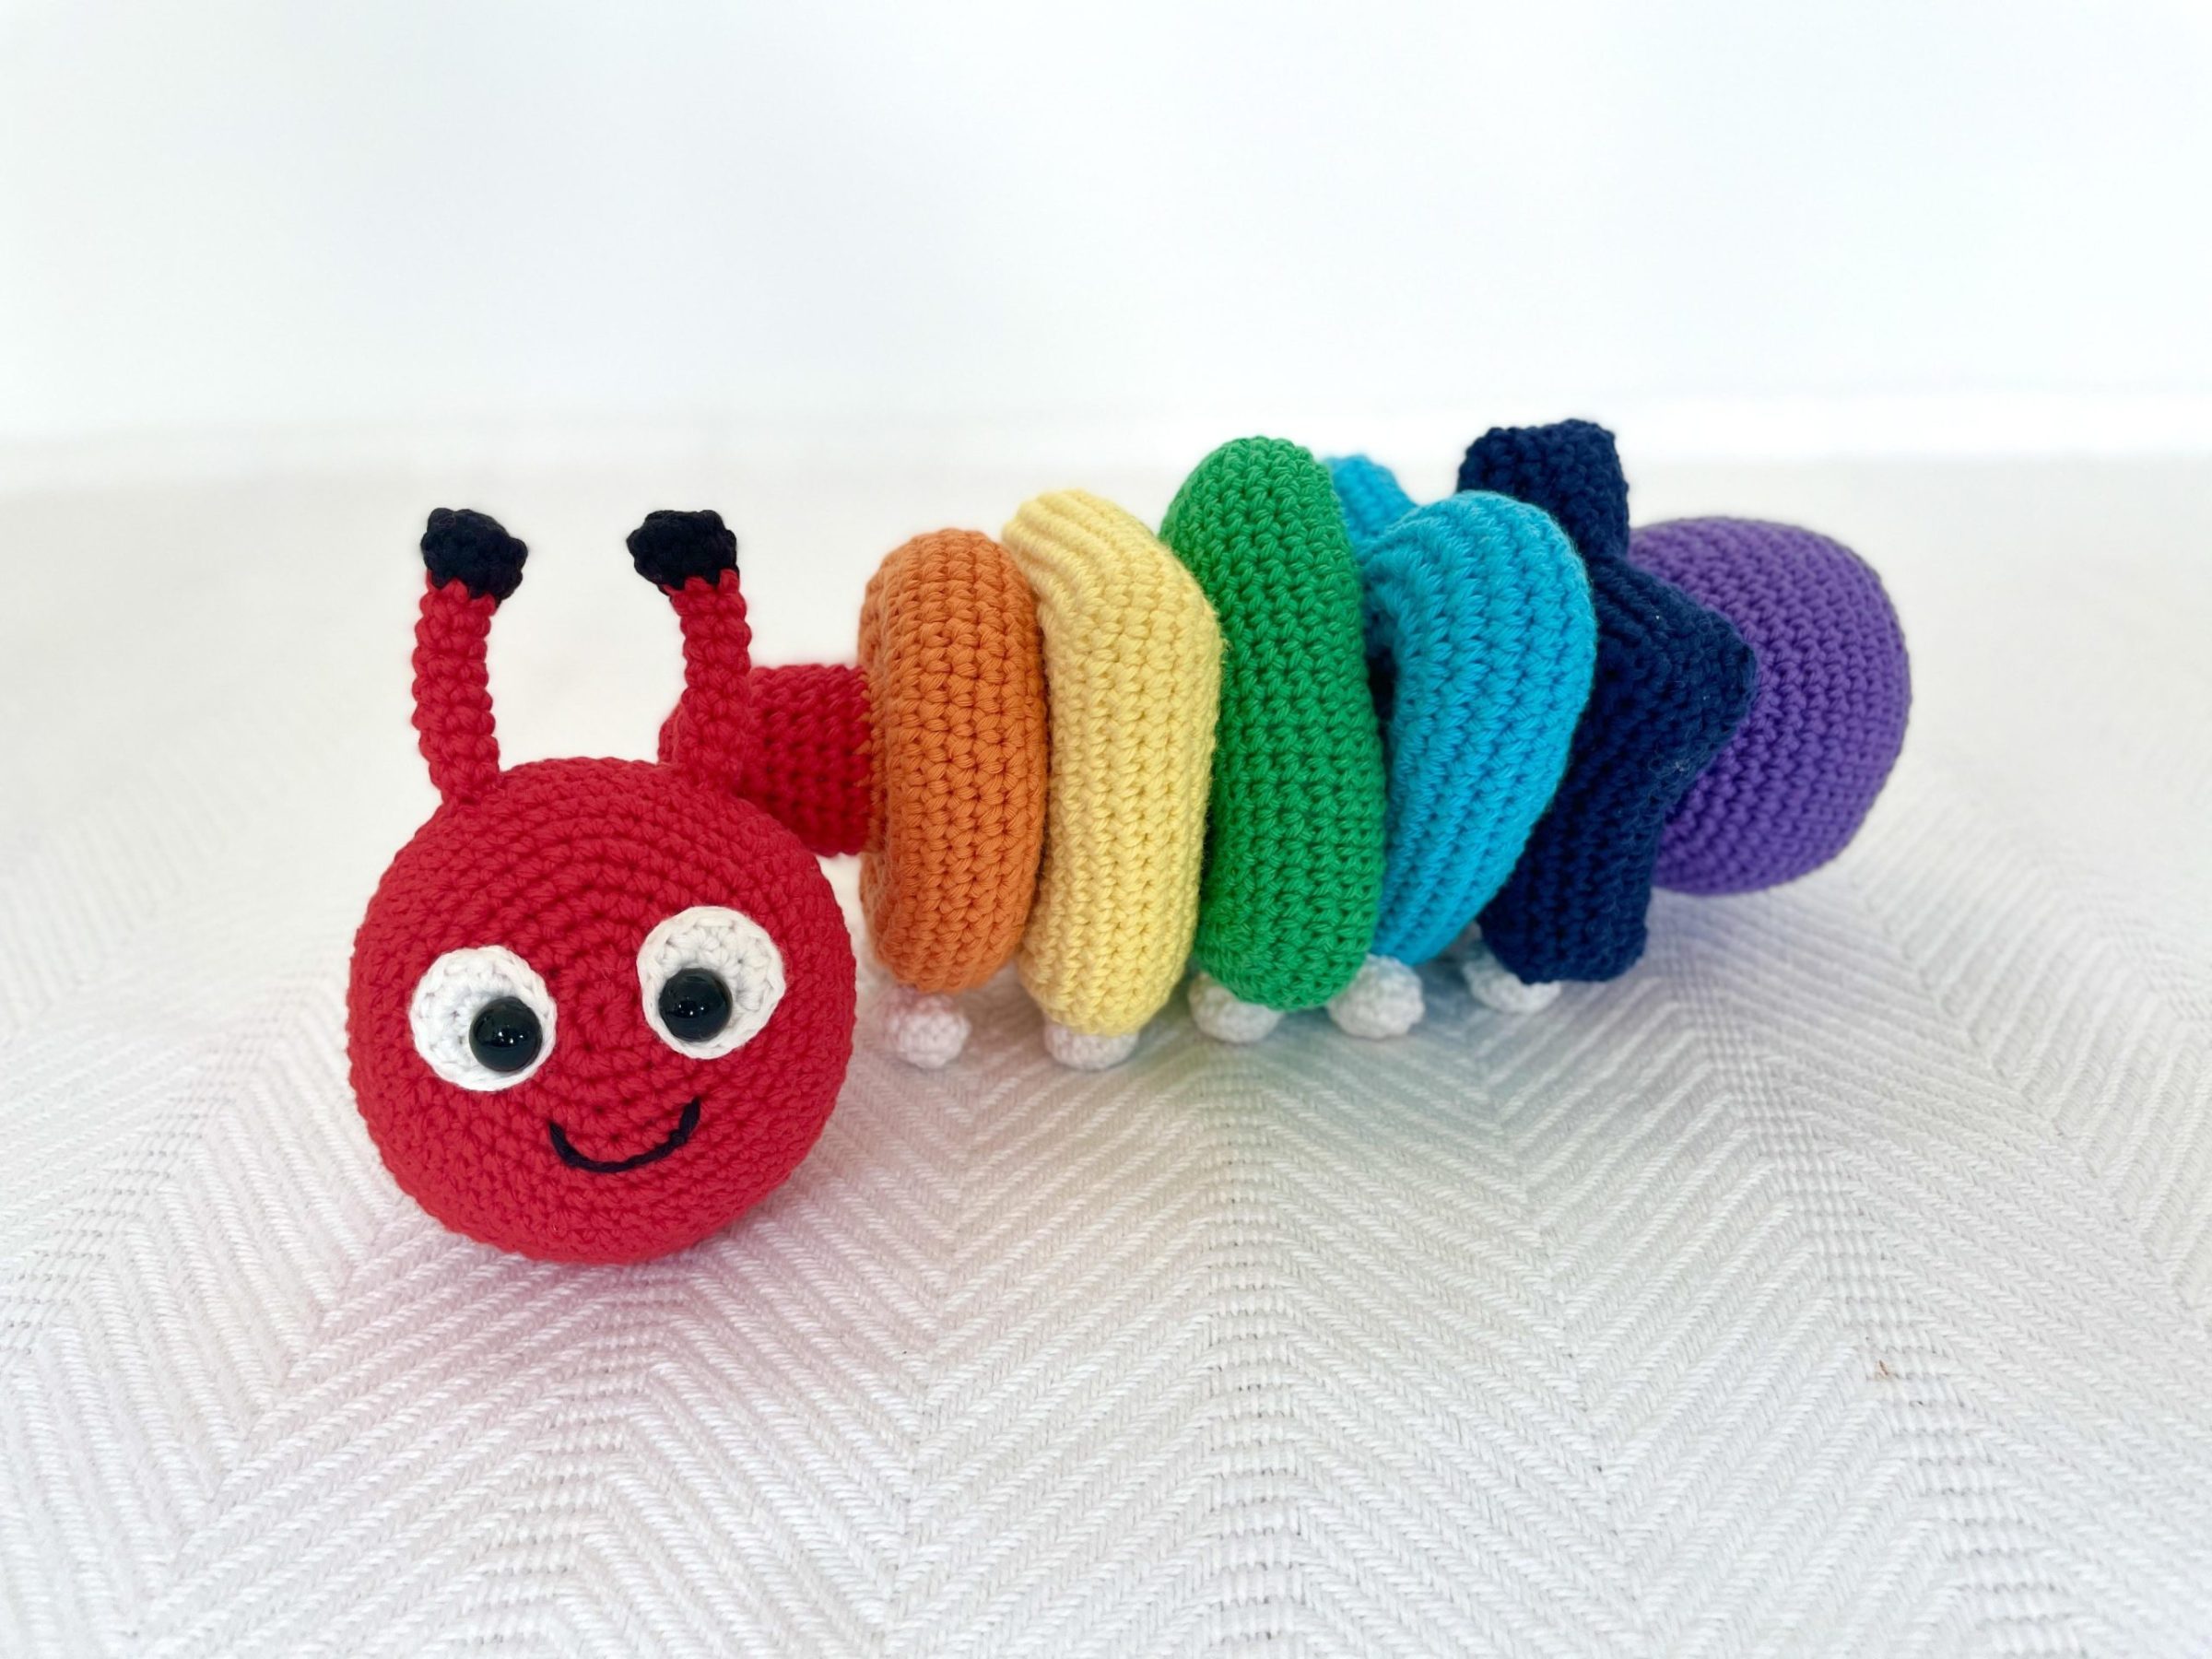
Crochet Stacking Toy: Free Pattern + Video Tutorial
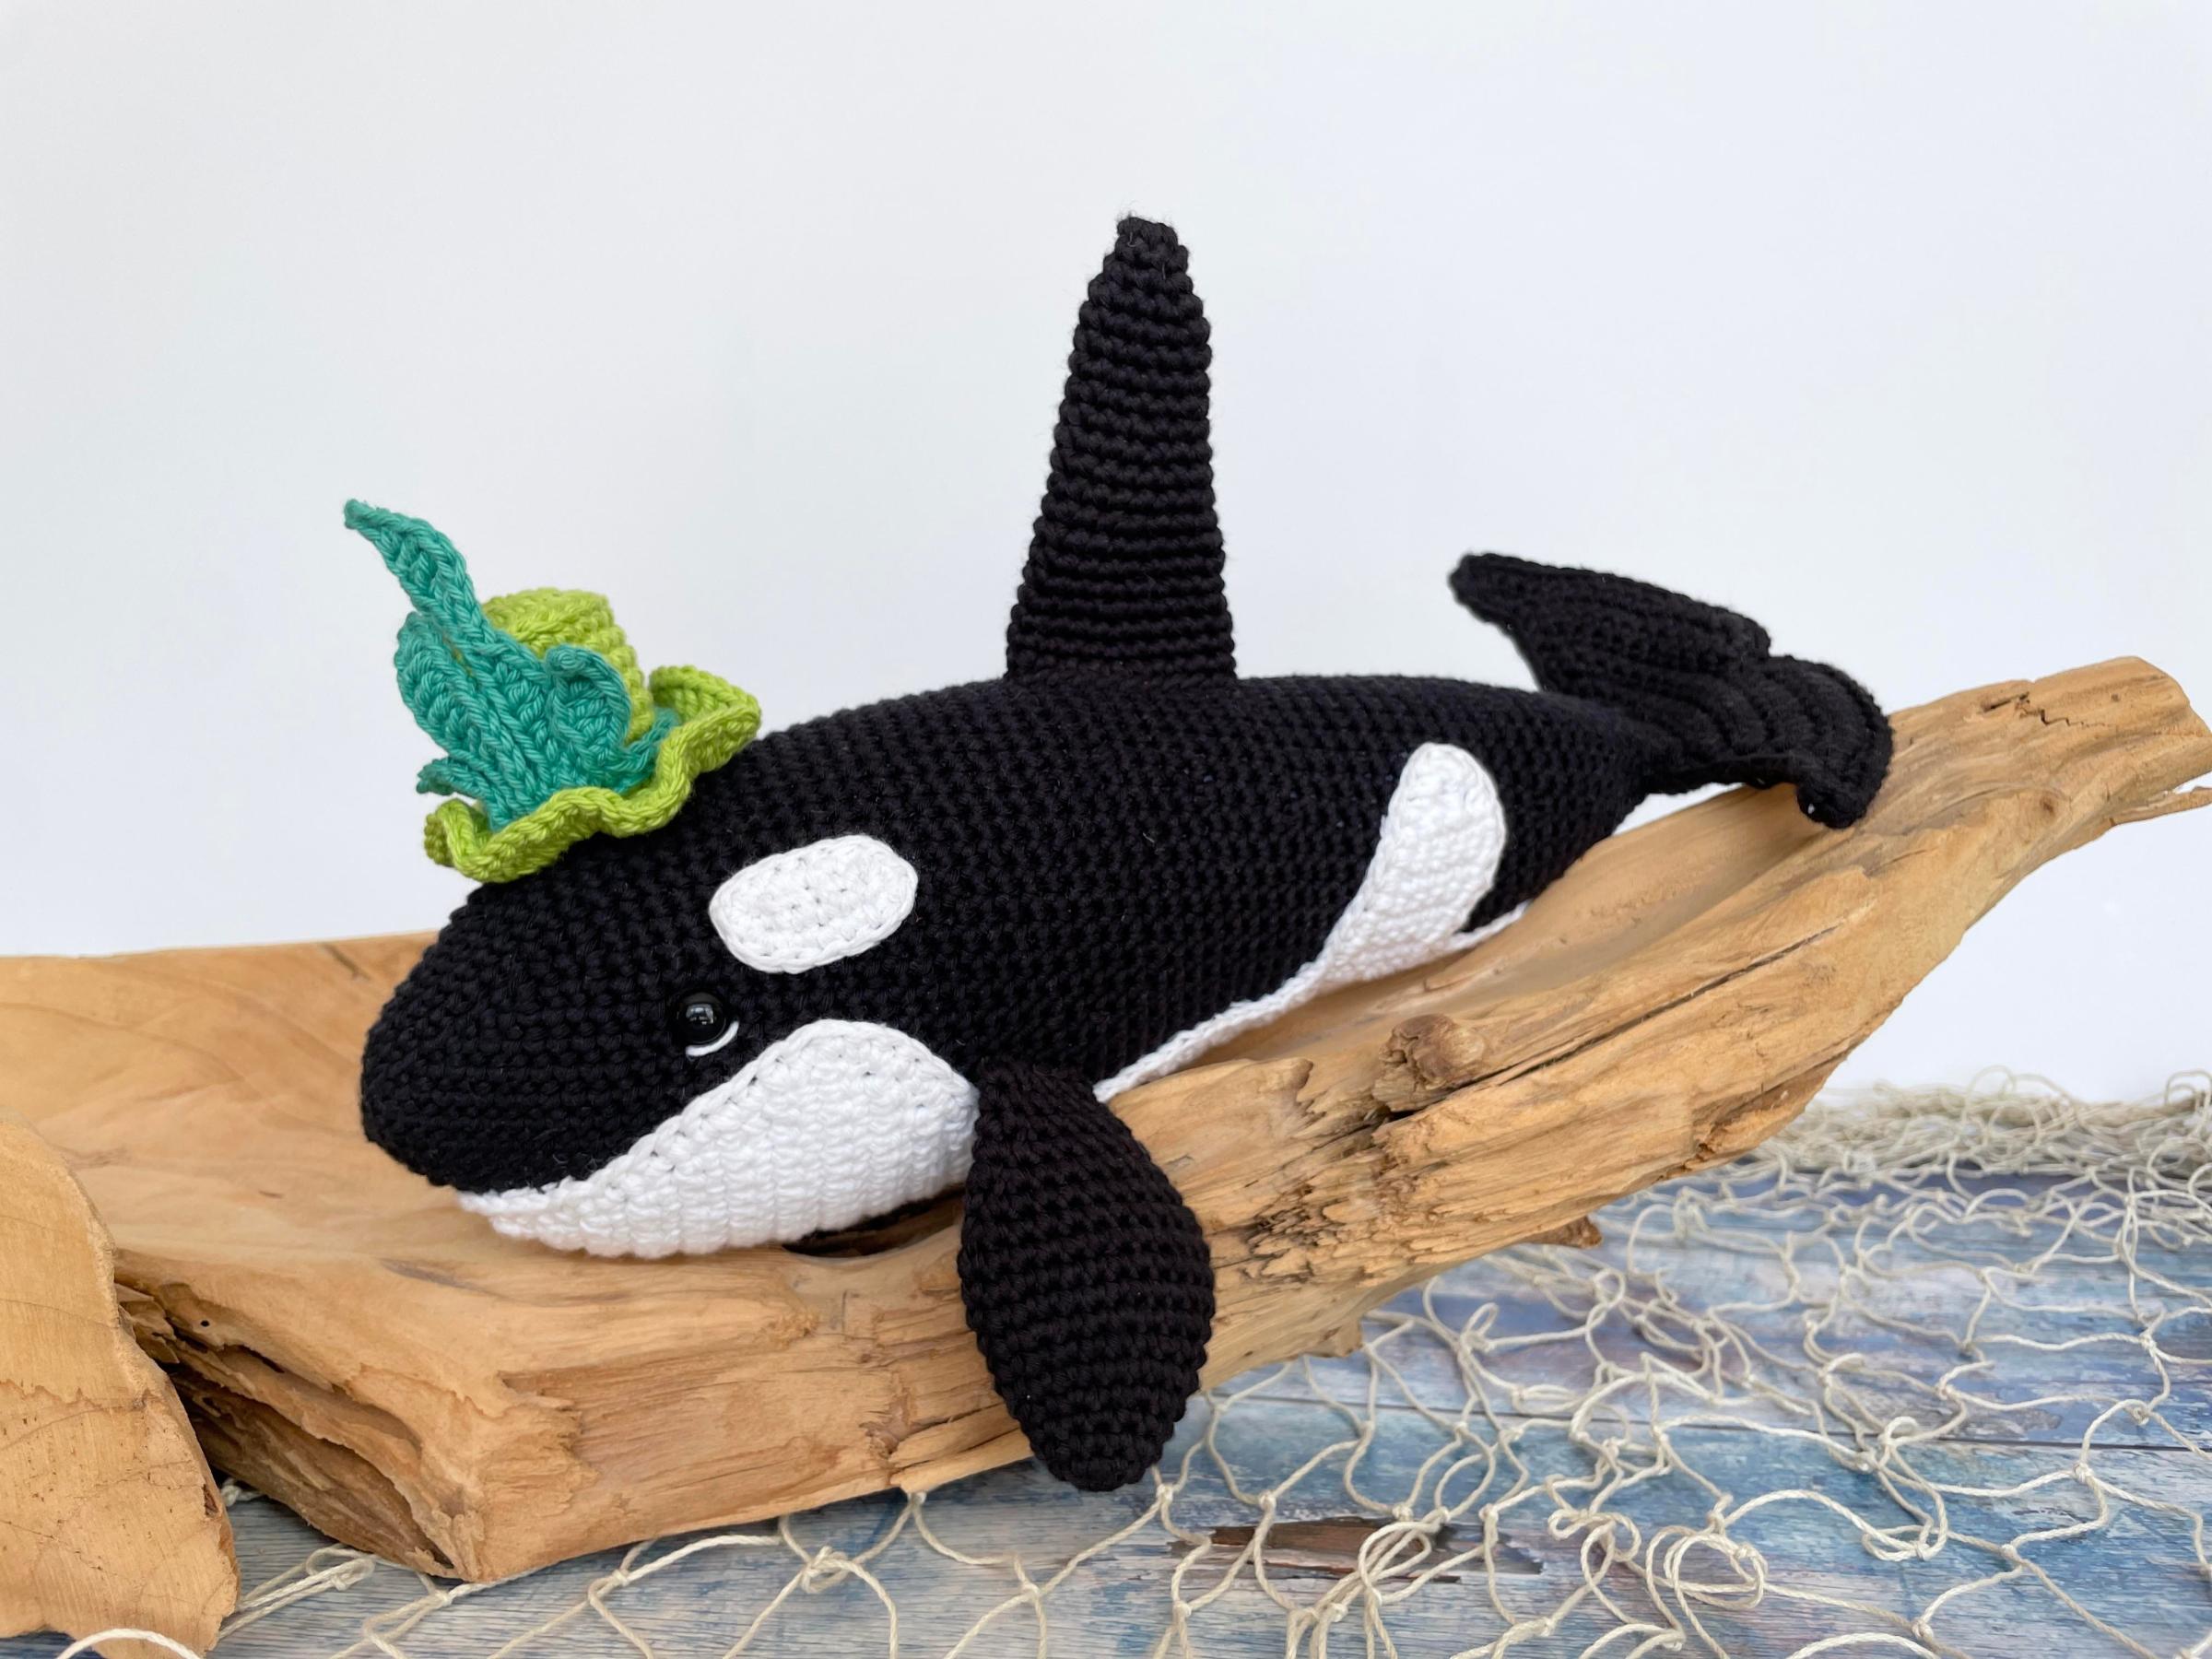
Crochet Orca Pattern: Free Pattern + Video Tutorial
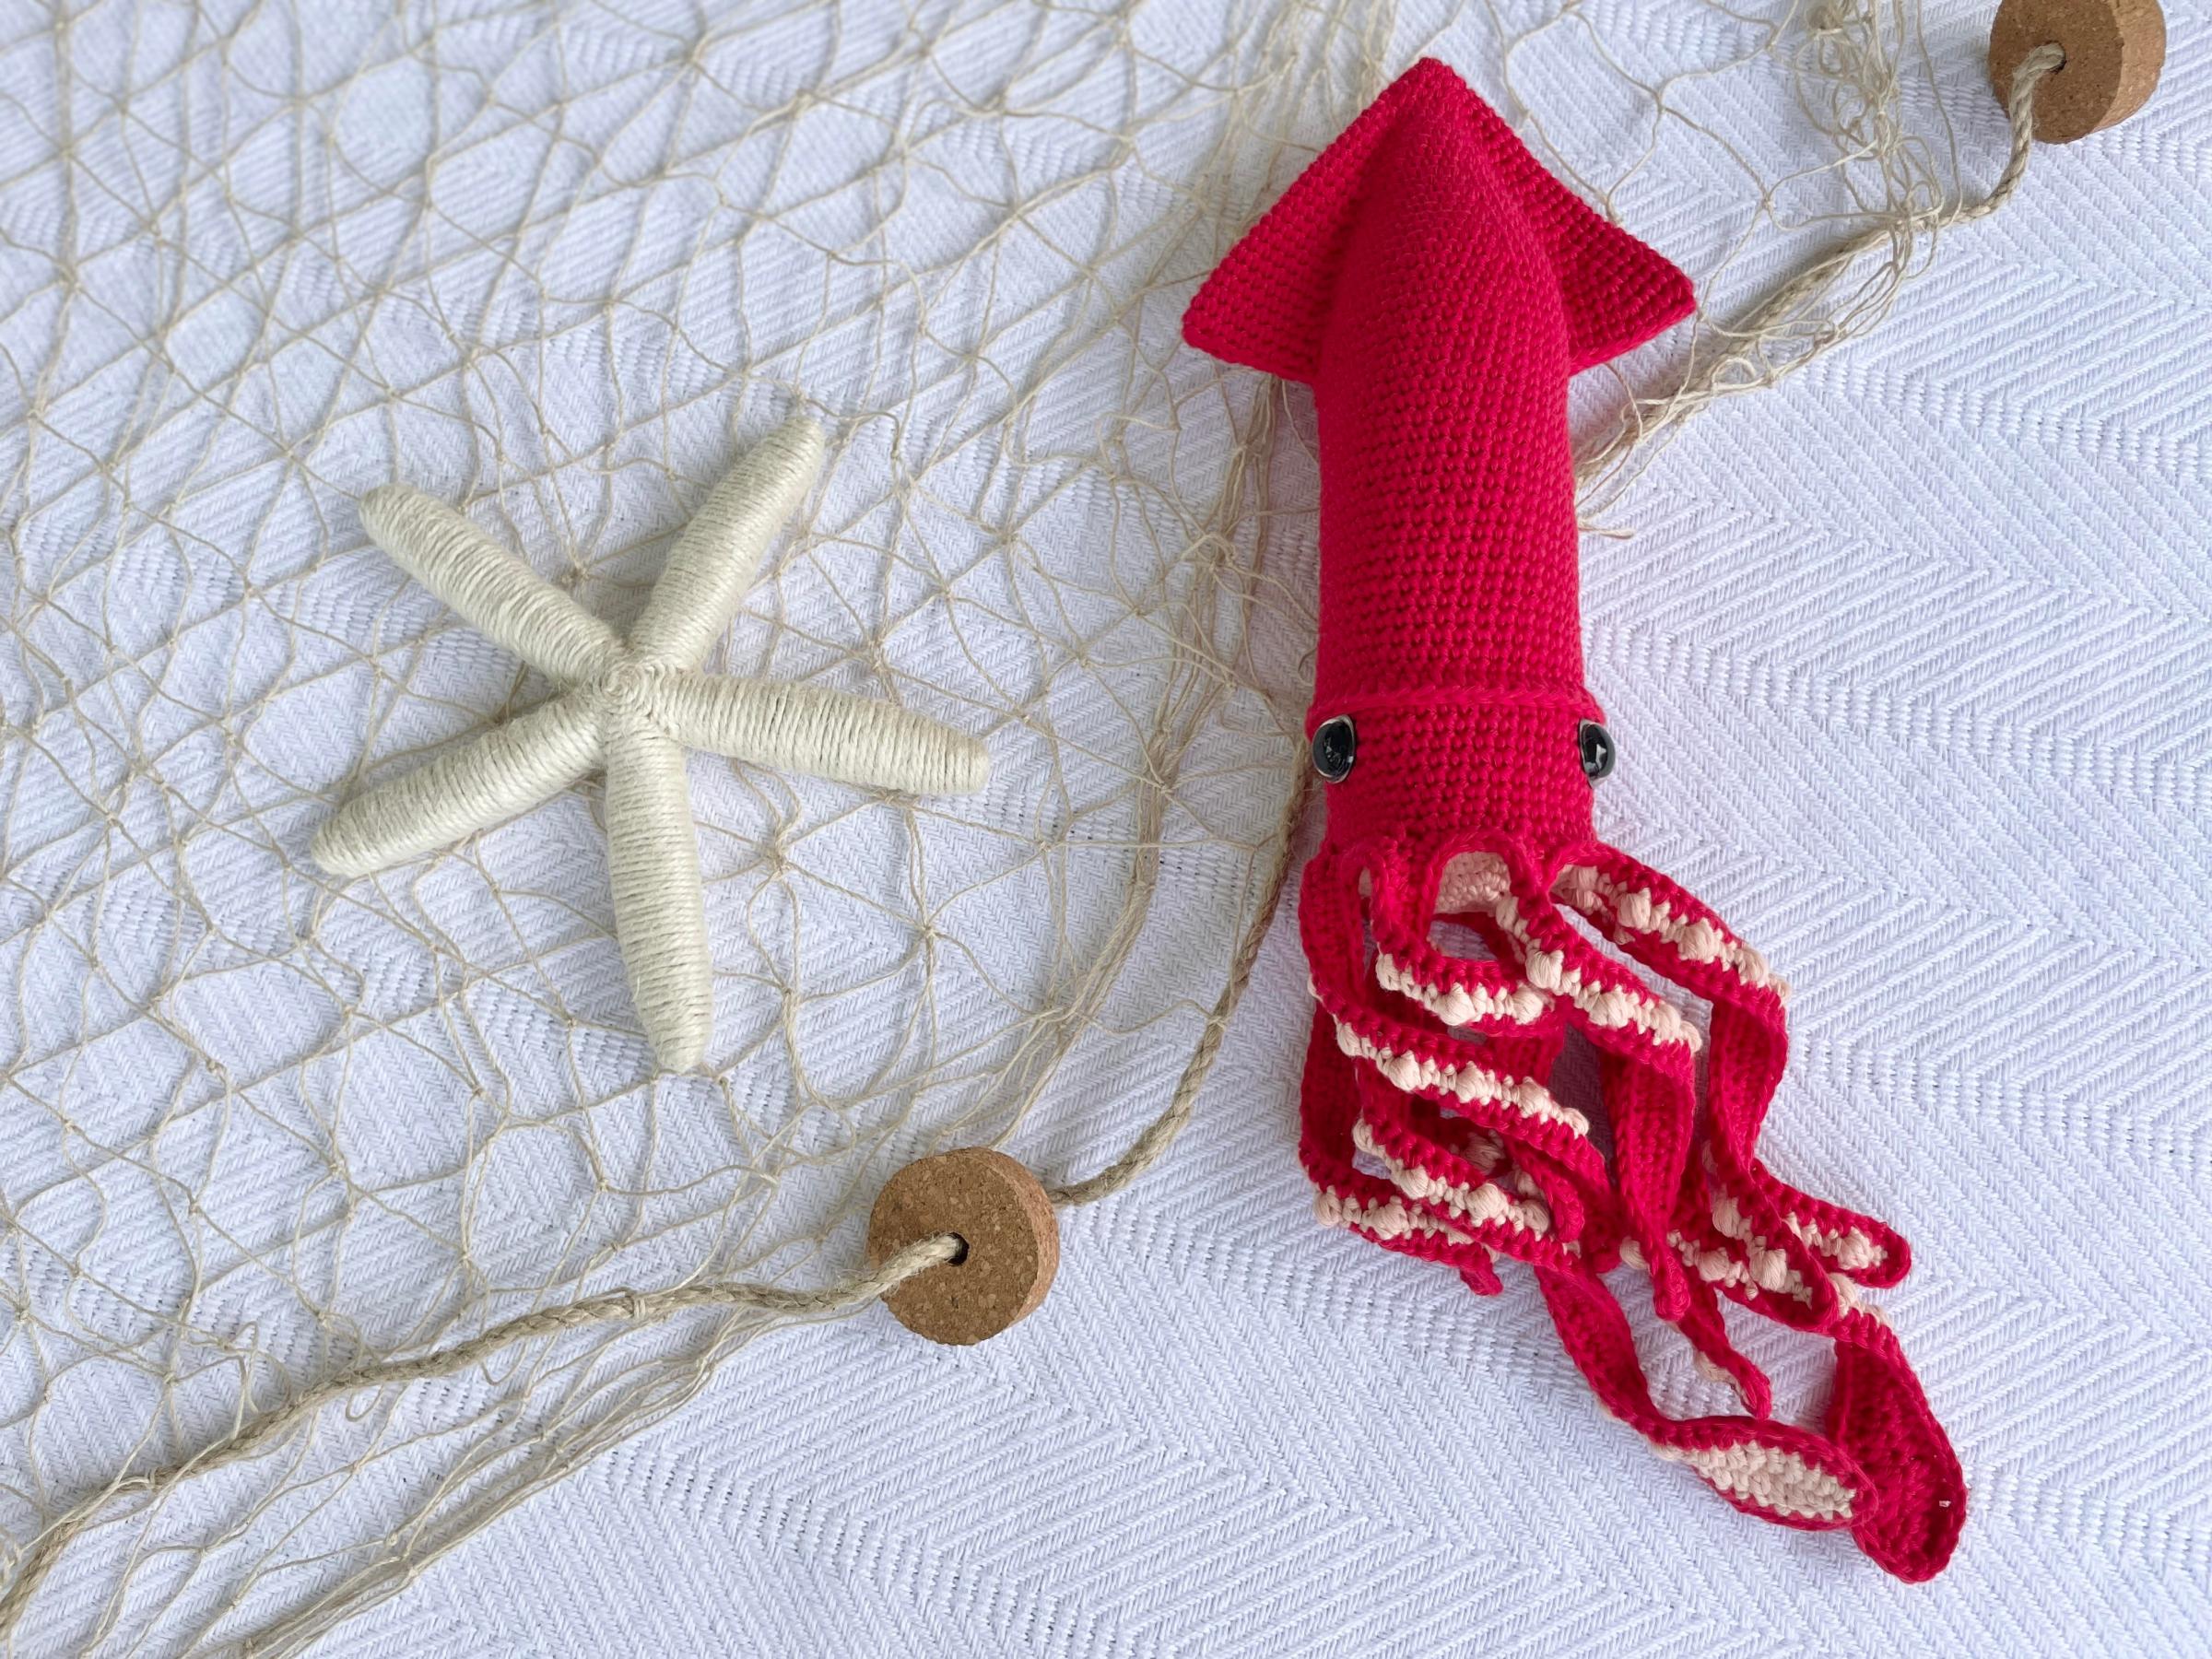
Squid Crochet Pattern: Free Pattern + Video Tutorial
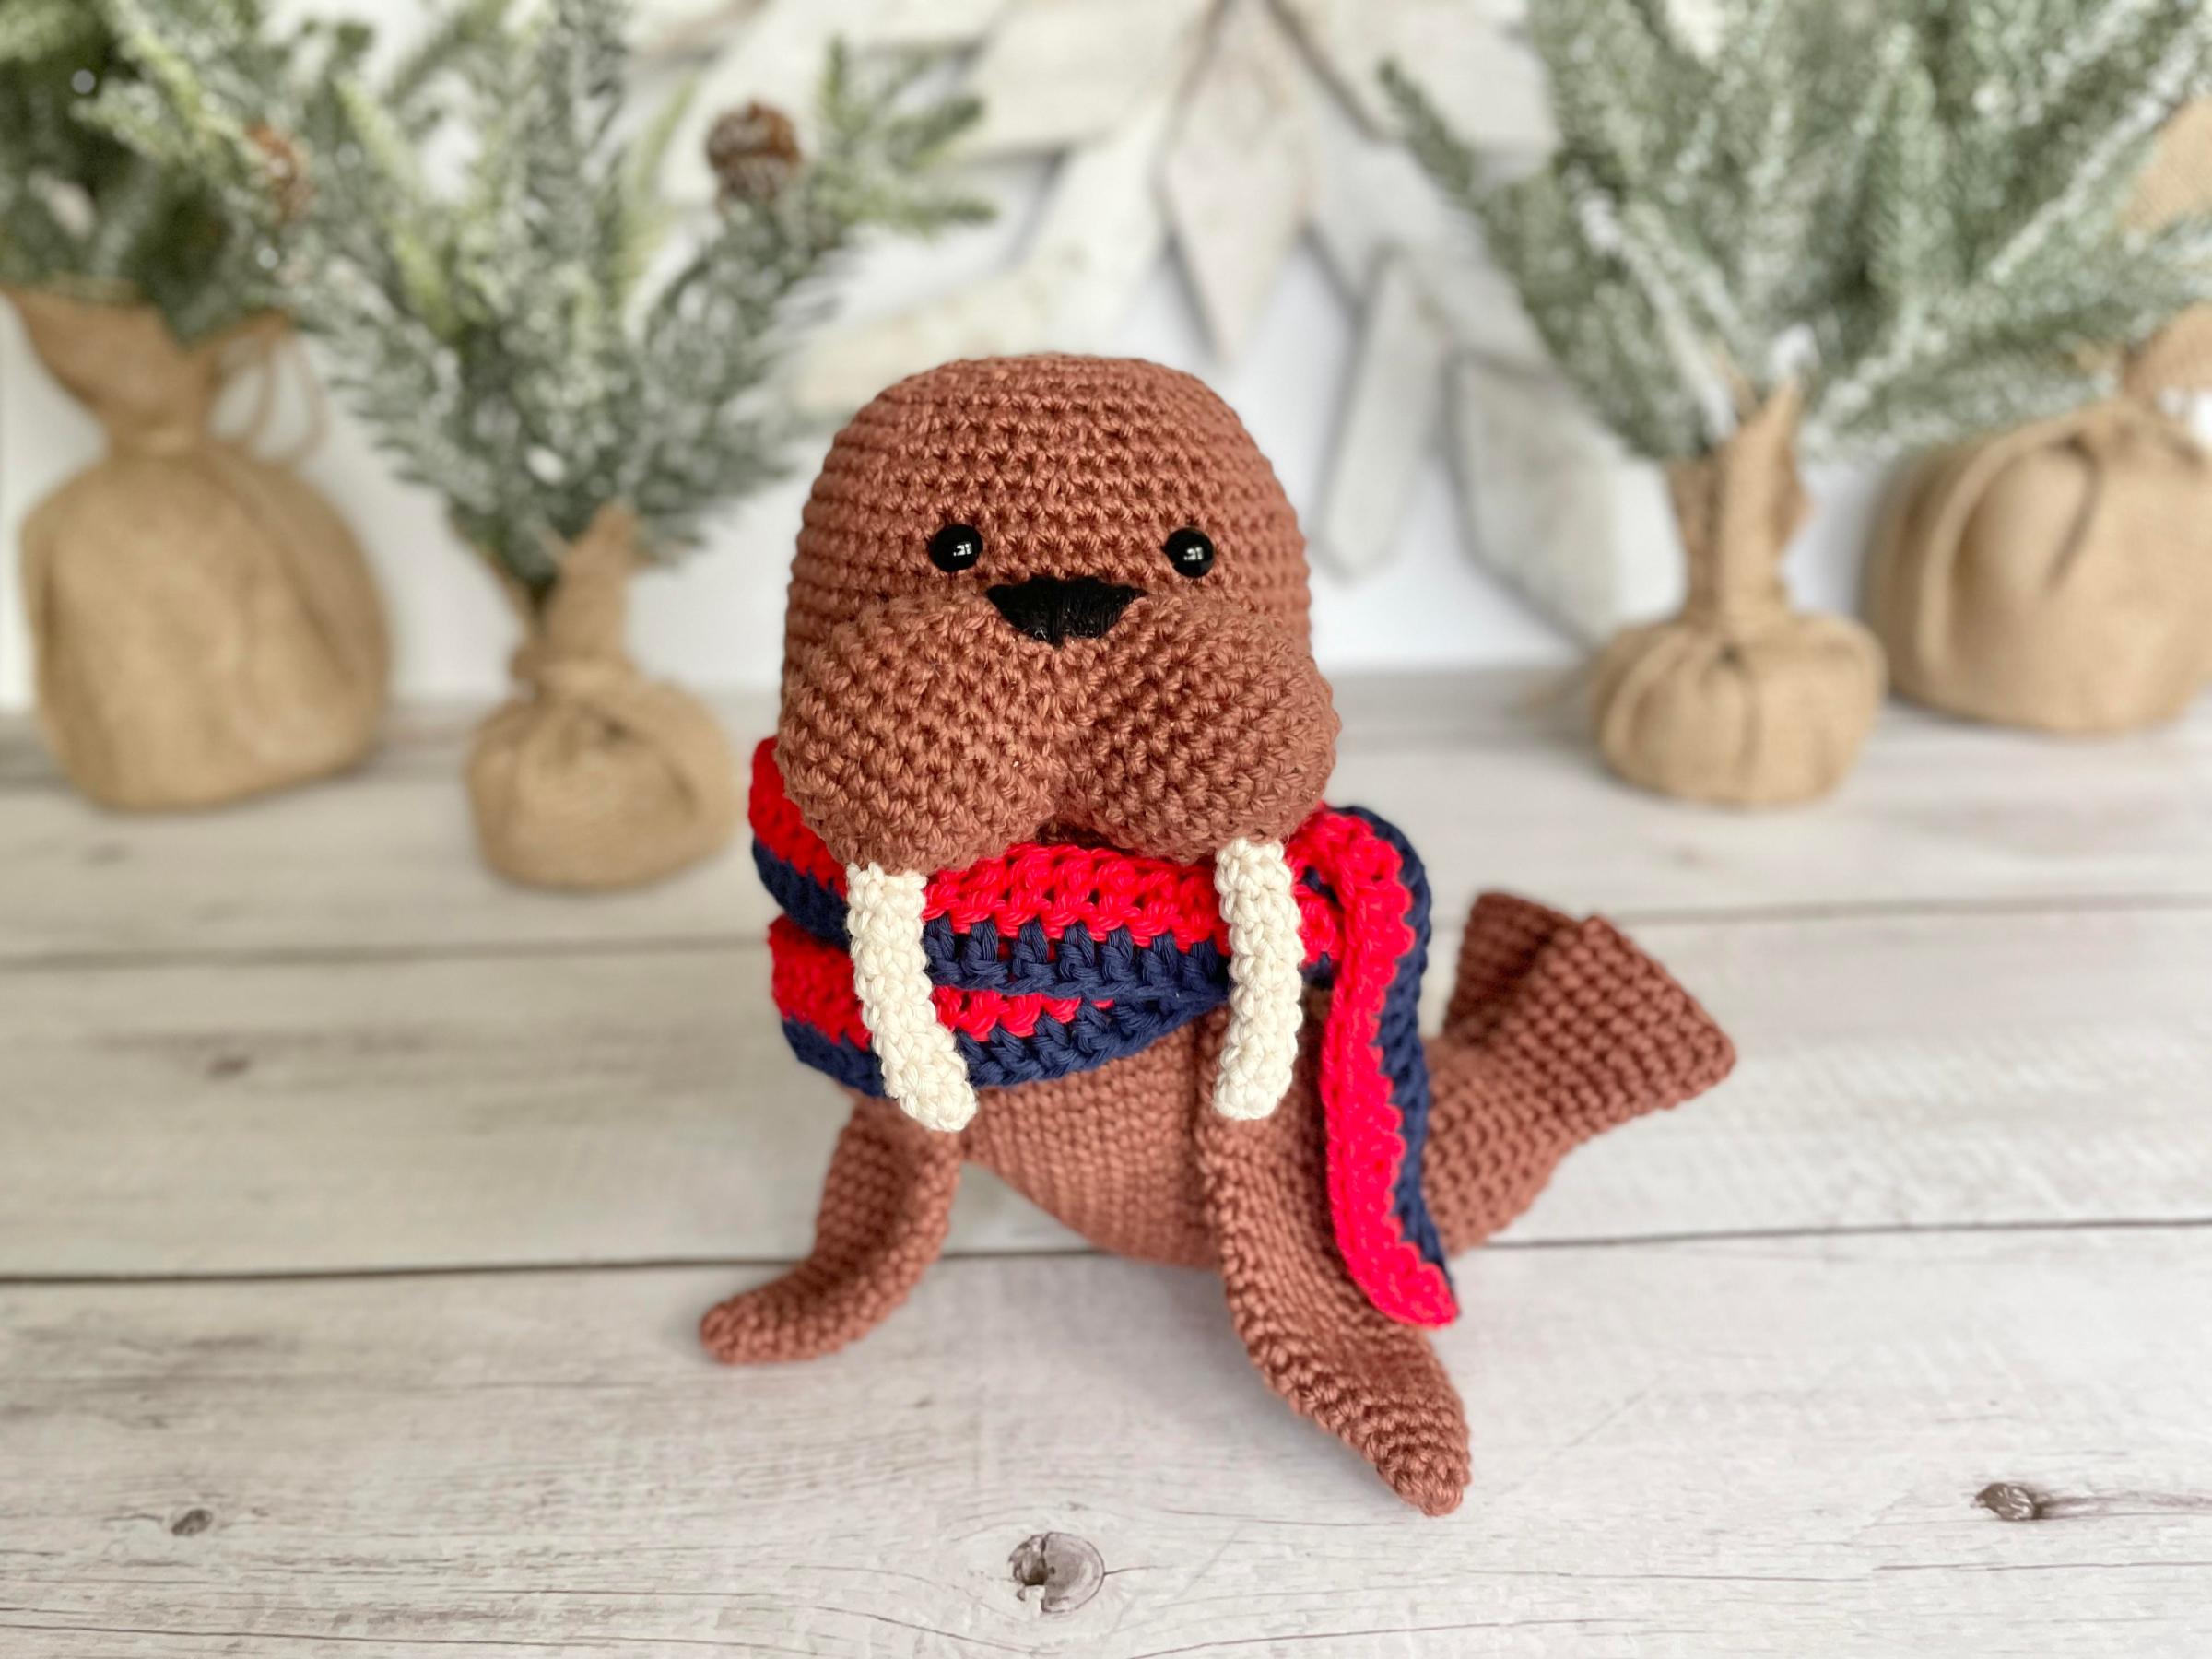
Walrus Crochet Pattern + Video Tutorial
Polar Bear Crochet Pattern: Your Cozy Arctic Companion
Crochet Pig Pattern: A Fun and Easy DIY Project
Crochet Fox Pattern + Easy Video Tutorial
see more in the resource library
Loading Comments...
Write a Comment...
Email (Required)
Name (Required)
Website