
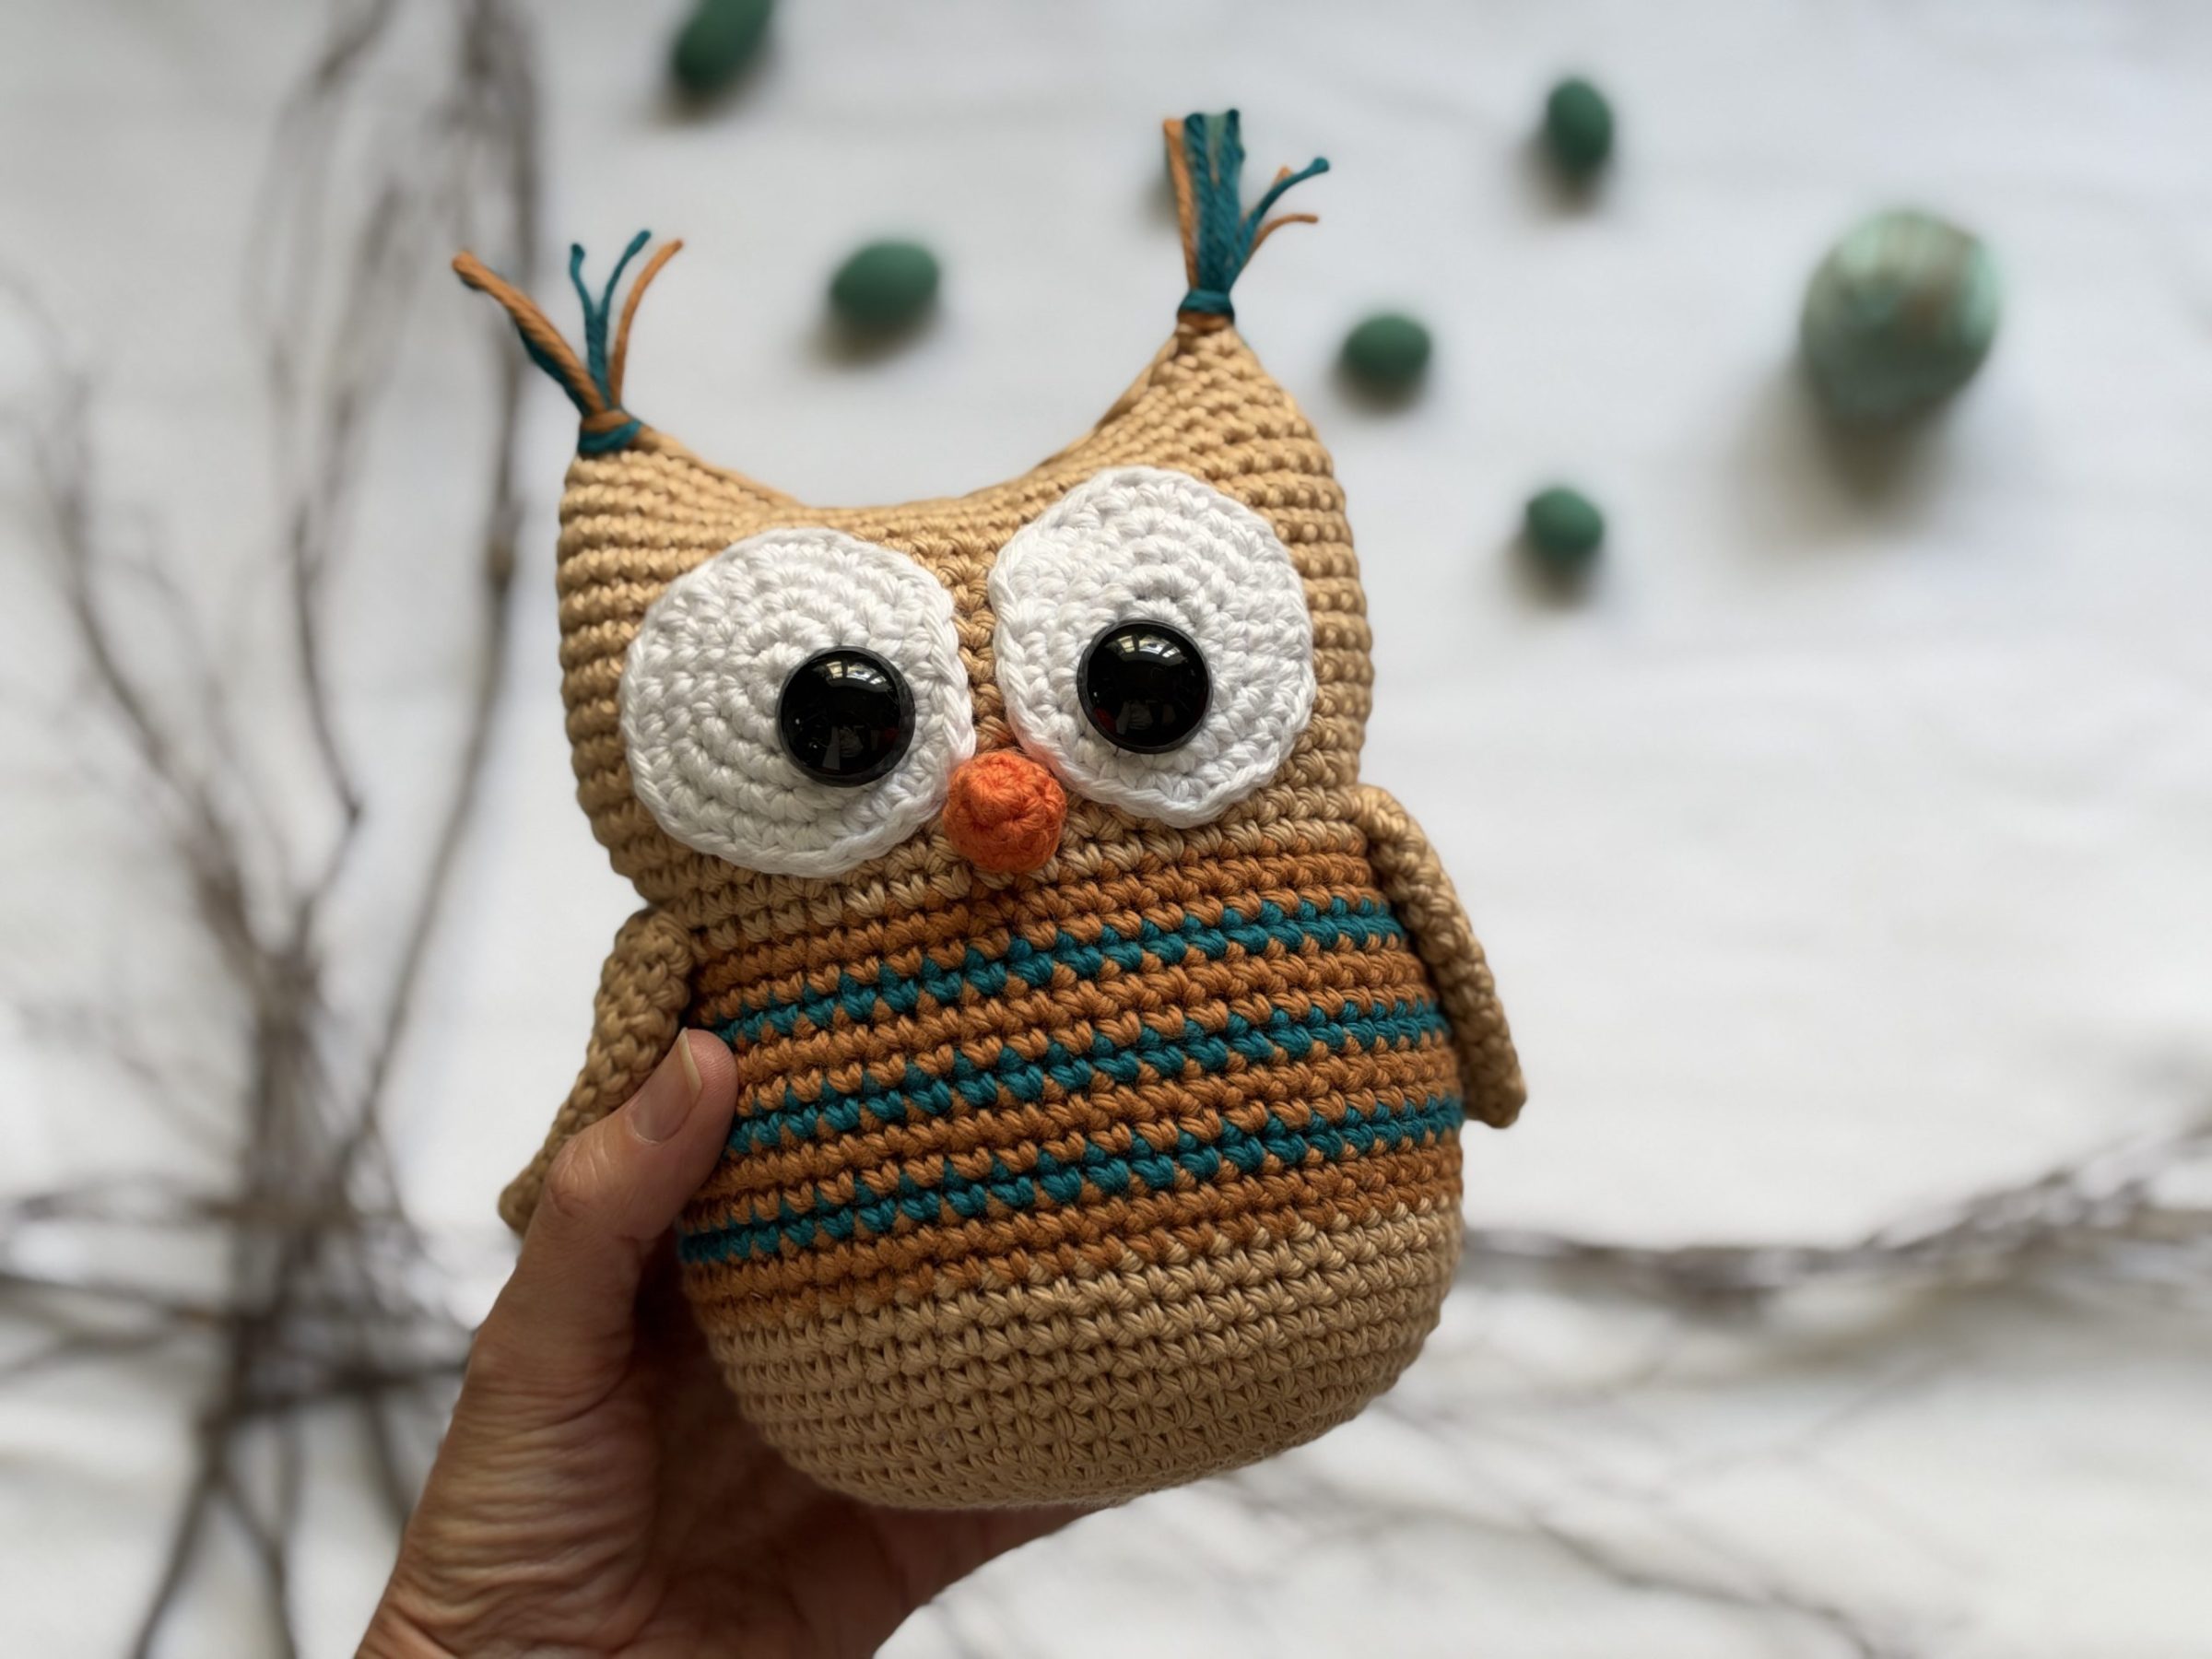
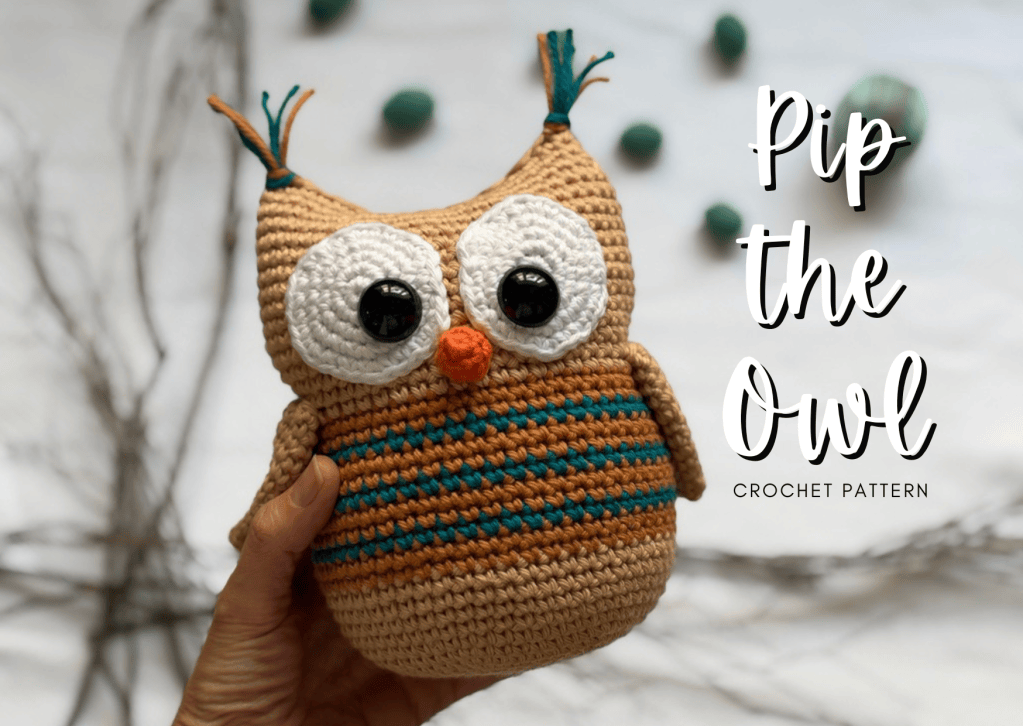
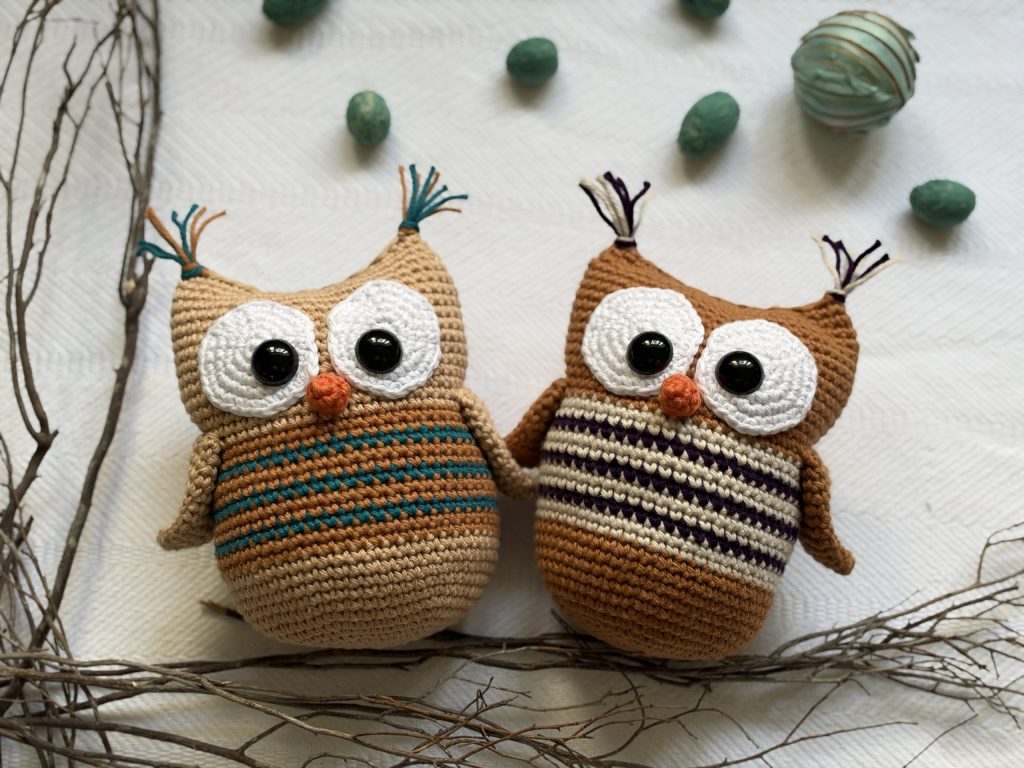
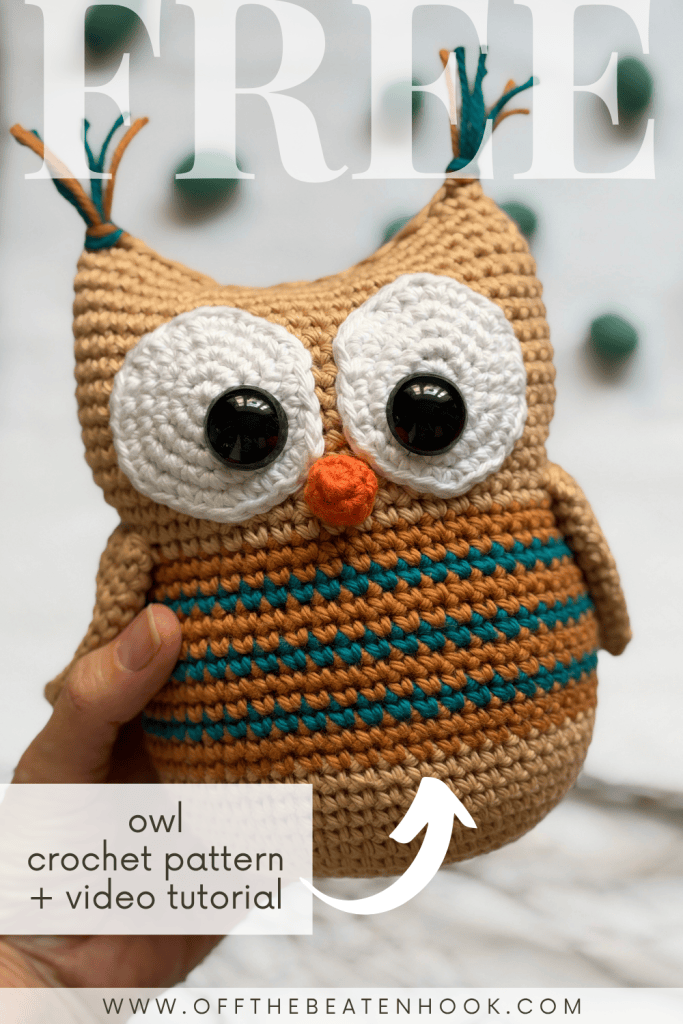
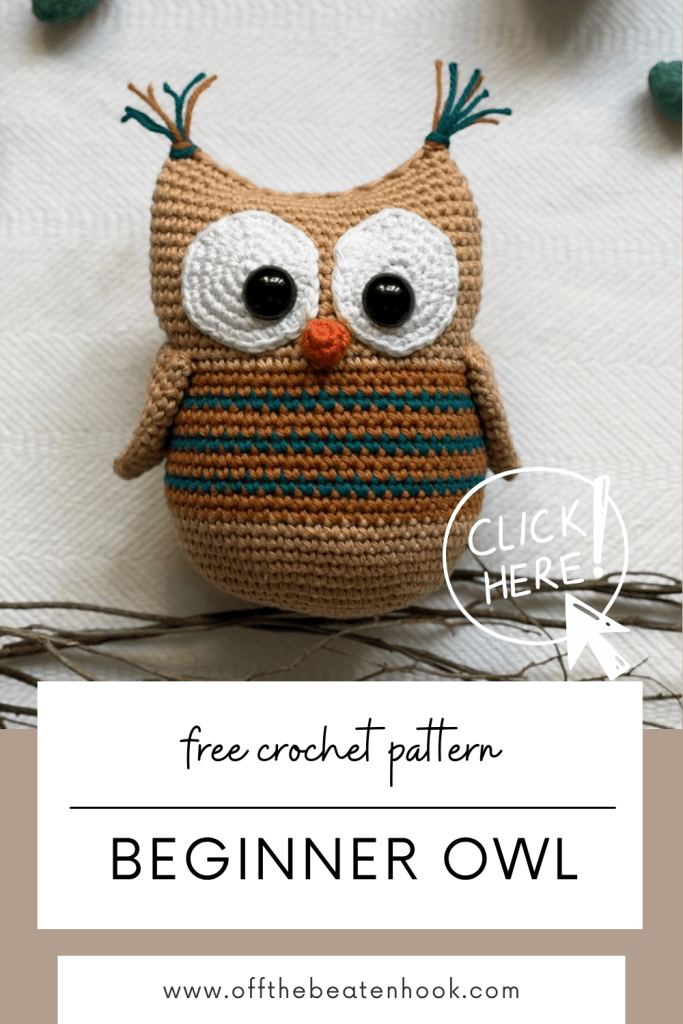
Meet Pip! He’s a little owl with big “I’m keeping an eye on that yarn cake” energy. This free crochet owl pattern is worked in the round and makes a fun first amigurumi project. You’ll practice starting with a magic circle, keeping track of your rounds, and using increases and decreases to shape your owl.
Pip first showed up as one of the project choices in my free Learn to Crochet Course. I wanted beginners to have the option of making something with a little shape and personality—not just another practice square. You don’t need to be taking the course to make him, though. The written pattern and video tutorial are right here, ready when you are.
Jump into the owl crochet pattern now, or pin it for later here!

LOVE COLLECTING Patterns?
If you love collecting crochet patterns, you might enjoy my Fiber Love Club — it gives you lifetime access to every pattern I’ve ever designed (plus all future releases).
Instead of buying patterns one by one, unlock the full pattern vault forever in one simple payment.
A Little About Pip
Pip is worked in the round, so you can watch the shape develop as you go. If this is your first amigurumi, the idea of shaping a little creature from a series of stitches can feel a bit magical. The secret is less “magic” and more “count those stitches”—although the magic circle does get to keep its name.
Take your time, use a stitch marker, and pause to count once in a while. If a round looks a little wonky, don’t panic. Check your count before deciding the owl has developed a new design feature.
I’ve created a helpful video tutorial for this crochet owl pattern as well. You can find that further down in this post or access it straight away on YouTube here.
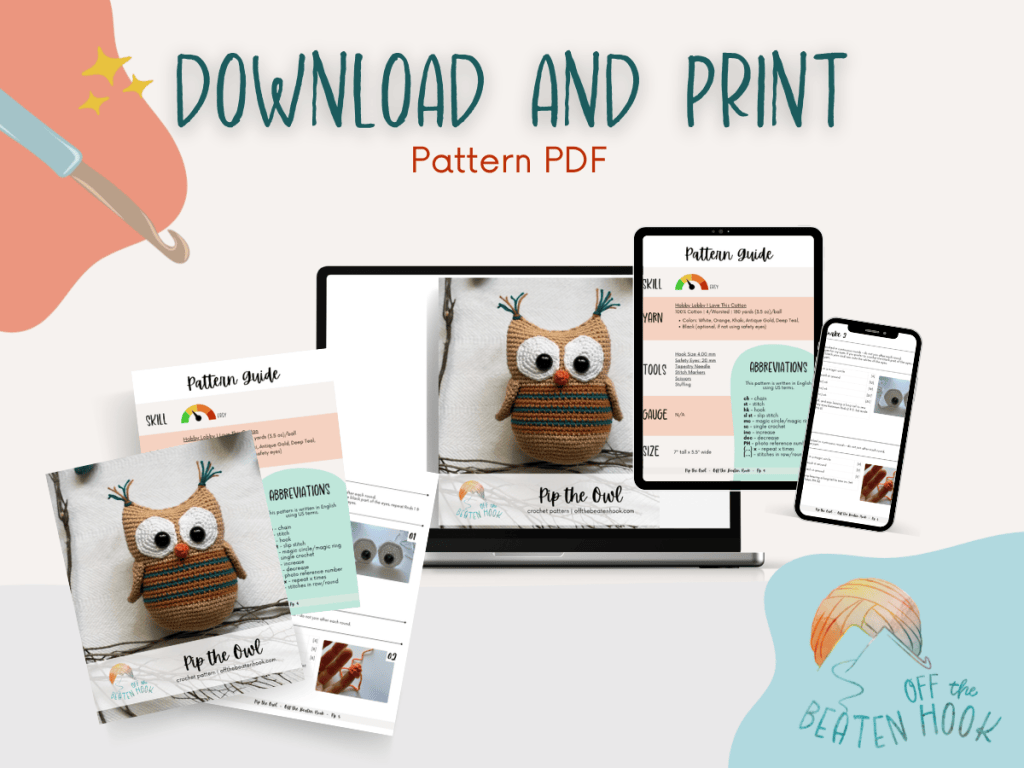
Printable PDF Crochet Pattern
This crochet owl pattern is reader supported by ads on my blog. If you’d rather print the pattern for some cozy couch crocheting, you can find the ad-free, printable PDF in my shop here or on Ravelry here.
Before You Begin
Read through the pattern and gather your supplies. You don’t have to memorize the rounds; just notice what’s coming up and check the pattern notes for how the rounds are worked.
A stitch marker can be a very useful little sidekick for keeping your place.
If you’re new to reading written instructions, my How to Read Crochet Patterns lesson explains how to follow the abbreviations, repeats, and stitch counts. And if the written instructions start looking like alphabet soup, keep the video open beside the pattern. Seeing a stitch made in real time can make the abbreviations click.
Want to make Pip with the course?
Pip is also part of Module 3, Lesson 6 in my free Learn to Crochet Course. He’s paired with the Juniper Scarf, so the lesson gives you one project in the round and one worked back and forth in rows. Make whichever one sounds fun—or make both and call it a very productive yarn day.
Watch M3L6: Your First Crochet Projects
Visit the free Learn to Crochet Course

🌿 Eco-Friendly Crafting
What makes this crochet pattern eco-friendly and sustainable?
THE YARN: I use only sustainable and eco-friendly yarn that has been ethically grown/raised and processed, putting the people and the planet first. This is why I chose 100% natural yarn for this pattern.
HANDMADE FOR LONGEVITY: Creating your own crochet toys promotes mindful consumption. This durable, handmade crochet owl pattern reduces the need for mass-produced alternatives.
THE SLOW YARN MOVEMENT: I’m participating in the Slow Yarn Movement. There’s far too much to talk about here, but please take a few minutes to learn about what this means by reading the article I wrote about the Slow Yarn Movement as part of my 6-part Sustainable Crochet Series.
If you’re interested in learning more about sustainable crochet you can read all about it in the 6-part series I wrote covering everything about Sustainable Crochet and how to implement it into your own crafting starting today!
Materials You Will Need For This Crochet Owl Pattern
Yarn
Hobby Lobby I Love This Cotton
100% Cotton | 4/Worsted | 180 yards (3.5 oz)/ball
- Colors: White, Orange, Khaki, Antique Gold, Deep Teal,
- Black (optional, if not using safety eyes)
Crochet Hook Needed
Additional Supplies Needed
- Safety Eyes: 20 mm (SERIOUSLY, these are the ones with the backs that are easier to put on!)
- Tapestry Needle (bent tips make all the difference!)
- Stitch Markers
- Scissors
- Stuffing
Crochet Owl Pattern Video Tutorial
Sizing
Pip the Owl measures 7″ tall x 5.5″ wide.
Gauge
Gauge: N/A
Abbreviations Used in the Crochet Owl Pattern
This pattern is written in English, using US terms. If needed, you can find a handy term conversion chart right here in my Resource Library.
ch – chain
st – stitch
hk – hook
mc – magic circle/magic ring
sl st – slip stitch
sc – single crochet
inc – increase
dec – decrease
rep – repeat
(…) x – repeat instructions indicated number of times
[…] – number of stitches in row/round
PH – photo reference number
Skill Level
Beginner
This owl crochet pattern is perfect for crocheters who are just getting started! This pattern uses basic stitches and simple construction with step-by-step instructions to help build confidence as you crochet.
Pip the Crochet Owl FAQ & Terms
Affiliate Links & Ad Support
This post may contain affiliate links. At no extra cost to you, purchases made through these links may earn Off the Beaten Hook a small commission which in no way affects the cost to you. The content on this site is supported by advertisements. By using this site, you agree not to circumvent, block, or tamper with these ads.
Copyright & Intellectual Property
All content on this blog, including free crochet patterns, instructions, charts, photos, videos, and written materials, are the property of Off the Beaten Hook and are protected under copyright and other intellectual property laws. Screenshots or any other method of copying the pattern for offline use or redistribution is prohibited. Sharing patterns in forums, social media groups, or private messages without permission is also prohibited.
Personal Viewing & Use Only
Free patterns published on this site are provided for viewing only on this blog. You may not copy, download, print, take screenshots, or redistribute the pattern in any form (digital or physical) outside this blog. You may not post the pattern or instructions elsewhere online or share it publicly without written consent.
Questions & Permissions
For questions about these permissions or to use or share patterns outside of these rules, please contact Off the Beaten Hook in writing.
Absolutely! You may sell finished items made from Off the Beaten Hook’s patterns, but please credit:
“Pattern by Off the Beaten Hook”
Pattern Support is only available in our Facebook Community group and Video Tutorials. No additional support is provided for modified patterns, alternate yarns, or changes to gauge.
The pattern uses a magic circle, single crochet, increases, and decreases. If one of those is new to you, the linked course lessons can walk you through it before you begin.
The rounds are worked continuously.
I highly recommend using a stitch marker which will help you keep track of the beginning of a round.
Absolutely! A different yarn or hook can change Pip’s size and the feel of the fabric, but there are a lot of combinations that would work great. If you’re using a DK/Light Worsted weight yarn, pair it with a size 3.00mm hook.
Yes! The step-by-step Pip tutorial is embedded above. You can watch it alongside the written pattern and pause or replay a step whenever you need.
Yes! The free written pattern is on this blog post page. However, the ad-free, printable PDF is available here: LINK
The Crochet Owl Pattern
Eyes – Make 2
NOTES:
- The eyes are worked in continuous rounds – do not join after each round.
- I used safety eyes for my eyes. If you prefer to crochet the black part of the eyes, repeat Rnds 1 & 2 below, using black yarn and sew onto the whites of the eyes.
- Use the white yarn.
| Rnd 1: | st 6 sc in a magic circle | [6] |
| Rnd 2: | inc in each st around | [12] |
| Rnd 3: | (sc 1, inc) x6 | [18] |
| Rnd 4: | (sc 2, inc) x6 | [24] |
| Rnd 5: | (sc 3, inc) x6 | [30] |
| Invisible fasten off, and snip leaving a long tail to sew on. Insert the safety eyes between Rnds 2 & 3. Set aside to sew on later. PH 01 | ||

Beak
NOTES:
- The beak is worked in continuous rounds – do not join after each round.
- Use the orange yarn.
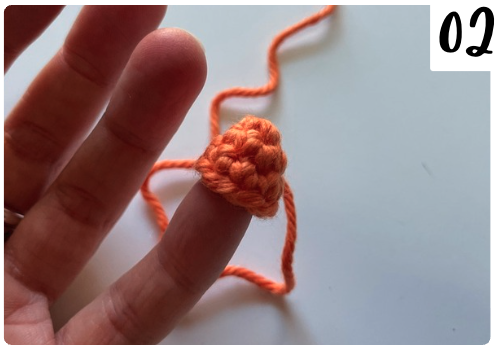
| Rnd 1: | st 4 sc in a magic circle | [4] |
| Rnd 2: | inc in each st around | [8] |
| Rnd 3: | sc in each st around | [8] |
| Fasten off, and snip leaving a long tail to sew on. Set aside to sew on later. PH 02 | ||
Wings – Make 2
NOTES:
- The wings are worked in continuous rounds – do not join after each round.
- Use the brown yarn.
| Rnd 1: | st 6 sc in a magic circle | [6] |
| Rnd 2: | sc in each st around | [6] |
| Rnd 3: | inc in each st around | [12] |
| Rnd 4: | sc in each st around | [12] |
| Rnd 5: | (sc 1, inc) x6 | [18] |
| Rnd 6-7: | sc in each st around | [18] |
| Rnd 8: | (sc 2, inc) x6 | [24] |
| Rnd 9-12: | sc in each st around | [24] |
| Fasten off, and snip leaving a long tail to sew on. Set aside to sew on later. PH 03 | ||

Body
NOTES:
- The body worked in continuous rounds – do not join after each round
- Color changes create the effect of a little striped shirt on the owl. Feel free to adjust the color or the thickness of the stripes if you’d like – or keep it one solid color!
| Begin with the brown yarn. | ||
| Rnd 1: | st 6 sc in a magic circle | [6] |
| Rnd 2: | inc in each st around | [12] |
| Rnd 3: | (sc 1, inc) x6 | [18] |
| Rnd 4: | (sc 2, inc) x6 | [24] |
| Rnd 5: | (sc 3, inc) x6 | [30] |
| Rnd 6: | (sc 4, inc) x6 | [36] |
| Rnd 7: | (sc 5, inc) x6 | [42] |
| Rnd 8: | (sc 6, inc) x6 | [48] |
| Rnd 9: | (sc 7, inc) x6 | [54] |
| Rnd 10-14: | sc in each st around | [54] |
| Switch to the taupe yarn. | ||
| Rnd 15-16: | sc in each st around | [54] |
| Switch to the purple yarn. | ||
| Rnd 17: | sc in each st around | [54] |
| Rnd 18-25: | repeat Rnds 15-17, switching colors as appropriate (you’ll end with 2 rows of Taupe) | [54] |
| Switch to the brown yarn. | ||
| Rnd 26-38: | sc in each st around | [54] |
| Rnd 39: | (sc 7, dec) x6 | [48] |
| Rnd 40: | (sc 6, dec) x6 | [42] |
| Rnd 41: | (sc 5, dec) x6 | [36] |
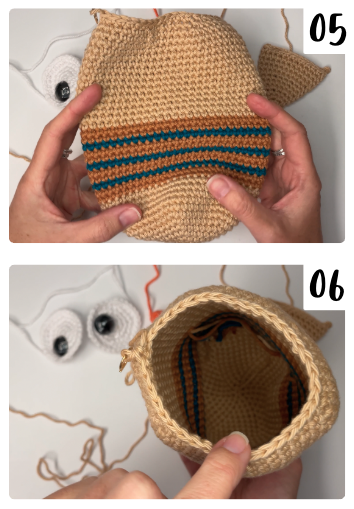
| Fasten off and snip leaving a long tail to sew the head closed after stuffing & assembly. | ||
Assembly & Finishing

Show Off Your Work! ✨
I hope you have fun making Pip. Take it one round at a time, and remember that you can always pause, count, and undo a few stitches if something seems off. That’s part of crocheting, not a sign you’re doing it wrong. If you make Pip, tag @offthebeatenhook or send me a photo. I’d love to see your little owl.
🔗 Other Adorable Amigurumi Patterns To Check Out
- Ingrid the Octopus Crochet Pattern
- Barnaby the Rabbit Crochet Pattern
- Clive the Crab Crochet Pattern
- Kalla the Orca Crochet Pattern
SOCIAL MEDIA YOUR THING?
Connect with me on your favorite social network!
Pin this KEYWORD/PATTERN NAME here:
Leave a Reply