
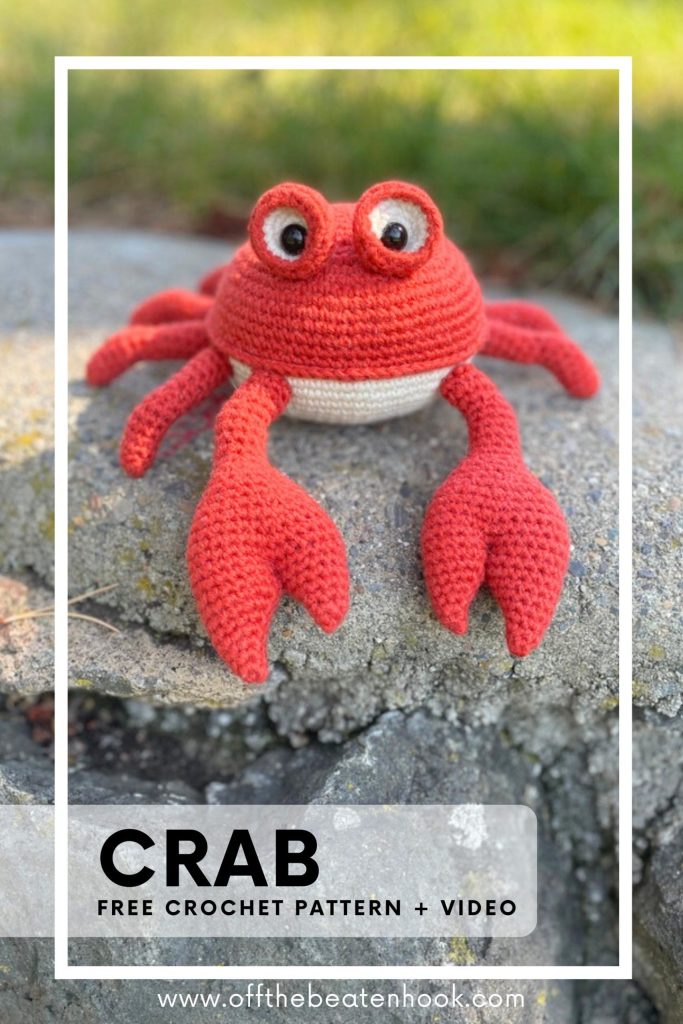
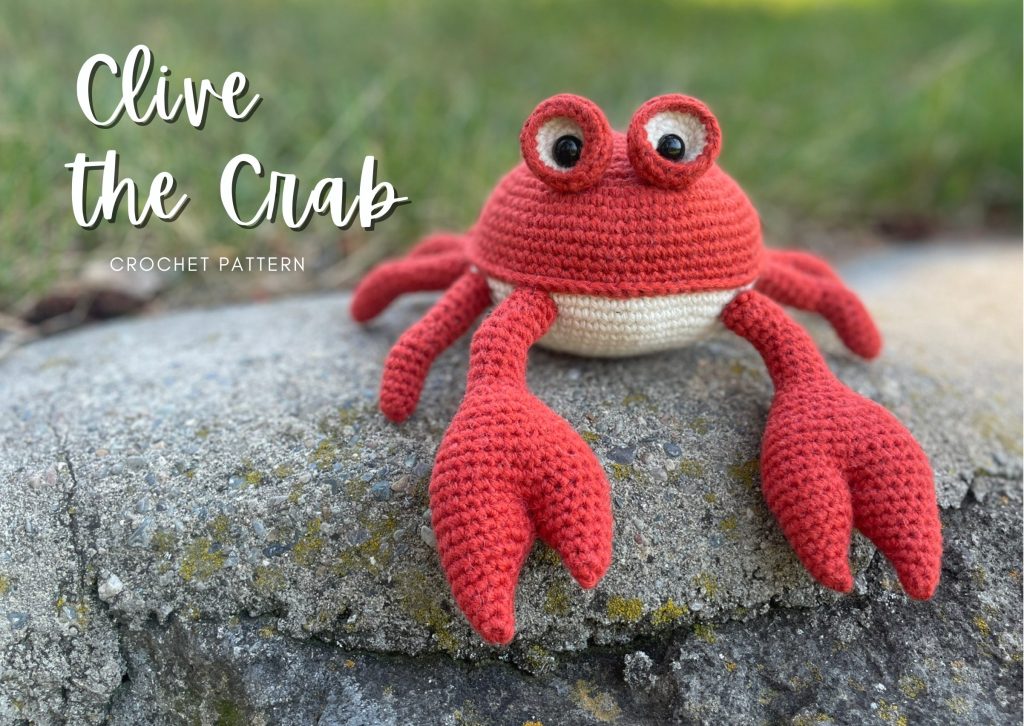
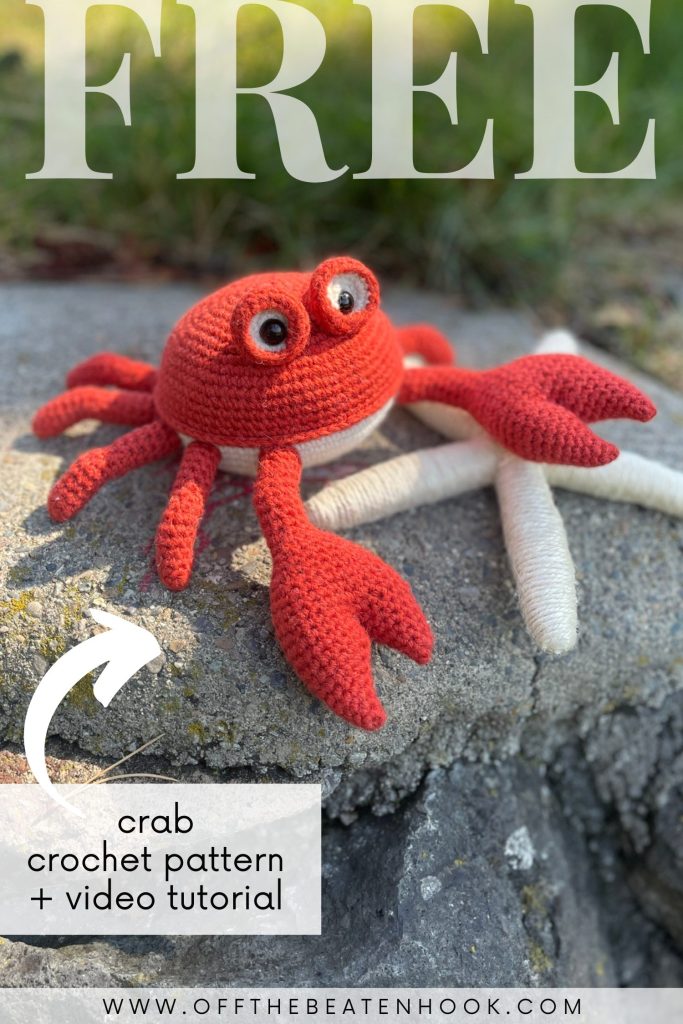
Bring a little coastal joy to your crochet hook with this free crochet crab pattern! Say hello to Clive the Crab, a cheerful amigurumi who’s ready to scuttle into your WIP pile. This beginner-friendly design works up quickly, uses just a bit of yarn, and makes the perfect handmade toy, gift, or décor piece.
I’ve also created a full video tutorial to help you step-by-step. You can find the tutorial further down in this post or on YouTube here.
Jump into the crochet crab pattern now, or pin it for later here!
Why You’ll Love This Crochet Crab Pattern
- Beginner-friendly with step-by-step instructions
- Includes a full video tutorial for extra guidance
- Perfect stash-busting project for red, orange, or scrap yarn
- Makes an adorable handmade gift
I’ve created a helpful video tutorial for this pattern as well. You can find that further down in this post or access it straight away on YouTube here.
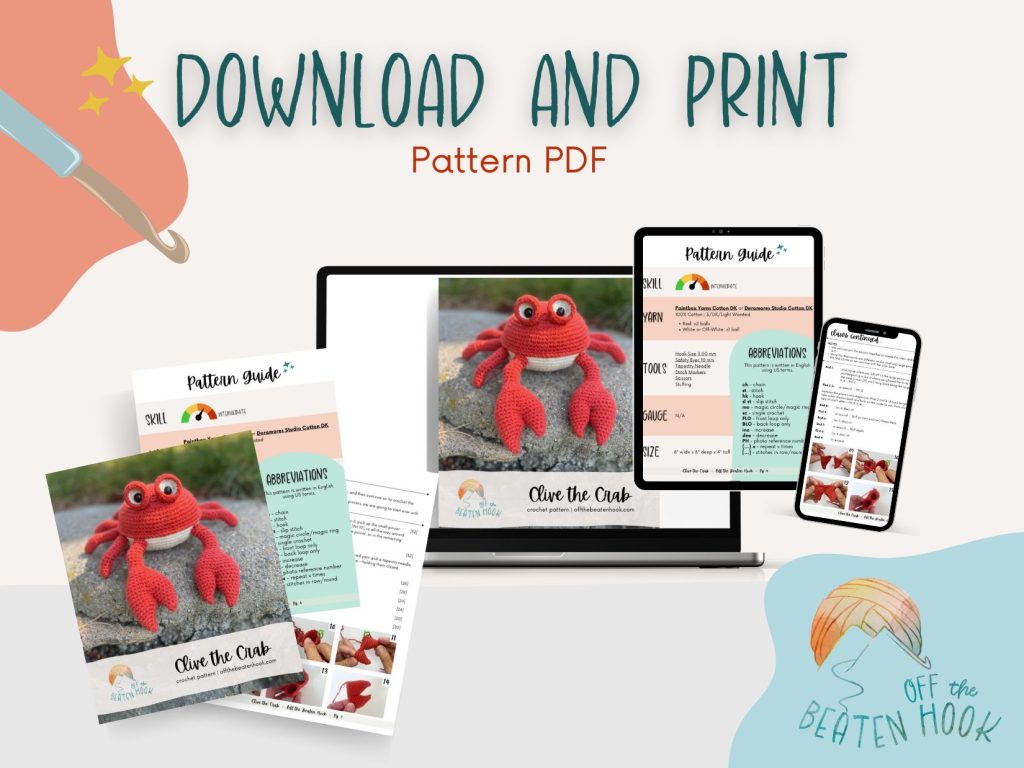
This crochet pattern is reader supported by ads on my blog. If you’d rather print the pattern for some cozy couch crocheting, you can find the ad-free, printable PDF in my shop here or on Ravelry here.
Policies & Disclaimers:
This crochet pattern is for PERSONAL USE ONLY. This pattern or parts of it may not be reproduced, resold, distributed, published, altered, translated, posted or shared without authorization. You can sell your finished items provided that you credit Off the Beaten Hook as the designer using this verbiage, “This pattern was designed by Lindsey Roe and Off the Beaten Hook.” Thank you for your respectfulness!
This post contains affiliate links for materials I use and love. If you purchase something using one of these links I may earn a small commission which in no way affects the cost to you. These partnerships help me support my small business which allows me to provide you with free crochet patterns. Thank you from the bottom of my heart for your support!
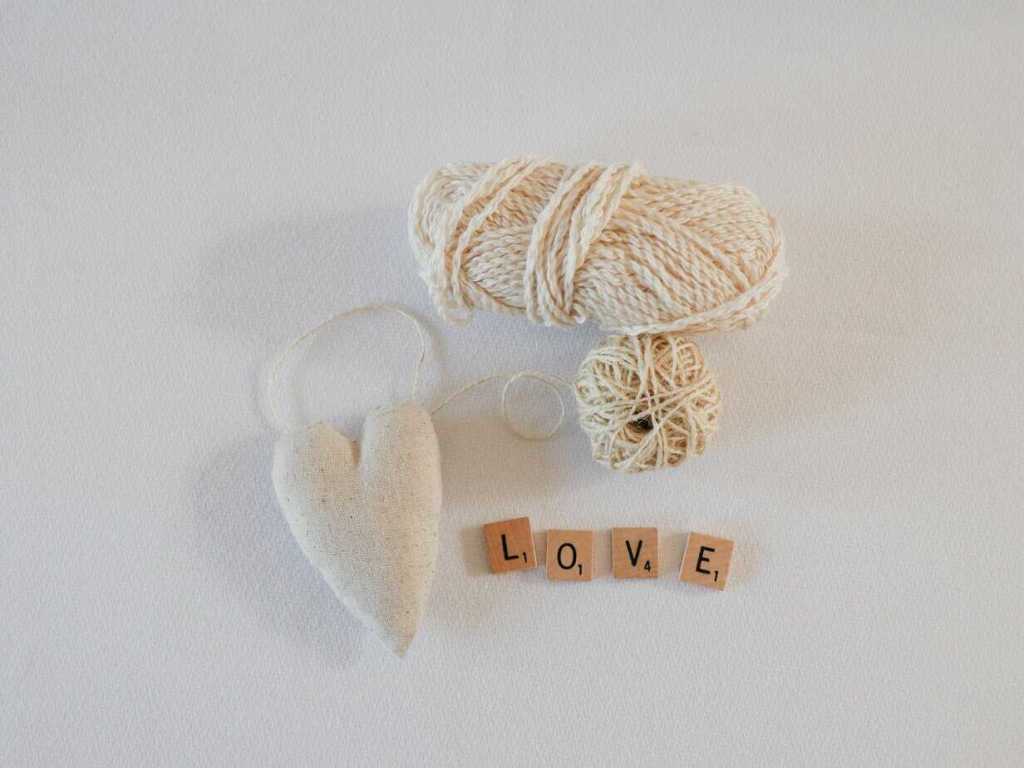
🌿 Eco-Friendly Crafting
What makes this crochet pattern eco-friendly and sustainable?
THE YARN: I use only sustainable and eco-friendly yarn that has been ethically grown/raised and processed, putting the people and the planet first. This is why I chose 100% natural yarn for this pattern.
THE STUFFING: I used 100% recycled cotton to stuff this crab.
HANDMADE FOR LONGEVITY: Creating your own crab stuffy promotes mindful consumption. This durable, handmade crab reduces the need for mass-produced alternatives.
THE SLOW YARN MOVEMENT: I’m participating in the Slow Yarn Movement. There’s far too much to talk about here, but please take a few minutes to learn about what this means by reading the article I wrote about the Slow Yarn Movement as part of my 6-part Sustainable Crochet Series.
If you’re interested in learning more about sustainable crochet you can read all about it in the 6-part series I wrote covering everything about Sustainable Crochet and how to implement it into your own crafting starting today!
Meet Clive the Crab
Clive was a crab from a warm, coastal bay,
With sea-salt in his claws and marinara in his spray.
He cooked like a legend—his sauces? Bellissimo!
From gnocchi to kelp cakes, his table was primo.
But Clive had a habit (as most crabs will do),
Of side-stepping feelings instead of walk through.
He’d shuffle from anger, skitter from sad—
Pretending, instead, to be busy (or mad).
His Nonna once told him while stirring her stew,
“True chefs face the heat, not just pasta to do!”
But Clive wasn’t ready. He’d rather just bake
than talk about heartaches or feelings that ache.
One day while preparing his famous sea spread,
A sea snail came crying, her shell cracked and red.
She sobbed, “I feel broken, I’m messy and weak!”
Clive’s claws nearly trembled—he just couldn’t speak.
But something inside him said, do not delay.
So he looked in her eyes and said, “It’s okay.”
“I’ve felt like that too—like I’m too much to bear.
But you’re not alone, and I’m happy to care.”
Her sobs turned to sniffles, then giggles, then calm—
And Clive felt a softness spread through him like balm.
He’d faced something scary—he hadn’t just stirred!
He’d spoken his truth. He had felt every word.
Now Clive still cooks pasta with buttery bliss,
Still sprinkles sea-salt with a flourish and twist—
But he also knows courage’s truest gem
is facing your feelings, not hiding behind them.
Crochet Crab Pattern Guide:
Size & Gauge:
Size: 8″ wide x 8″ deep x 4″ tall
Gauge: N/A
Materials you will need:
Yarn:
Paintbox Yarns Cotton DK or Deramores Studio Cotton DK
100% Cotton | 3/DK/Light Worsted
Red: x2 balls
White or Off-White: x1
Other tools and materials needed:
- Crochet Hook Size: 3.00 mm
- Safety Eyes: Size 10 mm (SERIOUSLY, these are the ones with the backs that are easier to put on!)
- Tapestry Needle (bent tips make all the difference!)
- Stitch Markers
- Scissors
- Stuffing
Abbreviations used in the Crochet Crab Pattern:
This pattern is written in English, using US terms. If needed, you can find a handy term conversion chart right here in my Resource Library.
ch – chain
st – stitch
hk – hook
sl st – slip stitch
mc – magic circle/magic ring
sc – single crochet
inc – increase
dec – decrease
BLO – back loop only
FLO – front loop only
rep – repeat
(…) x – repeat instructions indicated number of times
[…] – number of stitches in row/round
PH – photo reference number
The Crochet Crab:
Shell
NOTES:
- You will make an upper shell (red) and a lower shell (white) and then join them together
- The shells are worked in continuous rounds – do not join after each round
| UPPER SHELL: Use the red yarn | ||
| Rnd 1: | st 6 sc in a magic circle | [6] |
| Rnd 2: | inc in each st around | [12] |
| Rnd 3: | (sc 1, inc) x6 | [18] |
| Rnd 4: | (sc 2, inc) x6 | [24] |
| Rnd 5: | (sc 3, inc) x6 | [30] |
| Rnd 6: | (sc 4, inc) x6 | [36] |
| Rnd 7: | (sc 5, inc) x6 | [42] |
| Rnd 8: | (sc 6, inc) x6 | [48] |
| Rnd 9: | (sc 7, inc) x6 | [54] |
| Rnd 10: | (sc 8, inc) x6 | [60] |
| Rnd 11: | (sc 9, inc) x6 | [66] |
| Rnd 12: | (sc 10, inc) x6 | [72] |
| Rnd 13-17: | sc around | PH 01 | [72] |
| Do not fasten off as you will pick up the red again when joining the upper shell to the lower shell. | ||
| LOWER SHELL: Use the white yarn | ||
| Rnd 1: | st 6 sc in a magic circle | [6] |
| Rnd 2: | inc in each st around | [12] |
| Rnd 3: | (sc 1, inc) x6 | [18] |
| Rnd 4: | (sc 2, inc) x6 | [24] |
| Rnd 5: | (sc 3, inc) x6 | [30] |
| Rnd 6: | (sc 4, inc) x6 | [36] |
| Rnd 7: | (sc 5, inc) x6 | [42] |
| Rnd 8: | (sc 6, inc) x6 | [48] |
| Rnd 9: | (sc 7, inc) x6 | [54] |
| Rnd 10: | (sc 8, inc) x6 | [60] |
| Rnd 11: | (sc 9, inc) x6 | [66] |
| Rnd 12: | (sc 10, inc) x6 | [72] |
| Rnd 13-14: | sc around | PH 02 | [72] |
| With the right sides facing out, hold the upper and lower shell together. Insert your hook through both loops of the next stitch on the upper/red shell and the outer loop only of the adjacent stitch on the lower/white shell, complete a sc – PH 03 & 04. Sc through each st around in this same way – using both loops of the red stitches and the outer loop only of the white stitches. Stop before you fully close and stuff firmly. Fasten off and bring yarn to the inside. PH 05, 06, & 07 | ||

Claws – Make 2
NOTES:
- The pincers of the claws are worked in 2 separate pieces and then joined. The pieces are worked in continuous rounds – do not join after each round
| Small Pincer | ||
| Rnd 1: | st 5 sc in a magic circle | [5] |
| Rnd 2: | sc 2, 3 sc in next st, sc 2 | [7] |
| Rnd 3: | sc 3, 3 sc in next st, sc 3 | [9] |
| Rnd 4: | sc 4, 3 sc in next st, sc 4 | [11] |
| Rnd 5: | sc 5, 3 sc in next st, sc 5 | [13] |
| Rnd 6: | sc 6, 3 sc in next st, sc 6 | [15] |
| Rnd 7: | sc around – as you make your way around, mark the 7th st with a st mk | PH 08 | [15] |
| Sl st to next st and fasten off. | ||
| Large Pincer | ||
| Rnd 1: | st 5 sc in a magic circle | [5] |
| Rnd 2: | sc 2, 3 sc in next st, sc 2 | [7] |
| Rnd 3: | sc 3, 3 sc in next st, sc 3 | [9] |
| Rnd 4: | sc 4, 3 sc in next st, sc 4 | [11] |
| Rnd 5: | sc 5, 3 sc in next st, sc 5 | [13] |
| Rnd 6: | sc 6, 3 sc in next st, sc 6 | [15] |
| Rnd 7 | sc 7, 3 sc in next st, sc 7 | [17] |
| Rnd 8-9: | sc around | [17] |
| Do not fasten off. You will continue straight away to join the pincers into the claw. | ||

Claws continued…
NOTES:
- We will now join the pincers together to create the claw, and then continue on to crochet the arm
- Since the Rnd counts are different on the small and large pincers, we are going to start over with the Rnd counts as we continue with the claw here
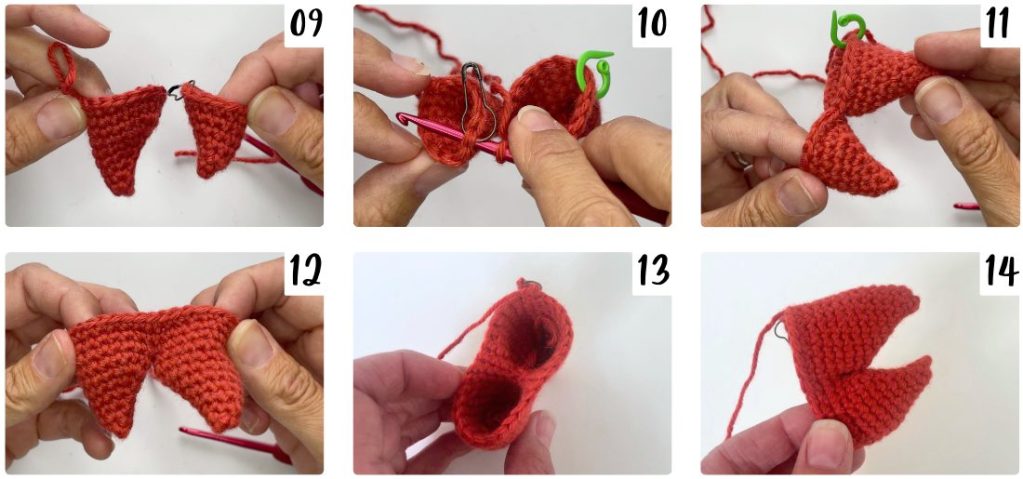
| Rnd 1: | picking up where you left off on the large pincer, sc 8, pick up the small pincer and beginning in the st where you placed the st mk (PH 10), sc all the way around the small pincer [15], continuing back along the large pincer, sc in the remaining 9 st | PH 11 | [32] |
| Rnd 2-3: | sc around | PH 12 | [32] |
| Squeeze the pincers into shape over Rnds 2 and 3. Using a length of red yarn and a tapestry needle, take a few stitches back and forth on the inside to sew them into place – holding them closed against each other – PH 13 & 14. | ||
| Rnd 4: | (sc 6, dec) x4 | [28] |
| Rnd 5: | sc around | Stuff pincers and curl/shape them | [28] |
| Rnd 6: | (sc 5, dec) x4 | [24] |
| Rnd 7: | sc around | Stuff again | [24] |
| Rnd 8: | (sc 4, dec) x4 | [20] |
| Rnd 9: | sc around | [20] |
| Rnd 10: | (sc 3, dec) x4 | Stuff again | [16] |
| Rnd 11: | (sc 2, dec) x4 | [12] |
| Rnd 12: | (sc 4, dec) x2 | Stuff again | [10] |
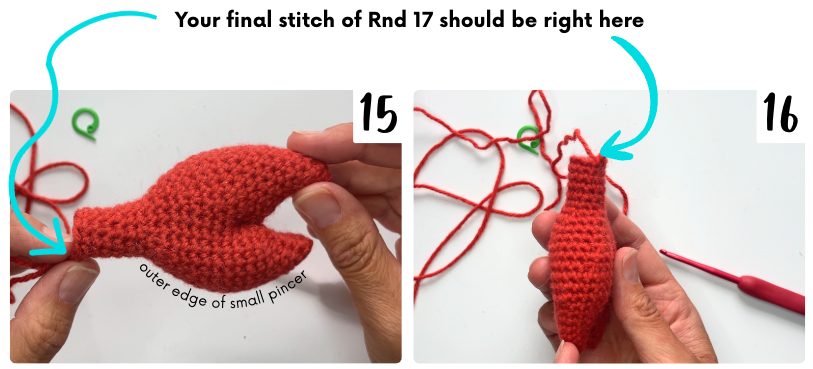
| Rnd 13-17: | sc around | PH 15 | [10] |
| Before you begin Rnd 18, take a moment to be sure your final stitch of Rnd 17 is aligned with the outer edge of the small pincer – PH 15 & 16. You may need to give or take a few stitches to be sure it is placed correctly here. This will ensure the bend in the arm is placed correctly in alignment with the claw. Your first st of Rnd 18 (which is an increase) needs to be placed in straight alignment with the outer/lower edge of the small pincer. I illustrate this in detail in the video tutorial if you need help visualizing that! | ||
| Rnd 18: | inc 2, sc 2, dec 2, sc 2 | [10] |
| Rnd 19 | inc 2, sc 2, dec 2, sc 2 | [10] |
| Rnd 20: | inc 2, sc 2, dec 2, sc 2 | [10] |
| Rnd 21: | sc around | [10] |
| Fasten off and snip, leaving a long tail for sewing on. | ||

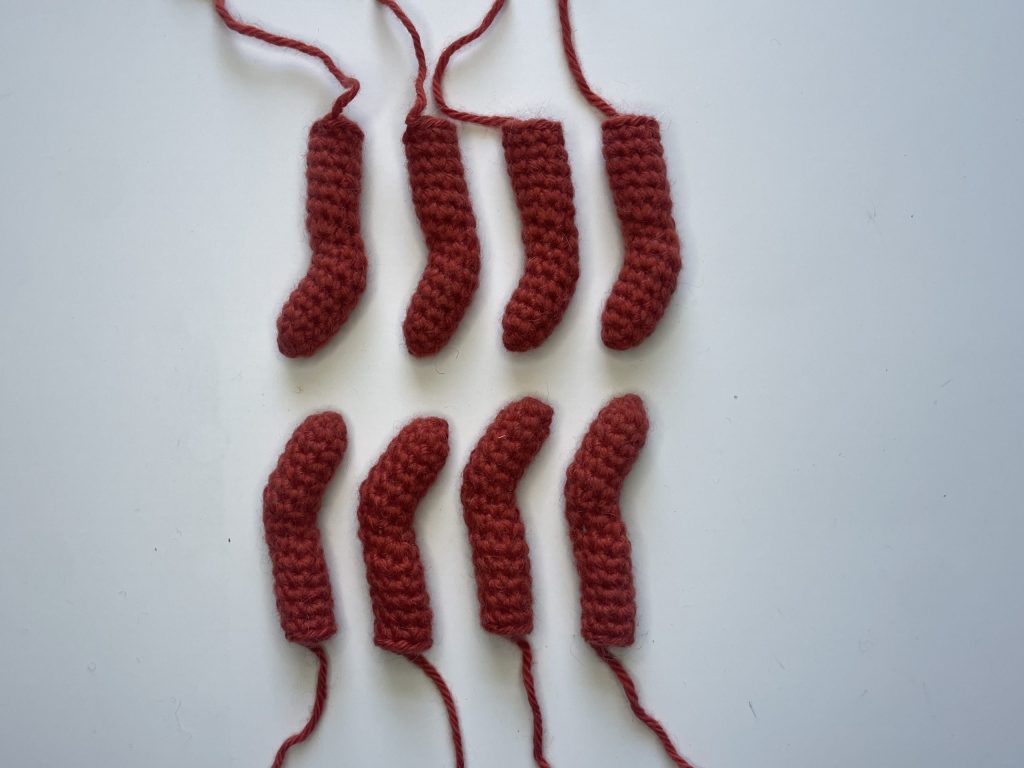
Legs – make 8
The legs and eyes are worked in continuous rounds – do not join after each round
| Rnd 1: | st 4 sc in a magic circle | [4] |
| Rnd 2: | inc in each st around | [8] |
| Rnd 3-7: | sc around | [8] |
| Rnd 8-10: | sc 1, inc 2, sc 1, dec 2 | Stuff legs | [8] |
| Rnd 11-15: | sc around | PH 17 | [8] |
| sl st to next st to fasten off. Snip, leaving a long tail for sewing on. | ||
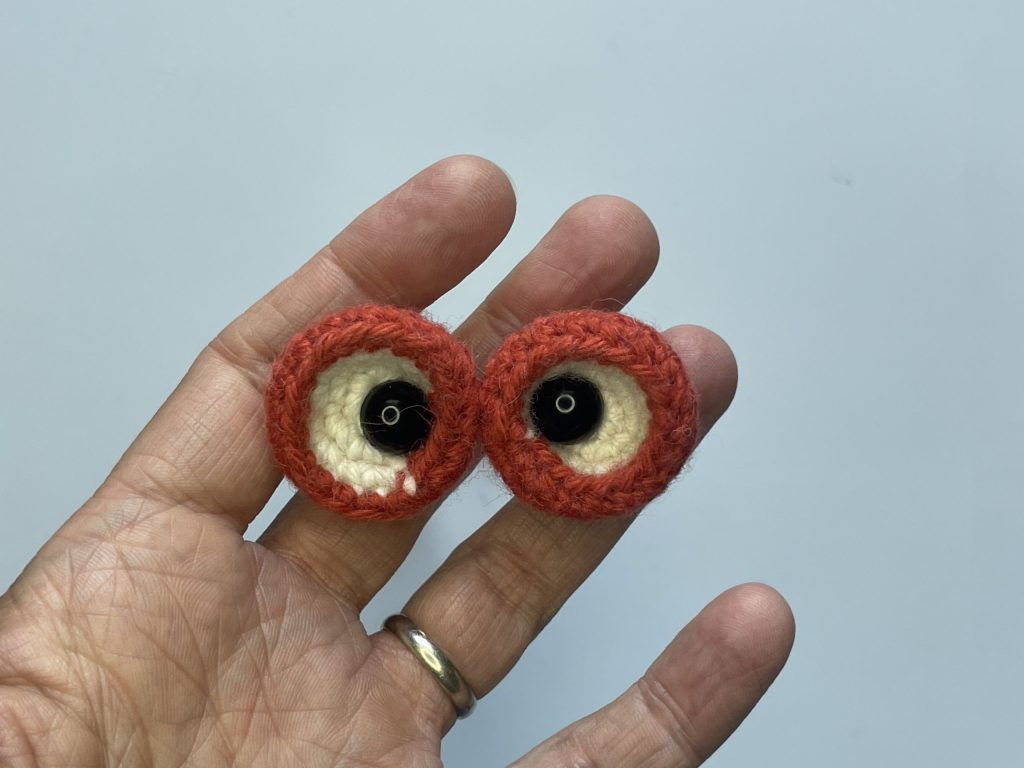
Eyes – make 2
| Begin with the white yarn | ||
| Rnd 1: | st 6 sc in a magic circle | [6] |
| Rnd 2: | inc in each st around | [12] |
| Rnd 3: | (sc 1, inc) x6 | [18] |
| Switch to the red yarn | ||
| Rnd 4: | FLO sc around | [18] |
| Rnd 5: | BLO sc around | [18] |
| Rnd 6-7: | sc around | [18] |
| Insert safety eyes between Rnds 1 & 2 | ||
| Rnd 8: | (sc 1, dec) x6 | [12] |
| Rnd 9: | dec around | [6] |
| Snip yarn, leaving a 6 long tail for sewing on. Pull through final two loops. Using the yarn tail and a tapestry needle, weave yarn through front loops only of the remaining 6 stitches and pull tightly to close. The eyes are NOT stuffed. | ||
Assembly
Decide where you want your eyes to go. It took me a while to finalize my decision and I took pictures of all the ways I played around with. I’ve included them here if you would like some inspiration on placing them differently than I did!

Using the photos below for reference, sew on the claws, legs and eyes. The claws and legs are sewn on the white section of the shell just below where the red and white portions were joined.

Crochet Crab Pattern Video Tutorial:
Show Off Your Work! ✨
I can’t wait to see your beautiful crochet crabs! Be sure to tag me on social media @offthebeatenhook or use the hashtag #offthebeatenhook so I can admire your makes. ❤️
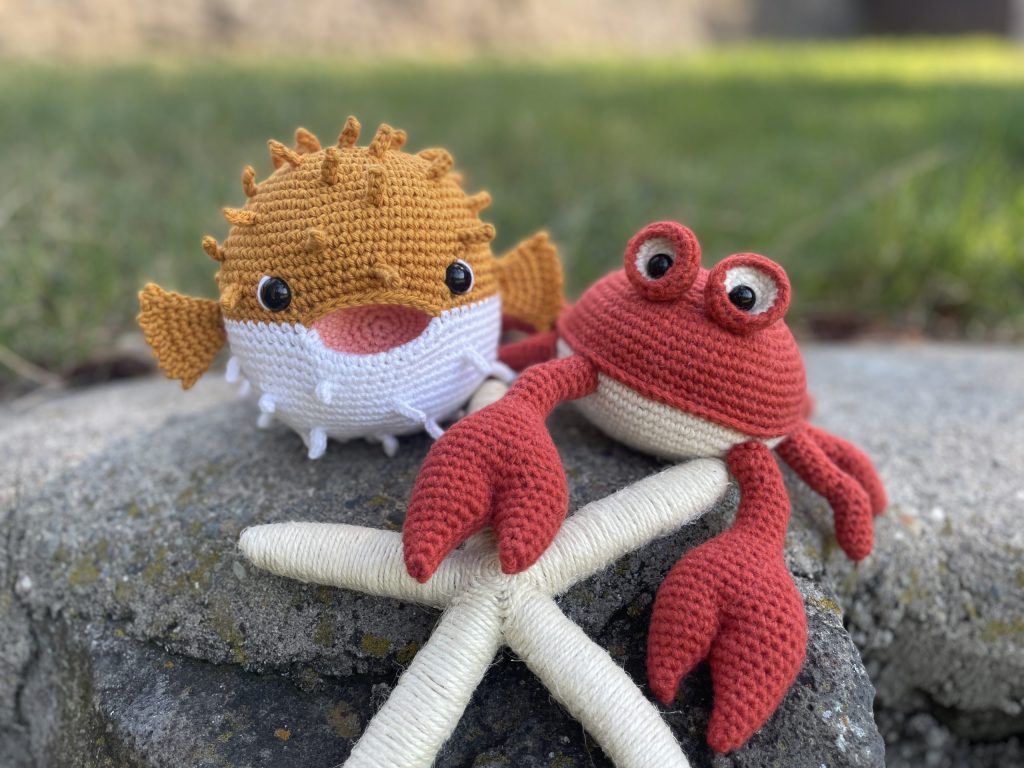
🔗 Other Cuddly Sea Creature Patterns To Check Out:
- Ingrid the Octopus
- Bubbles the Puffer Fish
- Axel the Squid
- Jag the Jellyfish
- Jacque the Manta Ray
- Kalla the Orca
Pin this Crochet Crab Pattern Here:

Leave a Reply