
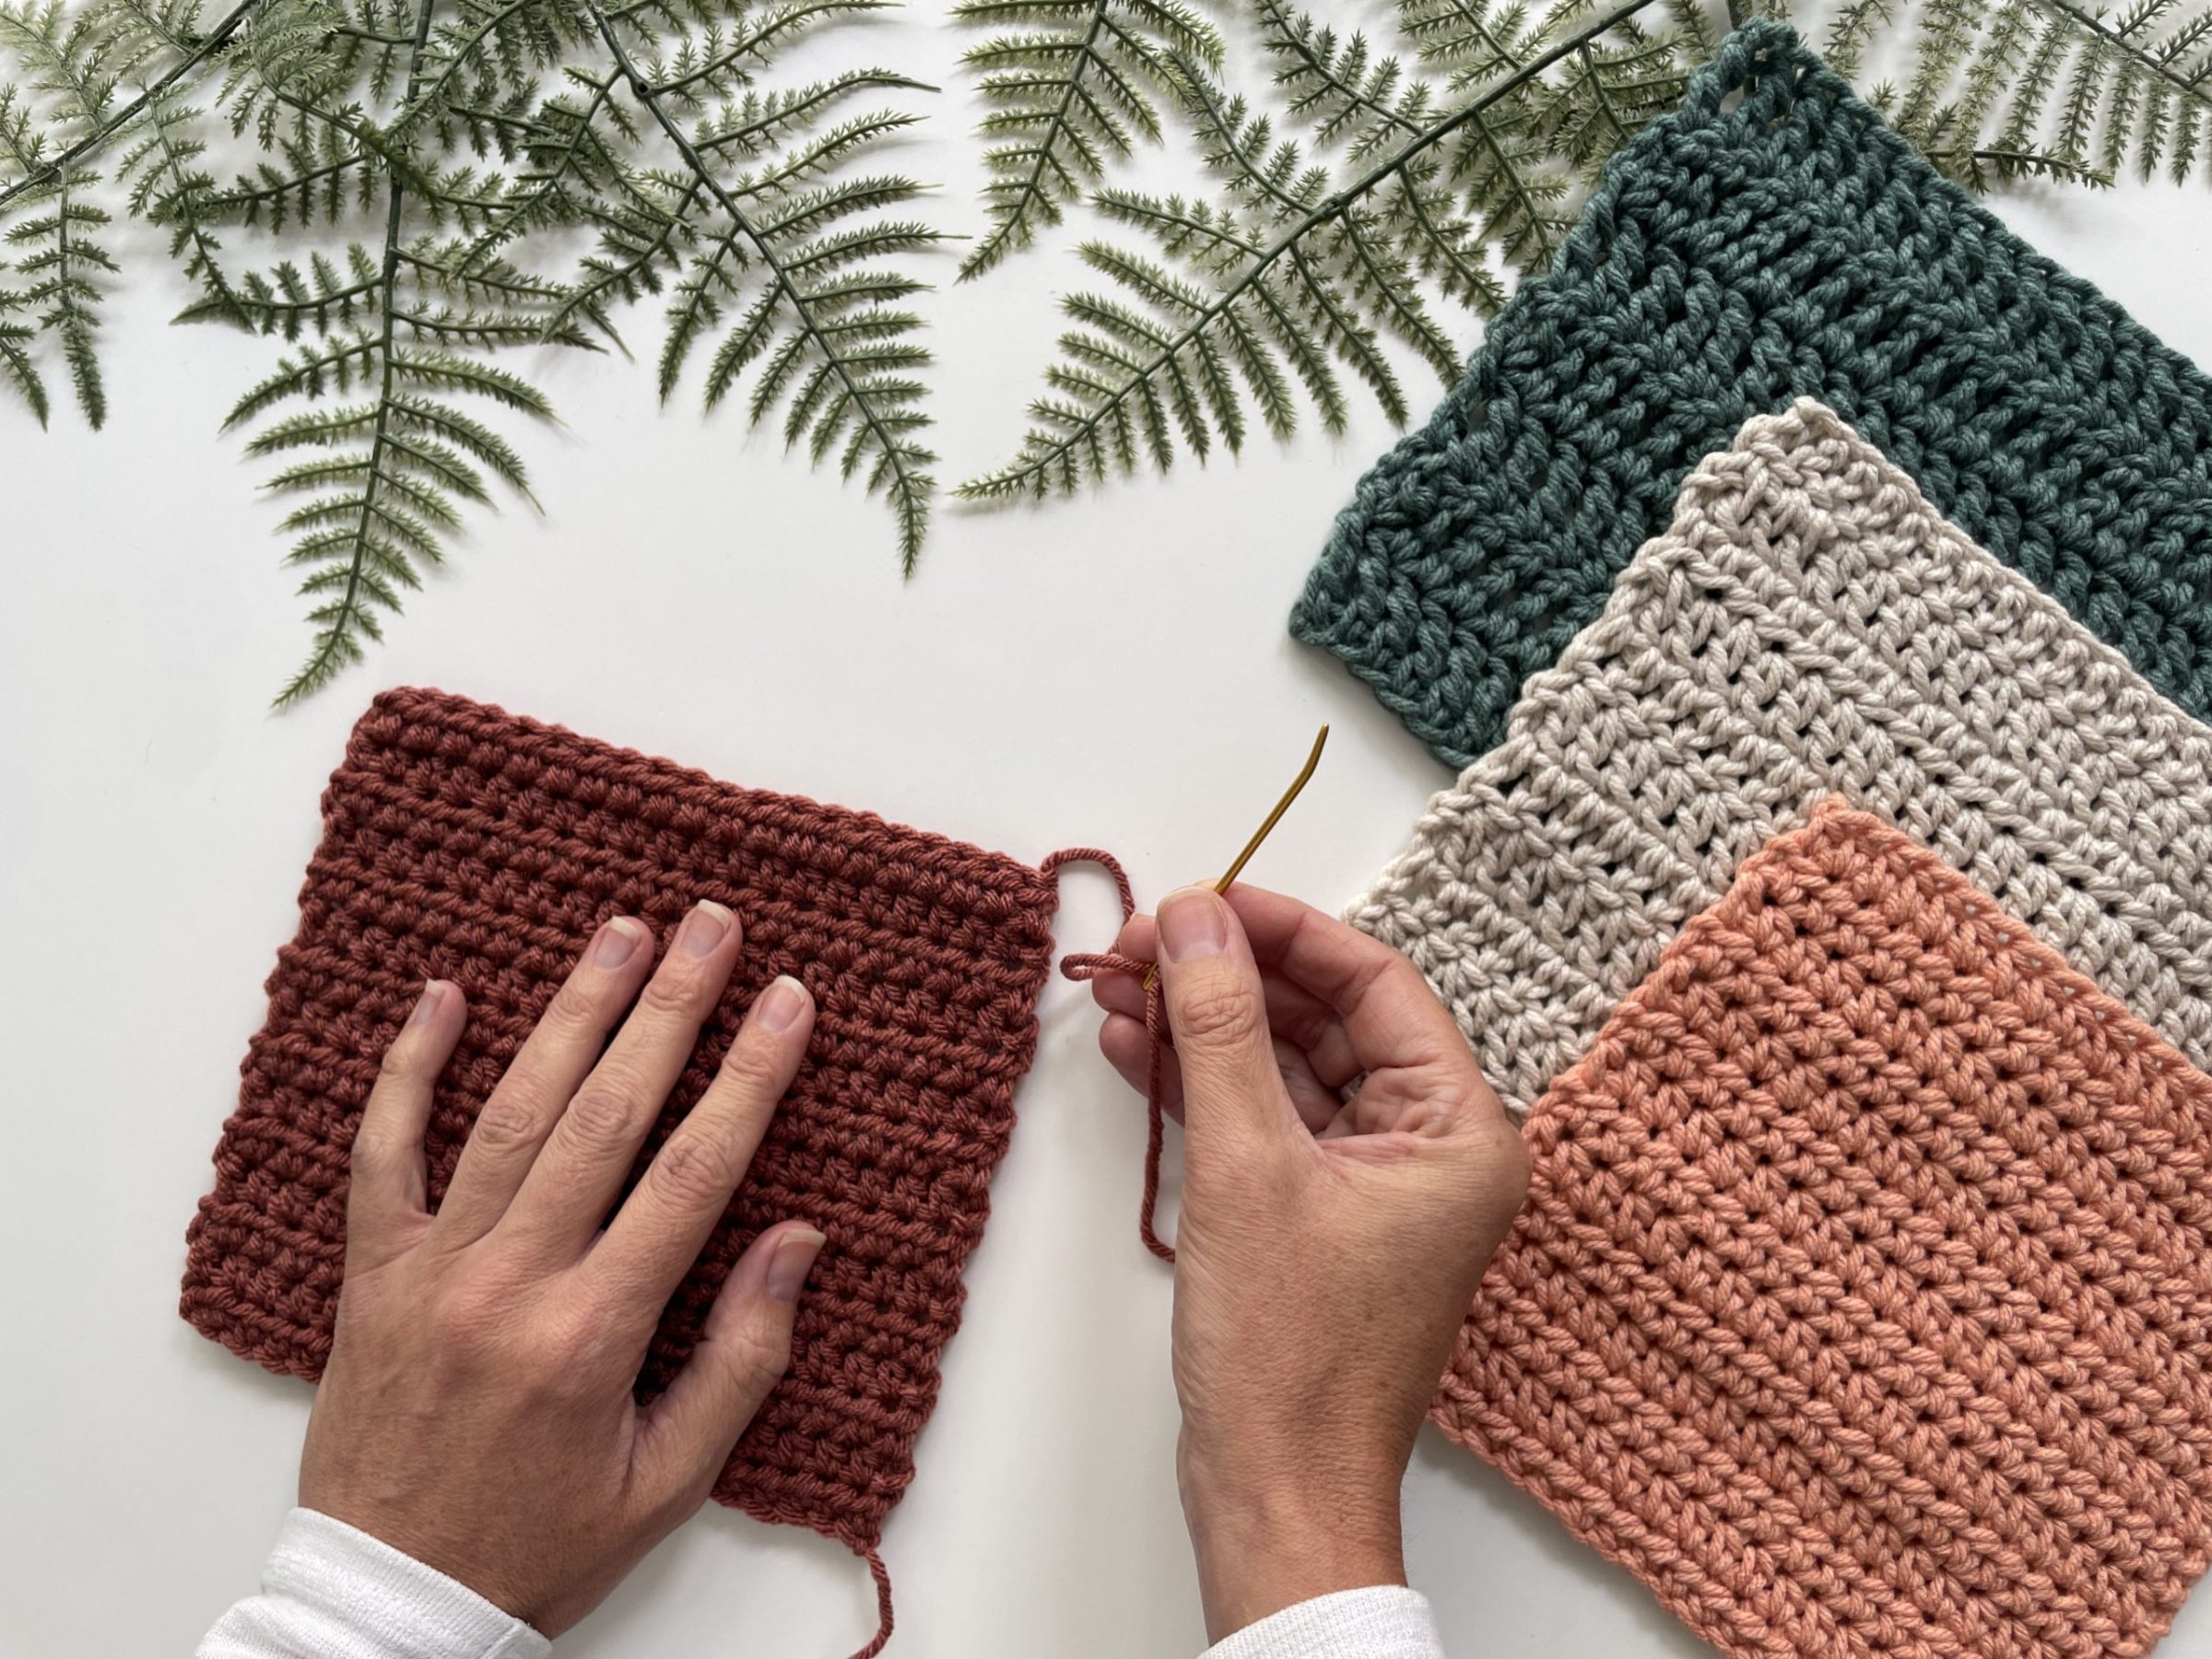
If you’ve been wondering how to weave in ends, crochet finishing is much simpler than it may look. In this lesson, you’ll learn how to fasten off your crochet and weave in your yarn ends so your hard work stays secure—and the back of your project doesn’t look like it has grown a small yarn garden.
Fastening off and weaving in your ends are the final steps in completing a crochet project. They may not be the most glamorous part of crocheting, but they’re what transform your work from “technically finished” to actually finished.
LEARN TO crochet
Module 2: Core Crochet Stitches
Lesson 6: How to Fasten Off & Weave in Ends
This lesson is part of my free Learn to Crochet Course designed to take you from your very first stitch to completing your first projects and beyond.
24 step-by-step lessons with videos.
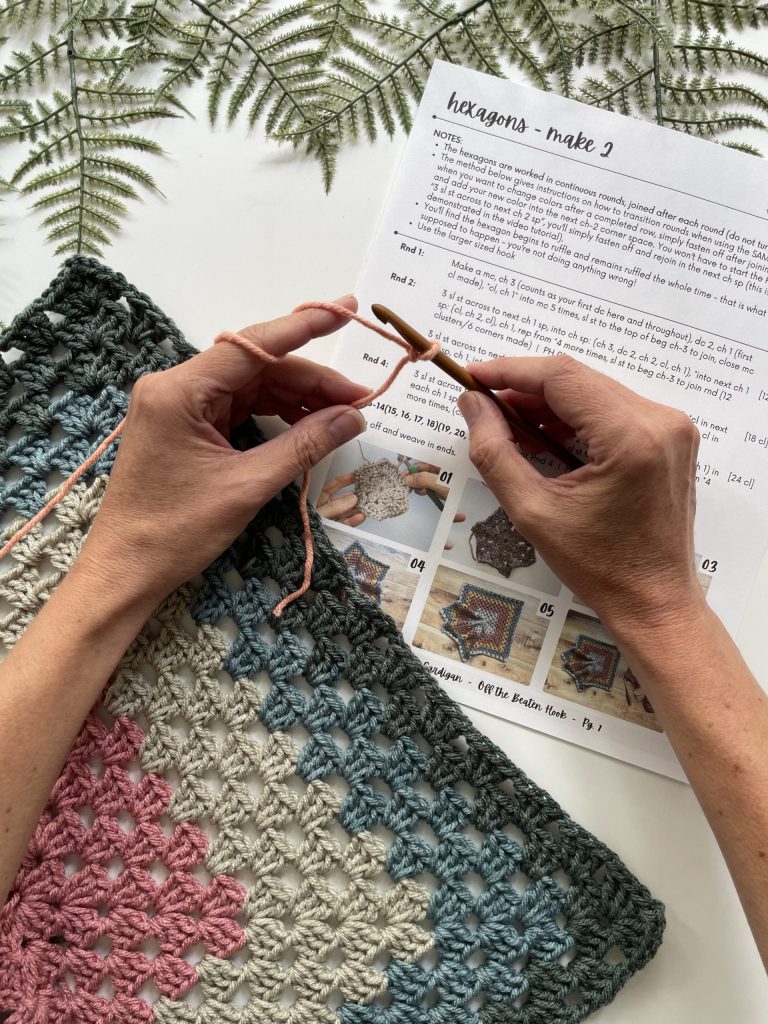

Materials You Will Need For This Lesson
- Worsted (4/Medium) Weight Yarn
- 5.5 mm Crochet Hook (a size 5.0 mm or 6.0 mm will work, if preferred)
- Scissors
- Yarn Needle
A Little Help for Your Crochet Basket
Join and get the free Crochet Pro Essentials PDF Pack, plus gentle course reminders and new lessons in your inbox.
What Does It Mean to Fasten Off in Crochet?
Fastening off is how you secure your final stitch after completing a crochet project or a section of a project. It prevents your last loop from coming undone once you remove your crochet hook.
To fasten off, you’ll cut the working yarn and pull the remaining tail completely through the final loop on your hook. This creates a secure ending point—but you’ll still need to weave in the tail to finish the job properly.
What Does It Mean to Weave in Ends in Crochet?
Weaving in ends means hiding and securing the loose yarn tails left behind after fastening off, joining new yarn, or changing colors.
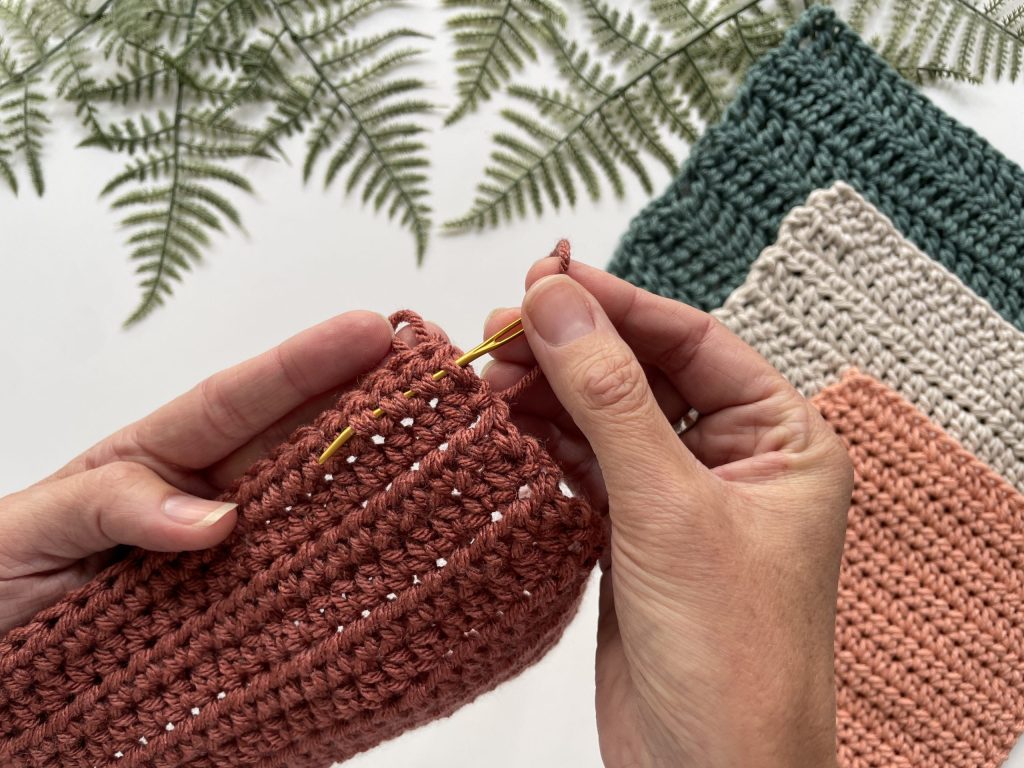
Using a tapestry needle, you’ll work each tail back through the stitches of your project. Changing directions as you weave creates friction and helps keep the yarn from slipping out later.
The goal is for the yarn end to be secure without creating a lump, pulling the fabric out of shape, or showing prominently from the front of your work.
How to Fasten Off Crochet
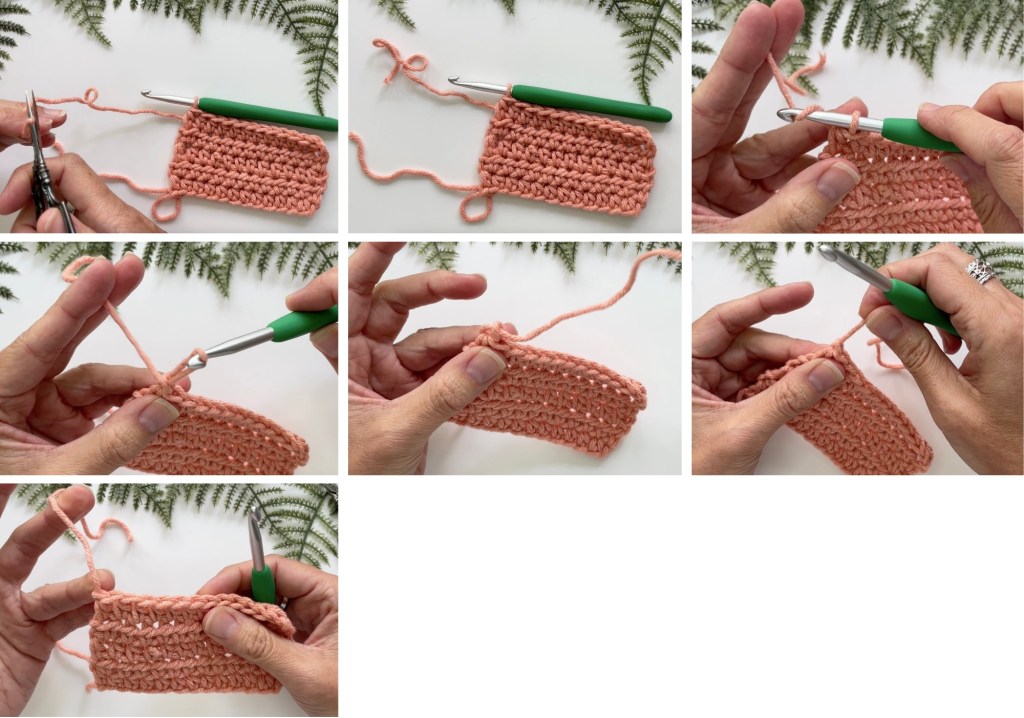
Once you’ve completed the final stitch of your project, you’re ready to fasten off.
- Finish the final stitch according to your pattern.
- Leave the last loop on your crochet hook.
- Cut the working yarn, leaving a tail at least 6 inches long.
- Yarn over with the yarn tail and use your hook to pull the cut yarn tail completely through the loop.
- Gently pull the tail to tighten and secure the final stitch.
Your crochet hook can now be removed. The final stitch is secure, but the remaining yarn tail still needs to be woven into the fabric.
How Long Should You Leave a Yarn Tail?
Leave a yarn tail that is at least 6 inches long when fastening off. This gives you enough yarn to thread your needle, weave in several directions, and trim away the excess.
You may want to leave a slightly longer tail if you’re working with:
- Bulky or super bulky yarn
- Slippery yarn
- Chenille or velvet-style yarn
- A project that will be washed frequently
- A tail that will also be used for seaming
It is always easier to trim away extra yarn than it is to convince a two-inch tail to cooperate. Yarn can be stubborn like that.
How to Weave in Ends in Crochet
The exact path you follow will depend on your stitch pattern and project, but the basic method remains the same.
Step 1: Thread the Yarn Tail
Thread the yarn tail through the eye of your tapestry needle. Fold the end of the yarn over the needle, pinch the fold firmly, remove the needle, and push the folded yarn through the eye.
Step 2: Turn to the Wrong Side
Whenever possible, weave in your ends on the wrong side of your crochet project. This makes the woven tail less visible from the front.
If your project is reversible, choose the side where the tail can be hidden most naturally within the stitches.
Step 3: Weave Through Several Stitches
Insert the tapestry needle underneath the loops or posts of several nearby stitches. Follow the natural direction of the stitches and keep the needle within the same color whenever possible.
Pull the yarn through gently. The tail should lie securely within the fabric without puckering or distorting it.
Step 4: Change Directions
Turn the needle and weave the tail back through several stitches in the opposite direction. Use a slightly different path so you don’t simply undo the first pass.
Changing directions is one of the most important parts of learning how to weave in ends in crochet. A single straight pass can slide out much more easily, especially when the project is stretched, worn, or washed.
Step 5: Change Directions Again
For extra security, change directions one more time and work the tail through another group of stitches.
You generally want to weave the tail in three directions. There’s no need to create an elaborate underground transportation system—just enough back-and-forth movement to hold it securely.
Step 6: Check and Trim the Tail
Gently stretch and relax the fabric to make sure the woven end moves naturally with the stitches. Then trim the remaining yarn close to the surface without cutting the crochet fabric itself.
If you plan to block your project, you can leave a tiny bit of extra yarn and make the final trim after blocking.
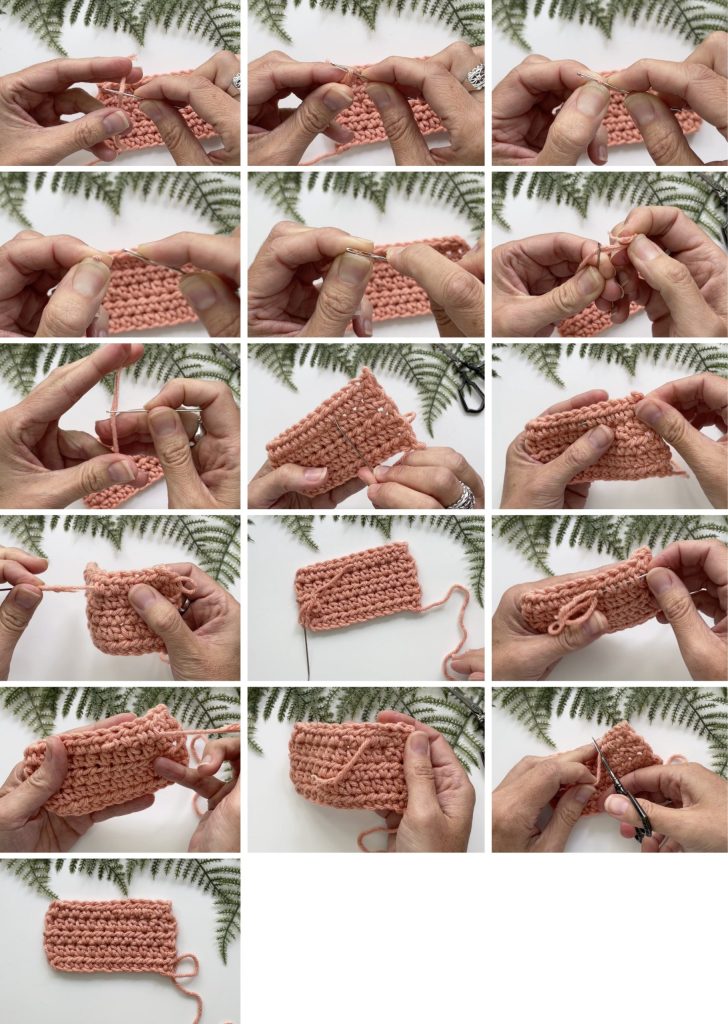
How to Weave in the Starting Tail
The starting tail should be woven in just as securely as the tail left after fastening off.
Thread the starting tail onto your tapestry needle and weave it through the wrong side of your first row or round. Change directions at least twice before trimming the excess.
If your starting tail is near the foundation chain, work through the base of the stitches where the yarn can be hidden without changing the shape of the edge.
Watch the Video Lesson
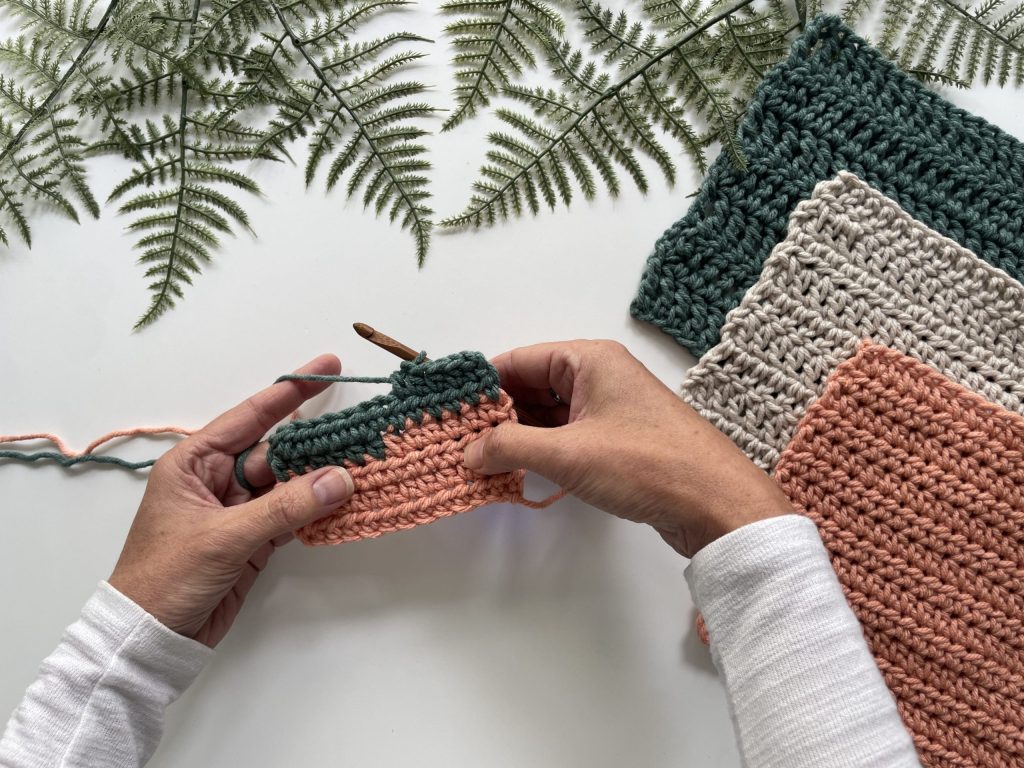
How to Weave in Ends After Changing Colors
When weaving in ends from a color change, keep each tail within stitches of the same color. This helps prevent a contrasting yarn end from showing through the front of your work.
Weave each tail away from the color-change point, changing directions as you go. Avoid pulling the tails too tightly, which can cause the fabric to pucker where the colors meet.
You can weave in your ends as you work or wait until the project is finished. Weaving them in as you go makes the final finishing process much faster, but waiting can be helpful if you think you may need to unravel and correct part of the project.
Should You Tie a Knot Before Weaving in Ends?
In most crochet projects, you do not need to tie a knot before weaving in your yarn ends. Weaving the tail securely in several directions usually provides enough friction to keep it in place.
Knots can create hard bumps in the fabric and may become visible from the front. However, some patterns or specialty yarns may require a different finishing method, so always follow the instructions provided for your project.
Can You Crochet Over Your Yarn Ends?
You can crochet over a yarn tail to help hide and secure it, especially when working in rounds or changing colors. Lay the tail along the top of the previous row or round and work your new stitches over it.
However, crocheting over a tail is not always as secure as weaving it in—particularly with slippery yarn or items that will be washed frequently. For the best hold, crochet over part of the tail and then weave the remaining length back through the fabric.
Tips for Secure and Invisible Crochet Ends
Use these tips to keep your yarn ends from working their way out later:
- Leave tails at least 6 inches long.
- Weave the yarn in more than one direction.
- Stay within stitches of the same color.
- Avoid pulling the tail so tightly that the fabric puckers.
- Follow the natural structure of the stitches.
- Use longer tails for smooth or slippery yarn.
- Gently stretch the fabric before trimming the excess.
- Weave in your ends before the project enters regular use or the washing machine.
A small yarn end may occasionally peek out after washing. This doesn’t necessarily mean your project is unraveling. Use a tapestry needle or small crochet hook to tuck it back into the fabric rather than trimming it repeatedly.

Common Mistakes When Weaving in Crochet Ends
Cutting the Yarn Tail Too Short
A short tail is difficult to thread and doesn’t provide enough length to weave in multiple directions. Leave at least 6 inches so you have room to work.
Weaving in Only One Direction
A straight tail can slide back out of the same path. Changing directions helps lock the yarn into the surrounding stitches.
Pulling the Tail Too Tightly
Pulling too firmly can bunch or distort the fabric. The woven yarn should follow the natural tension of the project.
Weaving Dark Yarn Through Light Stitches
A contrasting tail may be visible from the front. Keep each yarn end within an area of the same color whenever possible.
Trimming Before Checking the Fabric
Stretch and relax the fabric before cutting the remaining tail. This allows the stitches to settle and helps prevent the end from immediately popping back out.
FAQs
A blunt tapestry needle with a large eye is generally the best choice. Metal needles slide smoothly through dense stitches, while plastic needles can be helpful for bulky yarn.
Aim to weave the tail in at least three directions. For example, work in one direction, turn back, and then change direction once more before trimming.
No. You only need to fasten off when you have finished the project, completed a section that requires you to cut the yarn, or are instructed to fasten off in the pattern.
Your tails may be too short, woven in only one direction, or worked through stitches that are too loose. Leave a longer tail and weave it through the fabric in multiple directions.
Weaving in ends as you go can make finishing less overwhelming, especially in projects with several color changes. However, you may want to wait until you’re confident that you won’t need to unravel that section. There are few things more annoying than beautifully weaving in an end and immediately realizing you need to frog six rows.
Yes. A smaller crochet hook can help pull short or bulky ends through the stitches. A tapestry needle usually makes changing directions and hiding the tail easier, but either tool can work.
Module 2 Milestone: You Know the Essential Crochet Stitches!
You’ve reached the end of Module 2—and that is a big deal! You’ve learned how to make single crochet, half double crochet, double crochet, and treble crochet stitches. You also know how to count your stitches and rows, turn your work, fasten off, and weave in your ends.
In other words, you can now begin a crochet project, create the fabric, keep track of what you’re doing, and finish it securely. Look at you becoming an actual crocheter.
In Module 3, we’ll begin turning those individual skills into complete projects. Our next lesson covers common crochet abbreviations and terms, so you can start decoding written patterns without feeling as though they were written in a secret yarn-based language.
← Previous Lesson: How to Treble Crochet
SOCIAL MEDIA YOUR THING?
Connect with me on your favorite social network!

Pin This Lesson for Later
Leave a Reply