
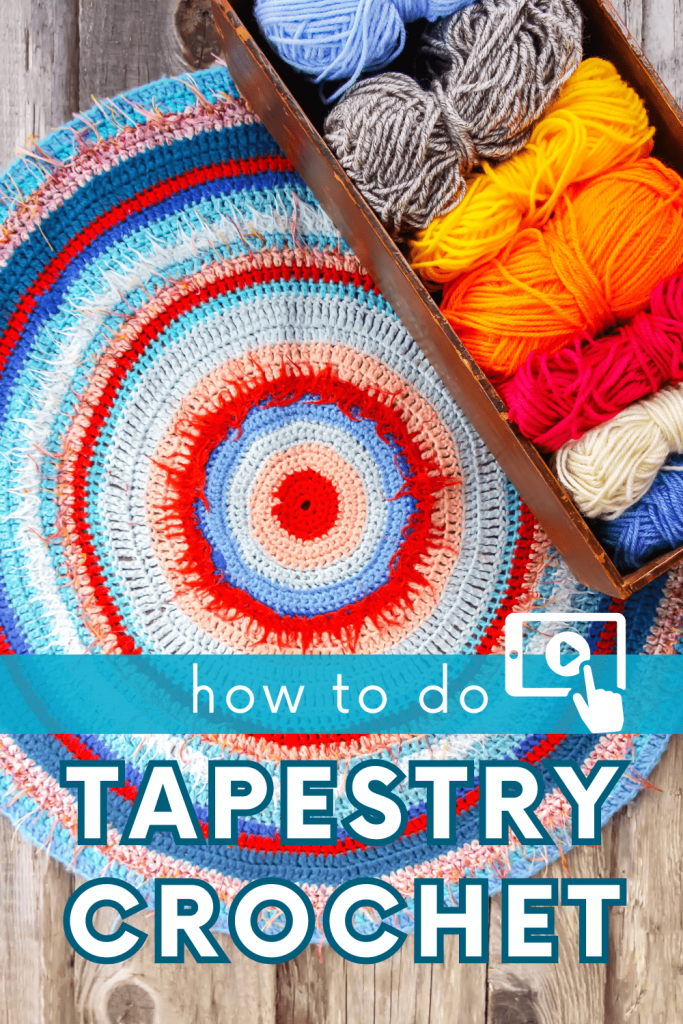
Are you ready to add a whole new level of creativity to your crochet projects? Tapestry crochet is a fun, versatile, and visually striking technique that allows you to incorporate intricate designs, pictures, and vibrant colorwork into your pieces. Whether you’re a beginner or an experienced crocheter, this guide will teach you everything you need to know about how to do tapestry crochet, including tips, tricks, and troubleshooting.
I’ve created a comprehensive video tutorial all about about how to do tapestry crochet. The tutorial includes how to read a grid or graph-style pattern and 2 methods for changing color (tapestry and intarsia). You can find that further down in this post or access it straight away on YouTube here.
Jump into the How to Do Tapestry Crochet tutorial now, or PIN it for later here!

What Is Tapestry Crochet?
Tapestry crochet is a technique where you work with two or more colors of yarn to create stunning patterns or images in your crochet project. This colorwork technique keeps unused yarn hidden within or behind the stitches, resulting in a clean and polished look on the front side of your work.
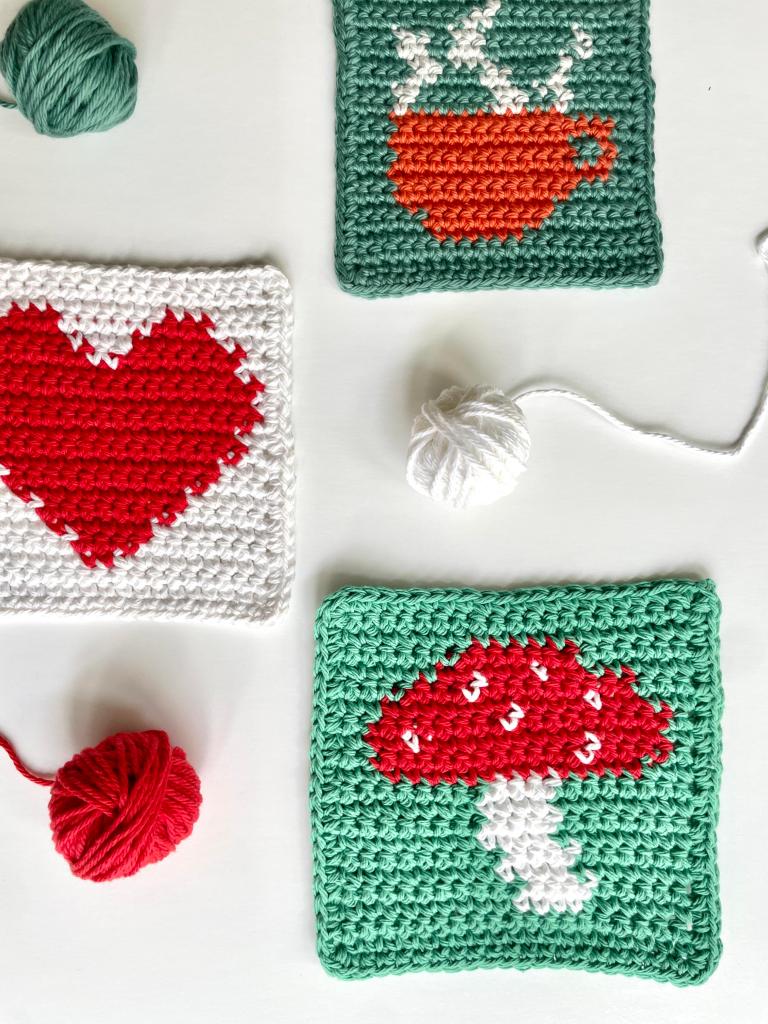
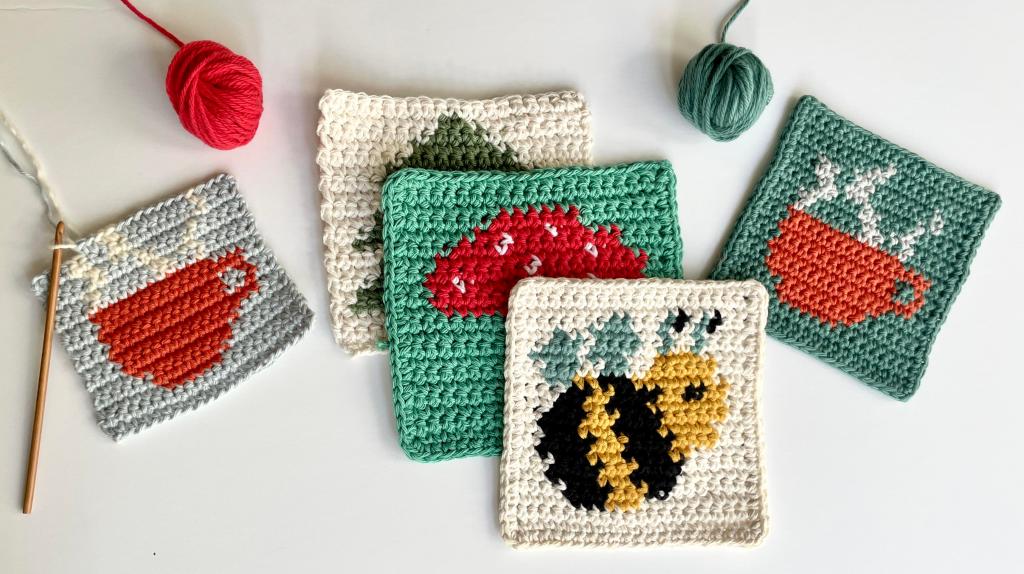
Tapestry crochet is perfect for:
- Geometric patterns
- Lettering and monograms
- Intricate motifs and images
- Pillow covers
- Wall hangings
- Tote bags
- Coasters
- Clothing accents
The beauty of this technique lies in its ability to transform basic crochet stitches into eye-catching designs.
What is the Difference Between Tapestry & Intarsia Crochet?
The main difference between Tapestry and Intarsia crochet is the technique you use to change yarn colors.
In Tapestry crochet, you carry your yarn across the row and pick it back up when you switch to your new color. This method works best when working with just two colors at a time, as carrying more than one color at a time can create a dense, unsightly, bulky texture.
With Intarsia crochet, you work with multiple balls of the same color, picking up and dropping colors as you go along. With this method, you do not carry your yarn along.
I use a mix of both of these techniques based on how complex the image in the pattern is. Most of the time, I use both of these techniques within the same project as well!
The video tutorial on how to do tapestry crochet covers both of these colorwork techniques in detail!
Policies & Disclaimers:
This post may contain affiliate links for materials I use and love. If you purchase something using one of these links I may earn a small commission which in no way affects the cost to you. These partnerships help me support my small business which allows me to provide you with free crochet patterns. Thank you from the bottom of my heart for your support!
Materials Needed for Tapestry Crochet:
To get started, gather the following materials:
- Yarn: Choose contrasting colors for your design so the image really pops. Cotton yarn is often preferred for its smooth texture and stitch definition.
- Crochet Hook: Use a hook size appropriate for your yarn weight. A smaller hook can help achieve tighter stitches for detailed designs.
- Graph or Pattern: A chart is essential for tracking color changes.
- Scissors: For trimming yarn ends.
- Tapestry Needle: For weaving in loose ends.
- Stitch Markers: Keep track of your rows and stitches for efficiency and accuracy.

How To Do Tapestry Crochet: Step-by-Step Guide
1. Choose Your Pattern
Start with a simple design if you’re new to tapestry crochet. Many patterns are presented as grids or graphs, with each square representing a single crochet stitch. I cover how to read a graph-style crochet pattern in detail in the video tutorial.
2. Prepare Your Yarn
Select at least two colors. To avoid tangling, remain as organized as possible and pre-roll small yarn balls or bobbins for each color section.
3. Create a Foundation
Begin with a foundation chain. Graph patterns can be worked in any type of stitch, but the VAST majority are worked in single crochet (sc) as this stitch creates a tight, uniform tension that works well with tapestry and intarsia crochet.
4. Choose Your Color Change Technique (or use both!)
As you crochet, either carry the unused yarn along the row by laying it across the top of your stitches and crocheting over it. Or, drop your yarn during your color change and work with multiple, small balls or bobbins of yarn. Both of these methods will keep the back of your work tidy.
How to change colors (2 methods shown in the video tutorial here):
When switching colors:
- Work the last yarn-over of the current stitch with the new color.
- Pull the new color through to complete the stitch.
- Continue with the new color, carrying the old one or dropping it and picking it back up on the next go-around.
- Whichever color the loop on your hook is will be the color of your next stitch.
6. Follow the Graph
Refer to your graph for when to switch colors. Each square corresponds to one stitch. Again, refer to the video tutorial for how to read the graph or grid-style pattern. The pattern I make in the video tutorial can be found below so you can try it yourself!
7. Keep Tension Consistent
Maintaining even tension is crucial. Too tight, and your work will pucker; too loose, and the carried yarn may show. Practice makes perfect!

8. Finishing Touches
- For a super clean, polished finish, top it all off by making a border of single crochet around your tapestry when applicable (wall hangings, coasters, etc).
- Snip excess yarn.
- Weave in loose ends with a tapestry needle.
- Block your project to really make it shine!
Common Mistakes and Troubleshooting
Inconsistent Tension: Practice with swatches to perfect your tension. If you carry your yarn too tightly, it will make your project pucker. Also, with the first and last stitch of your color change, pull on the yarn ends gently and look to ensure they are the same size/tension as the rest of the stitches in the row.
Visible Carried Yarn: Keep carried yarn taut but not overly tight to prevent it from peeking through.
Gaps Between Stitches: You may be using a hook size too large for the yarn you’re using. Try going down a hook size so your stitches will be tighter.
Skipping or Missing Stitches: Follow the graph closely, using a pen or pencil to mark off your progress as you go. Skipping stitches will cause you to have to frog and try to figure out where you went wrong. Ugh!
Tips for Success
Plan Your Ends: Minimize loose ends by carrying yarn rather than cutting it frequently.
Practice with Simple Designs: Start with patterns featuring fewer color changes to build confidence.
Use High-Contrast Colors: This enhances the visibility of your design.
Mark Your Rows: Use stitch markers or a pencil to track your progress on the graph.
FAQs About Tapestry Crochet
Is tapestry crochet difficult?
It’s a bit more complex than basic crochet, but with practice and patience, anyone can master it. Colorwork techniques are exciting skills to have in your crochet toolbox! They’re fun and rewarding.
What stitches are used in tapestry crochet?
Single crochet (sc) is the most commonly used stitch due to its tight, uniform appearance.
Can I use any yarn?
Yes, but smoother yarns like cotton or acrylic work best for crisp designs. And always make sure you’re matching your yarn with the proper hook size to avoid gaps and holes between stitches which will interrupt the crisp colorwork look.
Let’s Practice!
In the following video tutorial, I will be demonstrating how to make this hot mug crochet pattern. Feel free to follow along while watching the tutorial! Or, in your own time, use this pattern to get some tapestry crochet practice in.
H

Color Block Written Instructions for the Hot Mug Crochet Pattern:
The following color block instructions accompany the above grid of the hot mug. These instructions are packed with information! Let’s break it down.
- The arrow preceding each Row indicate which direction to read the line in the graph. For example, for Row 1, you’ll read the graph from right to left. This graph is written for right hand, so if you’re a lefty, just switch that up and read it opposite.
- The next piece of info is the Row number. Keep track easily by crossing off the row number as you complete the pattern (if you’ve printed it).
- Next, there is an abbreviation of “RS” or “WS” inside a pair of [brackets]. [RS] means Right Side, whereas [WS] means Wrong Side. This way, you can always keep your color changes to the Wrong Side, or back. In this pattern, the odd numbered rows will always be the RS, and vice versa for the even numbered rows
- The little colored squares with a number inside indicate the number of stitches to complete in the color of yarn that the box is shaded with. This pattern is using only single crochet (sc). So as an example, for Row 3 you’ll be using 2 colors of yarn. You’ll start with 8 green sc, switch to 6 red sc, then switch back to green for the last 6 sc.

How To Do Tapestry Crochet Video Tutorial:
Give it a go! ✨
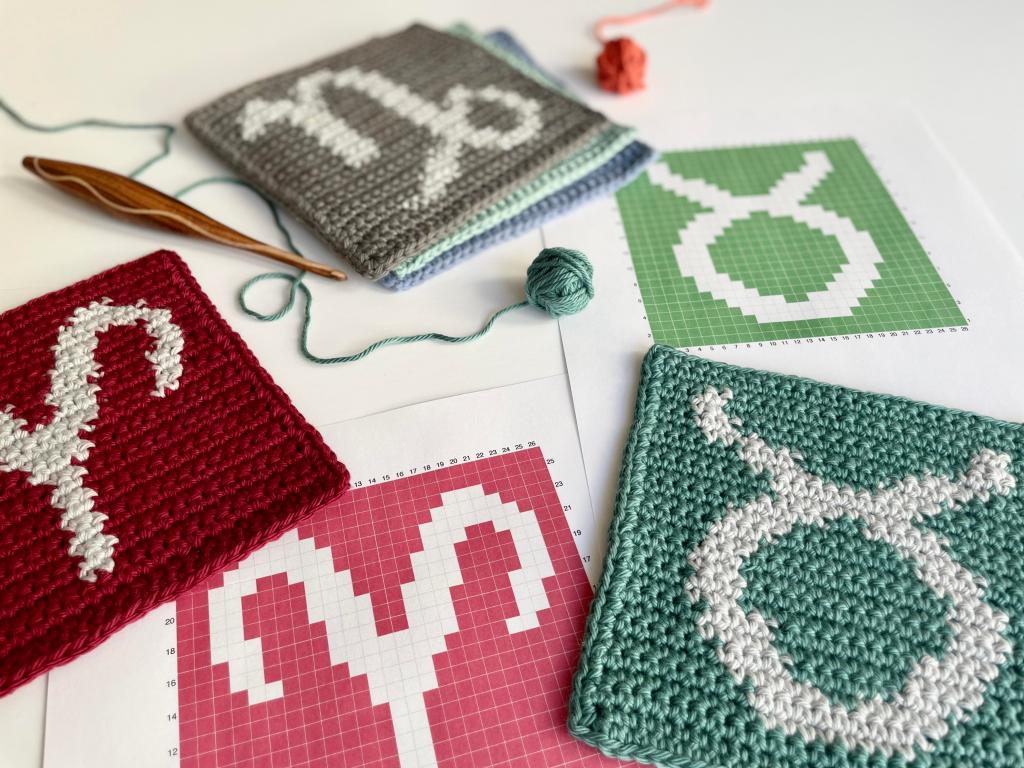
Want to give it a try? I’ve designed the Zodiac Crochet Tapestry Series which includes 13 unique zodiac designs, worked in tapestry crochet, and all seamed together for a beautiful final project. By the end of the series you’ll be a tapestry crochet pro! Check it out the first of the series here!
Tapestry crochet is a game-changer for adding color and personality to your projects. Now that you know how to do tapestry crochet, you can bring your creative ideas to life! What will you make first? Let me know in the comments.
Pin This How To Do Tapestry Crochet Tutorial Here:

Leave a Reply