
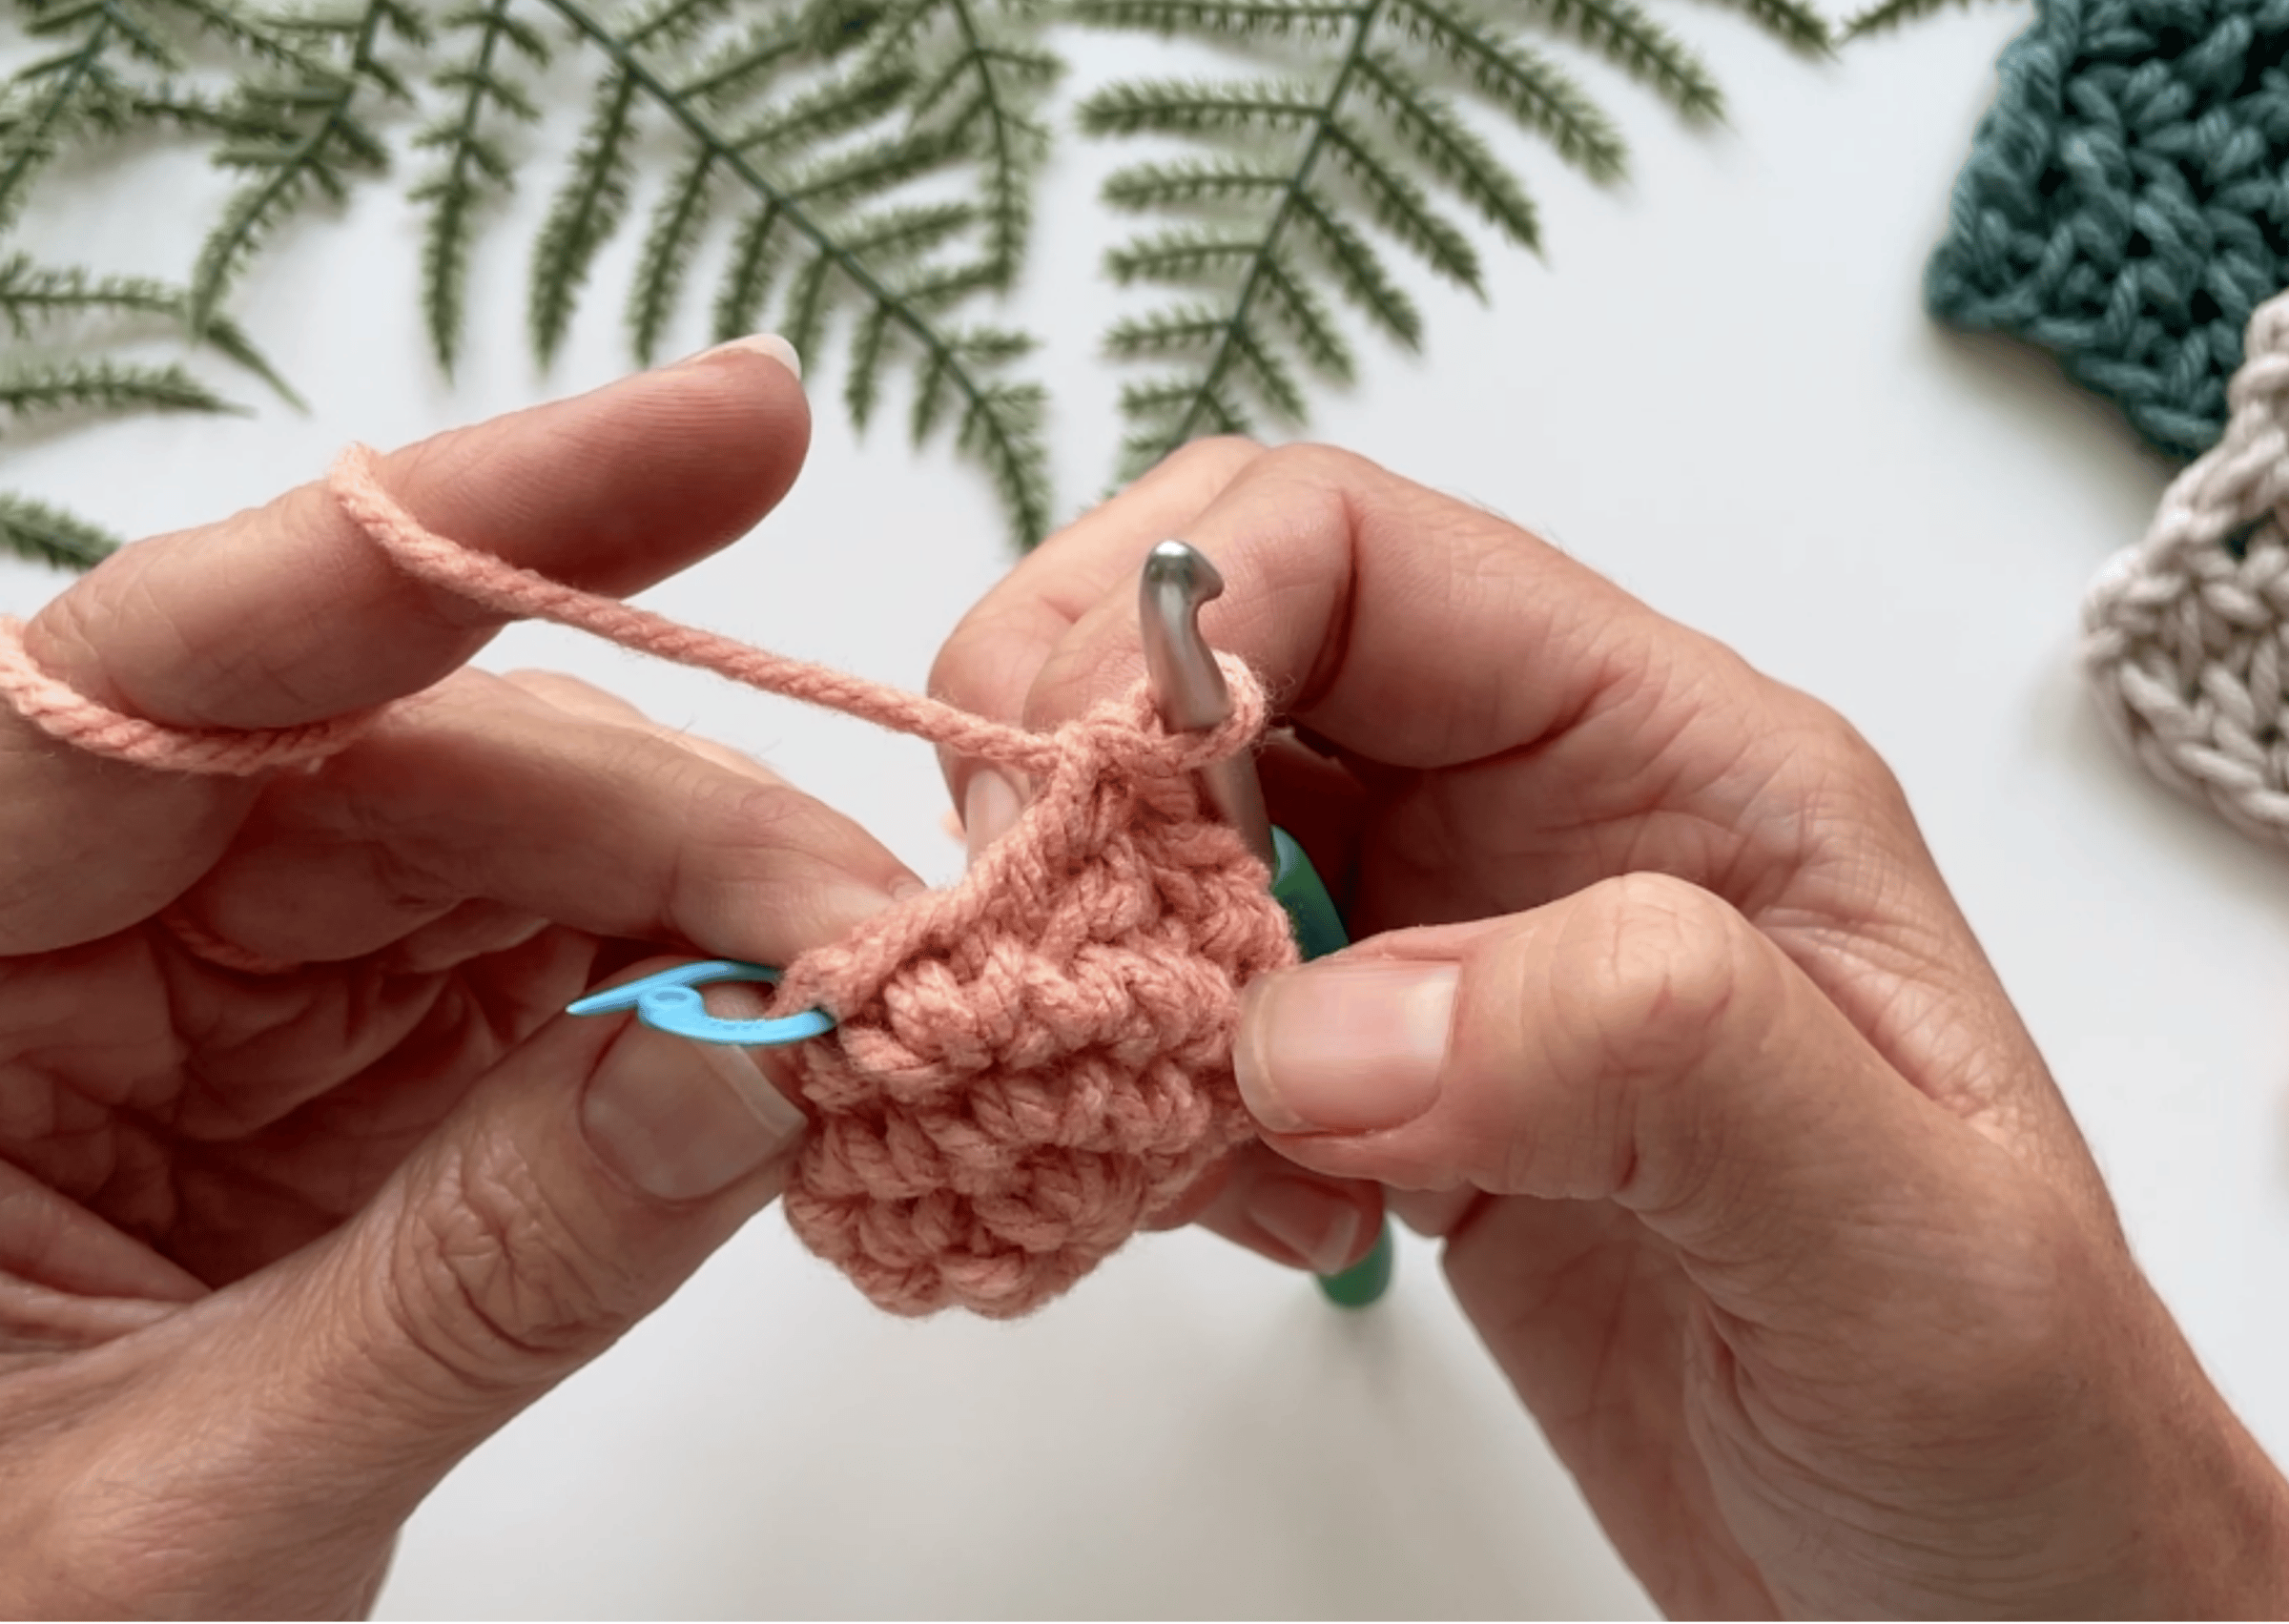
Crochet decreases allow you to remove stitches and gently change the shape of your fabric. They are what transform simple rows and rounds into hats, sleeves, amigurumi, garments, and so many other projects that are anything but flat rectangles. In this beginner-friendly lesson, I’ll show you how to decrease in crochet using single crochet. We’ll also look at the invisible decrease, a wonderfully tidy option that is especially useful for amigurumi.
This tutorial is the companion to Module 3, Lesson 4 of the free Learn to Crochet course. The complete video lesson covers both increases and decreases. When you are ready to learn how to add stitches and make your fabric grow, continue to the companion lesson page: How to Increase in Crochet for Beginners.
LEARN TO crochet
Module 3: From Stitches to Projects
Lesson 4 (1 of 2): How to Decrease in Crochet
This lesson is part of my free Learn to Crochet Course designed to take you from your very first stitch to completing your first projects and beyond.
24 step-by-step lessons with videos.
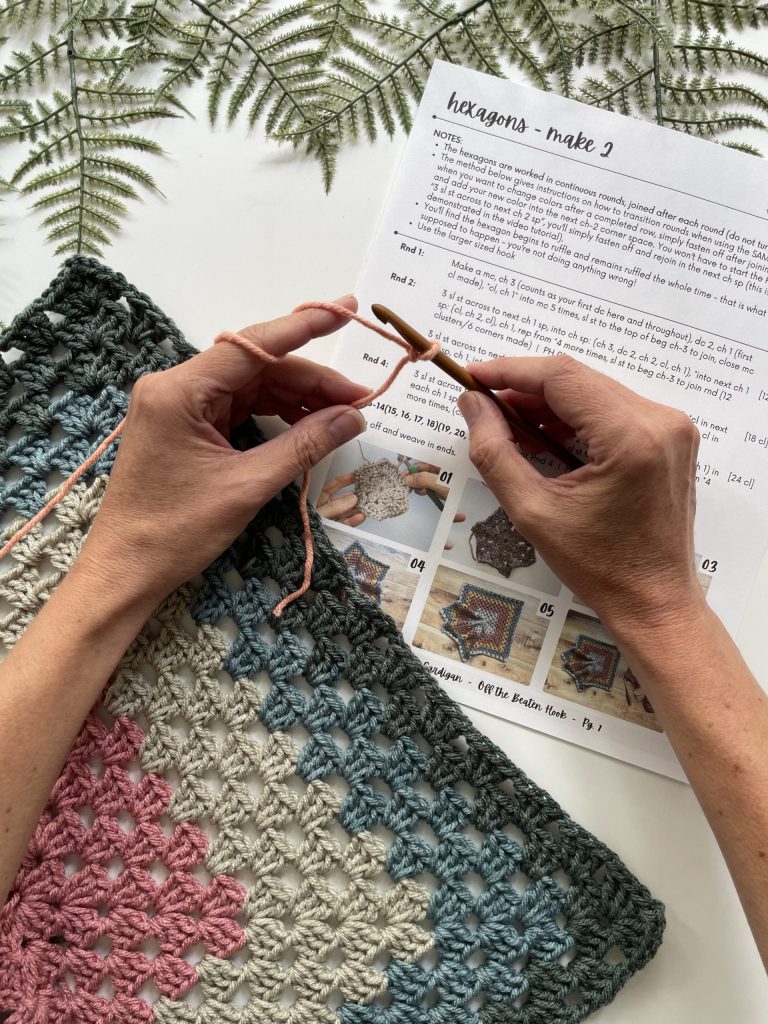
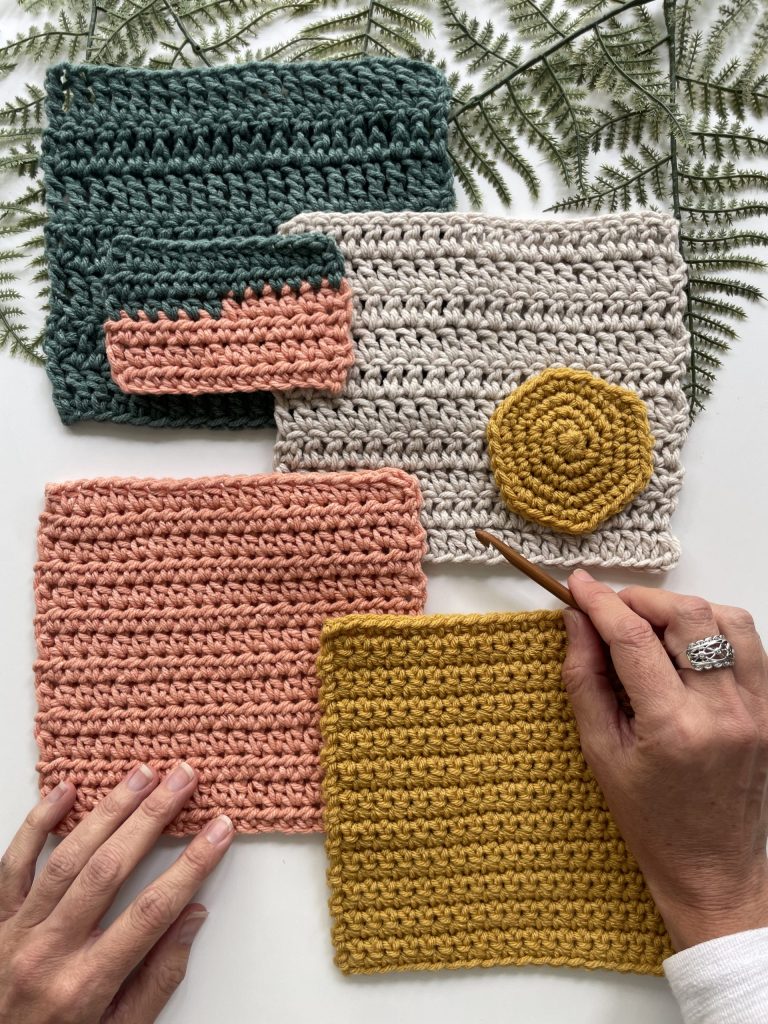
Materials You Will Need For This Lesson
- Worsted (4/Medium) Weight Yarn
- 5.5 mm Crochet Hook (a size 5.0 mm or 6.0 mm will work, if preferred)
- Scissors
- Yarn Needle
- Stitch Markers
A Little Help for Your Crochet Basket
Join and get the free Crochet Pro Essentials PDF Pack, plus gentle course reminders and new lessons in your inbox.
What Is a Crochet Decrease?
A crochet decrease combines two or more stitches so they become one completed stitch. When you work a decrease across two stitches, you reduce your stitch count by one.
For example, if you begin with 20 stitches and work one decrease during the next row, you will finish that row with 19 stitches—as long as no other stitches are added or skipped.
The basic idea is simple:
- Begin a stitch in the next available stitch.
- Stop before completing it.
- Begin another stitch in the following stitch.
- Complete the unfinished stitches together.
The exact steps change slightly depending on whether you are using single crochet, half double crochet, or double crochet, but the purpose remains the same: two stitches are joined into one.
Why Do We Decrease in Crochet?
Decreases remove stitches so your crochet fabric becomes narrower or begins to curve inward. You may use them to:
- Shape the top of a hat
- Narrow a sleeve or garment
- Form the neck, arms, or legs of an amigurumi
- Create the toe of a sock or slipper
- Shape bags, baskets, and other three-dimensional projects
- Correctly follow a pattern that calls for fewer stitches in the next row or round
This is one of the big moments when crochet starts moving beyond squares and rectangles. Once you understand how increases and decreases work, you can intentionally shape your fabric.
How to Read Crochet Decrease Abbreviations
Crochet patterns usually name a decrease by combining the stitch abbreviation with the number of stitches being worked together.
| Abbreviation | Meaning |
| sc2tog | Single crochet two stitches together |
| hdc2tog | Half double crochet two stitches together |
| dc2tog | Double crochet two stitches together |
| dec | Decrease |
| inv dec | Invisible decrease |
The number 2 tells you that the decrease is worked across two stitches. The word tog means “together.”
If a pattern simply says “decrease,” check its stitch abbreviations or special stitches section. The designer should explain which decrease to use.
How to Decrease in Crochet Video Lesson
How to Decrease in Crochet
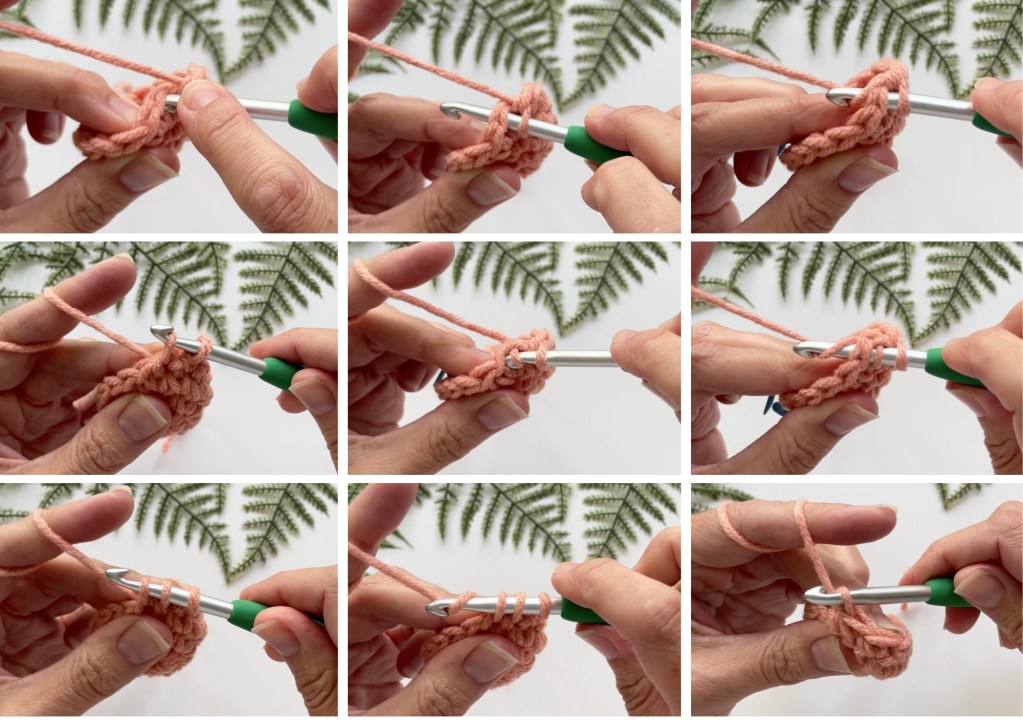
A single crochet decrease is commonly written as dec or sc2tog. You will begin a single crochet in one stitch, begin another in the next stitch, and then finish them together.
Step-by-step sc2tog instructions
- Insert your hook into the next stitch.
- Yarn over and pull up a loop. You now have two loops on your hook.
- Insert your hook into the following stitch.
- Yarn over and pull up a loop. You now have three loops on your hook.
- Yarn over and pull through all three loops.
You have turned two stitches into one single crochet stitch, reducing your stitch count by one.
What sc2tog looks like
A standard sc2tog may create a small bump or visible diagonal where the stitches lean together. This is completely normal. In many projects, the decrease blends into the surrounding fabric. When you want an especially smooth finish—most often in amigurumi—you can use an invisible decrease instead.
How to Make an Invisible Decrease
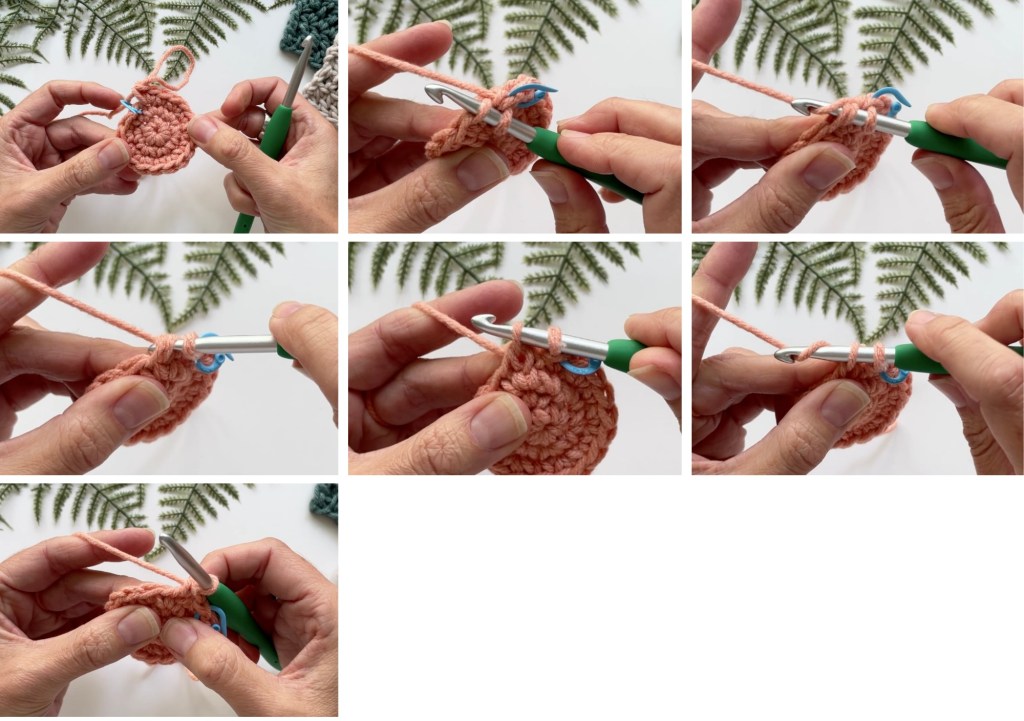
The invisible decrease is a variation of sc2tog that is worked through the front loops only of the next two stitches. It helps the decrease lie flatter and leaves less of a visible gap.
Step-by-step invisible decrease instructions
- Insert your hook under the front loop only of the next stitch. Do not yarn over.
- Insert your hook under the front loop only of the following stitch. You now have both front loops on your hook.
- Yarn over and pull through the first two loops on your hook.
- Yarn over again and pull through the remaining two loops.
You have completed one invisible single crochet decrease.
When should you use an invisible decrease?
Invisible decreases are especially helpful in amigurumi because they create a smoother surface and can reduce the small gaps that sometimes show stuffing. Unless a pattern tells you otherwise, use a standard sc2tog when learning general crochet shaping and an invisible decrease when you want a discreet decrease in single crochet worked in the round.
How to Half Double Crochet Two Together: hdc2tog
A half double crochet decrease is written as hdc2tog or hdc dec.
Step-by-step hdc2tog instructions
- Yarn over.
- Insert your hook into the next stitch.
- Yarn over and pull up a loop. You now have three loops on your hook.
- Yarn over and insert your hook into the following stitch.
- Yarn over and pull up a loop. You now have five loops on your hook.
- Yarn over and pull through all five loops.
The two stitches have been combined into one half double crochet.
How to Double Crochet Two Together: dc2tog
A double crochet decrease is written as dc2tog. You may also see this technique used as part of a double crochet cluster, depending on the pattern.
Step-by-step dc2tog instructions
- Yarn over.
- Insert your hook into the next stitch.
- Yarn over and pull up a loop. You now have three loops on your hook.
- Yarn over and pull through two loops. Two loops remain on your hook.
- Yarn over and insert your hook into the following stitch.
- Yarn over and pull up a loop. You now have four loops on your hook.
- Yarn over and pull through two loops. Three loops remain on your hook.
- Yarn over and pull through all three remaining loops.
You have worked two partial double crochet stitches and completed them together as one.
Where to Place Decreases
Where you place a decrease changes the finished shape of your project.
Decreasing at the beginning or end of a row
Decreases near the edges make the row gradually narrower. This placement is useful for shaping garments, shawls, and other flat pieces.
Decreasing in the middle of a row
A centered decrease pulls the fabric inward at that point. Patterns may use this for decorative shaping or to remove stitches without changing only the outer edges.
Spacing decreases around a round
Evenly spaced decreases help a round project close smoothly. A pattern may tell you to repeat a sequence such as “sc in the next 4 stitches, decrease” around. Stitch markers can help you identify the beginning of the round and each repeated section.
Always follow the placement given in your pattern. Two rows with the same number of decreases can take on different shapes depending on where those decreases are worked.
How to Keep Your Stitch Count Correct
Every decrease worked across two stitches removes one stitch from the total count.
Use this simple formula:
Starting stitch count − number of decreases = ending stitch count
If you start with 24 stitches and make 6 decreases, you should finish with 18 stitches.
Here are a few ways to stay on track:
- Count your stitches at the end of every row or round.
- Place a stitch marker in the first stitch when working continuously in the round.
- Use additional markers to divide a long round into smaller repeat sections.
- Mark each decrease if you have trouble spotting it later.
- Pause after the first repeat and confirm that you have used the correct number of stitches.
If your count is wrong, check whether you accidentally skipped a stitch immediately before or after a decrease. It is easy for the stitch beside a decrease to hide beneath the joined stitches.

Common Crochet Decrease Mistakes
Completing the first stitch too soon
The stitches must remain unfinished until they can be completed together. If you finish the first stitch normally and then make another stitch, you have not decreased.
Using the same stitch twice
A standard decrease is worked across two separate stitches. Make sure your hook enters the next stitch and then the stitch immediately after it.
Skipping an extra stitch
After completing the decrease, continue in the next unworked stitch. Look closely at the tops of the stitches so you do not jump over one.
Forgetting that a decrease counts as one stitch
Although you worked into two stitches from the previous row or round, the completed decrease counts as only one stitch in the new row or round.
Pulling the loops too tightly
Very tight loops can make it difficult to complete the decrease and may pucker the fabric. Keep your tension relaxed and consistent with the surrounding stitches.
The Other Half of Shaping: Crochet Increases
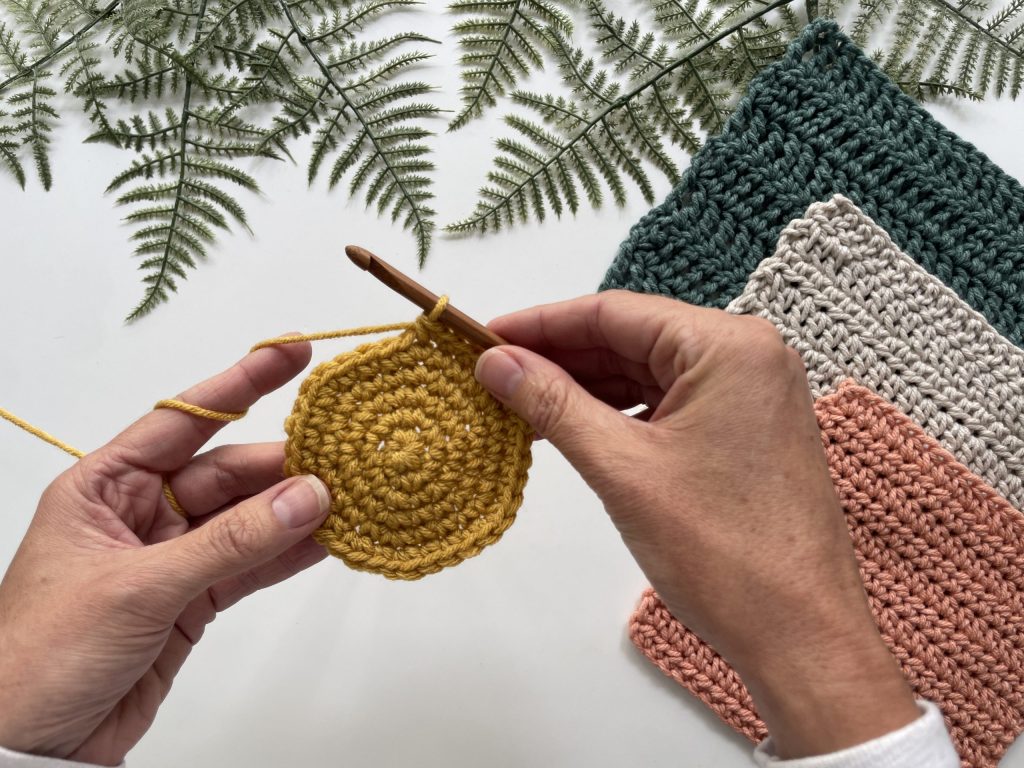
If decreases pull your fabric inward, increases help it grow outward. An increase is usually made by working two stitches into the same stitch, adding one stitch to your count.
These two techniques often appear together in shaped crochet projects. Continue with the companion tutorial: How to Increase in Crochet for Beginners for full sc decrease instructions.
How to Decrease in Crochet FAQs
To decrease in crochet means to combine two or more stitches into one completed stitch. This removes stitches from your row or round and shapes the fabric inward.
A decrease worked across two stitches removes one stitch. For example, sc2tog uses two stitches from the previous row but creates one new stitch.
Sc2tog is one type of decrease. It means “single crochet two together.” Hdc2tog and dc2tog are decreases made with half double crochet and double crochet.
A standard sc2tog is worked through both loops of two consecutive stitches. An invisible decrease is worked through the front loops only before being completed as a single crochet. The invisible version lies flatter and is particularly useful in amigurumi.
A loose decrease, an accidentally skipped stitch, or a standard decrease in a firmly stuffed amigurumi can create a visible gap. Try maintaining even tension and using an invisible decrease when appropriate.
Yes. Work the turning chain required for your stitch, then make the decrease across the first two available stitches. Follow your pattern carefully because turning-chain rules vary.
Your pattern should tell you where to place the decrease, often at an edge, at a marked point, or within a repeated sequence. Placement matters because it controls how the fabric is shaped.
Practice Challenge: Decrease a Simple Swatch
Let’s practice without the pressure of following a full pattern.
- Chain 16.
- Single crochet in the second chain from the hook and in each chain across. You should have 15 stitches.
- Chain 1 and turn. Single crochet across.
- Chain 1 and turn. Work 1 sc, then sc2tog. Single crochet across until 3 stitches remain. Work sc2tog, then 1 sc in the final stitch. You should have 13 stitches.
- Repeat Step 4, working one decrease near each edge of every decrease row.
Count your stitches after each row and watch the sides of the swatch begin to angle inward. For an additional challenge, make a second swatch using hdc2tog or dc2tog.
An Alternative Practice Challenge
If you’re feeling ambitious, try making a small crochet ball! Combined with your practice challenge from How to Make a Magic Circle and How to Make an Increase in Crochet, you’ll now be able to decrease evenly around the circle to finish it up! Use the practice swatch created in that accompanying lesson (Rounds 1-6 below) or follow the pattern as follows:
Begin by making a magic circle and then:
- Round 1: work 6 sc into a magic circle. (6)
- Round 2: inc in each stitch around. (12)
- Round 3: [sc in next stitch, inc in next stitch] around. (18)
- Round 4: [sc in next 2 stitches, inc in next stitch] around. (24)
- Round 5-6: sc in each stitch around. (24)
- Round 7: [sc in next 2 stitches, dec in next stitch] around. (18)
- Round 8: [sc in next stitch, dec in next stitch] around. (12)
- Stuff the ball with filling
- Round 9: dec in each stitch around (6)
- To close the ball, snip your yarn leaving a 6-inch yarn tail and pull the tail all the way through with your hook. Thread the yarn tail onto a tapestry needle. Weave the yarn tail through the front loops only of the remaining 6 stitches and pull tightly to close. Bring the yarn to the inside of the ball and snip.
You Can Make a Decrease in Crochet!
You now know how to combine stitches to make your crochet fabric narrower, how to work the most common beginner decreases, and how to keep your stitch count under control. Along with crochet increases, you now have the tools to turn flat fabric into intentional shapes.
← Companion Lesson: How to Increase in Crochet →
← Previous Lesson: How to Make a Magic Circle
SOCIAL MEDIA YOUR THING?
Connect with me on your favorite social network!
Pin This Lesson for Later
Leave a Reply