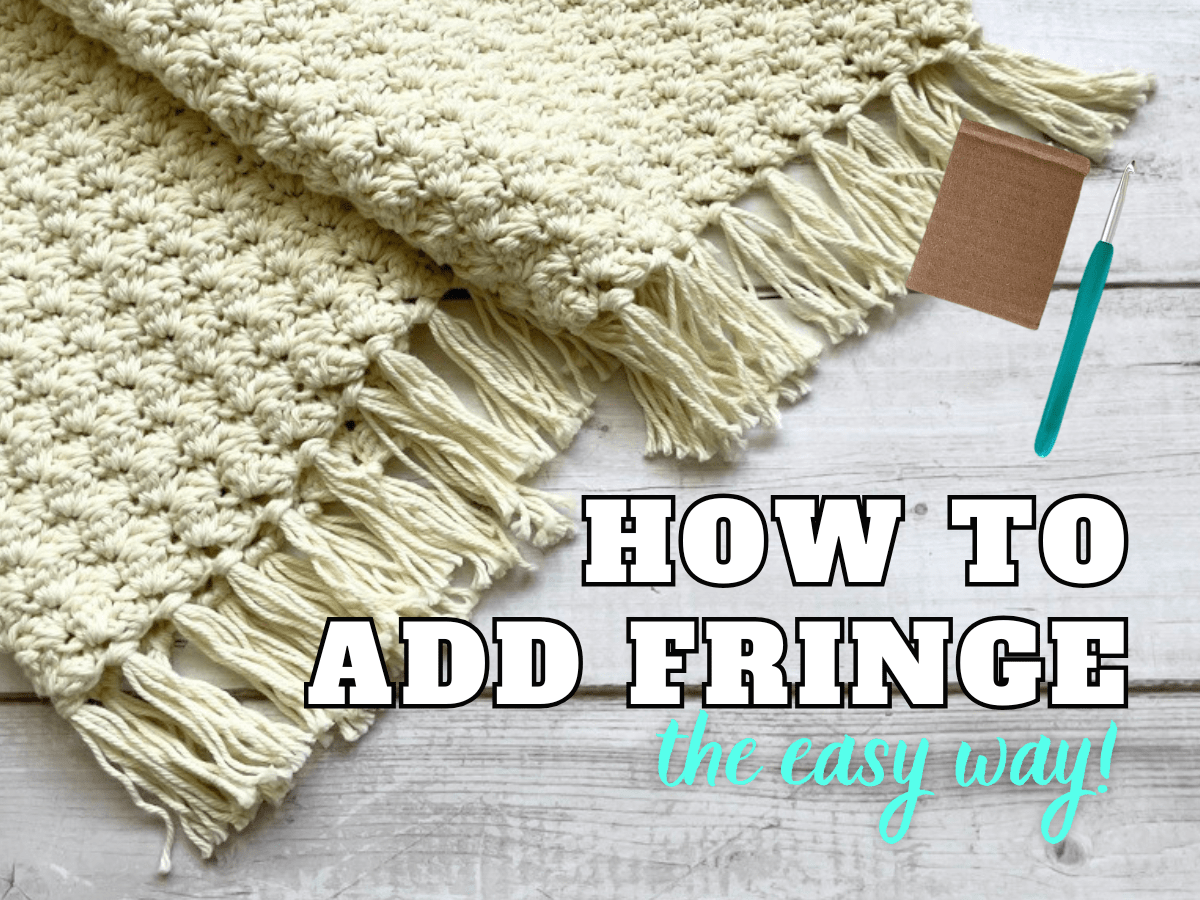
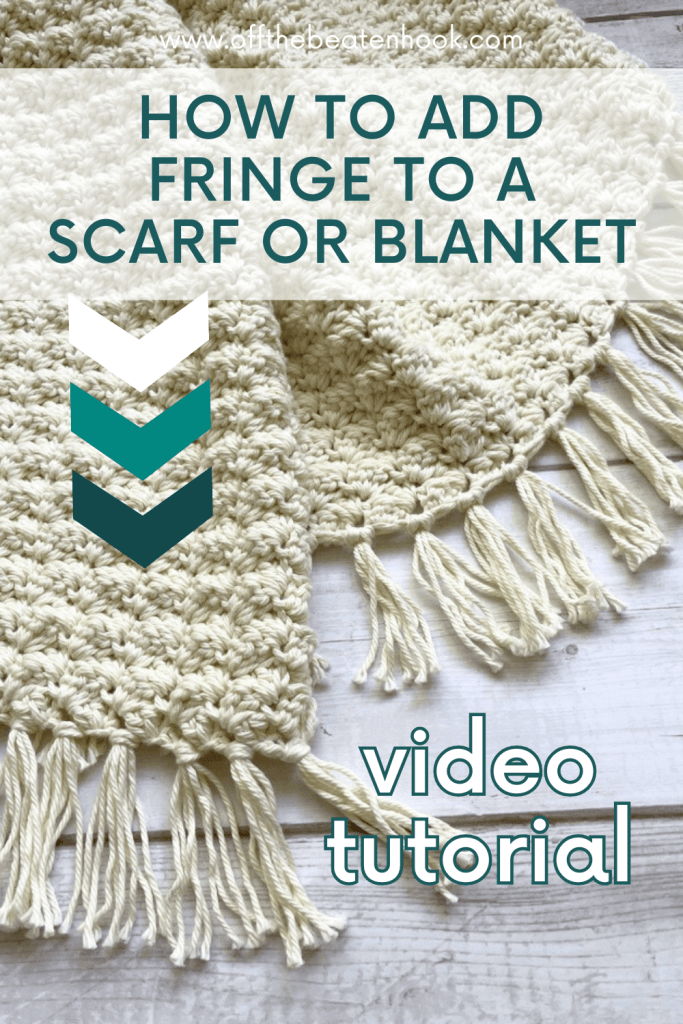
Adding fringe to a scarf or blanket is a simple yet effective way to elevate your crochet or knitting project. Scarf fringe adds a touch of elegance, whimsy, or personality, depending on the look you’re going for. In this guide, I’ll walk you through how to add fringe to a scarf or blanket with an easy, step-by-step process. I’ve also put together a 3-minute video tutorial, so if you’d rather learn that way, you can find the How to Add Fringe to a Scarf video on YouTube here.
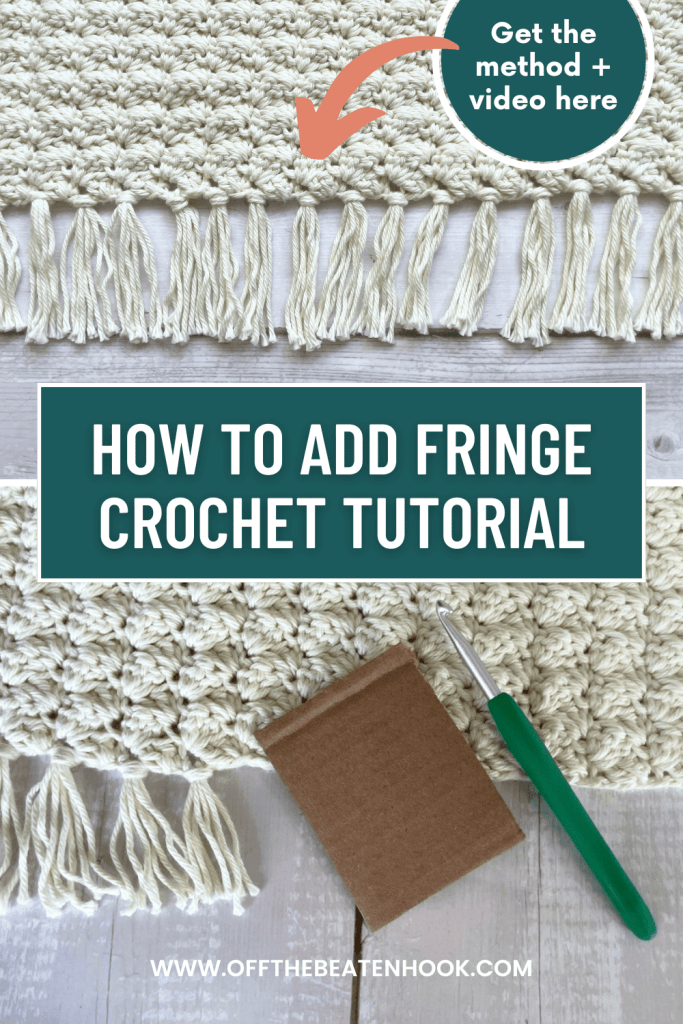
Read all about scarf fringe now, or PIN it for later here:
Why Add Fringe?
Fringe isn’t just decorative—it’s also practical. It can help weigh down lightweight scarves, keep edges neat, and give your project a professional finish. Whether you’re adding a subtle detail or a bold accent, fringe is a versatile design element.
Materials Needed
To make fringe for a scarf or blanket (or anything else), you will need:
- Yarn of your choice: Most of the time you’ll use yarn in the same color as your project, but it’s absolutely not a rule! It can be fun to add fringe in contrasting colors as well. You can make it solid or striped – so many options!
- A crochet hook: Choose a hook a few sizes larger than the one you used to make your project since you’ll be grabbing several strands of it at once!
- Scissors
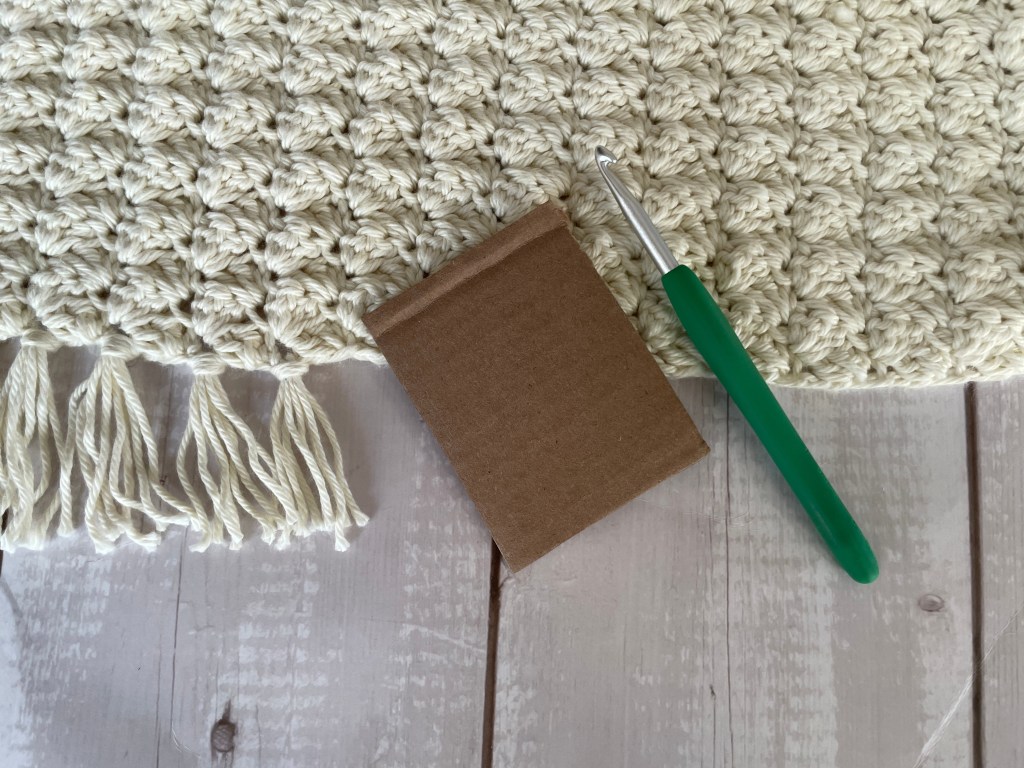
- A piece of stiff cardboard or similar: This is what you’ll use to wrap the yarn around to make your quick fringe. I used a scrap piece I found in the recycle bin. You could use a cutout piece of cereal box or other stiff cardstock as well!
Step-by-Step Method: How to Add Fringe to a Scarf or Blanket
Written steps with photos:
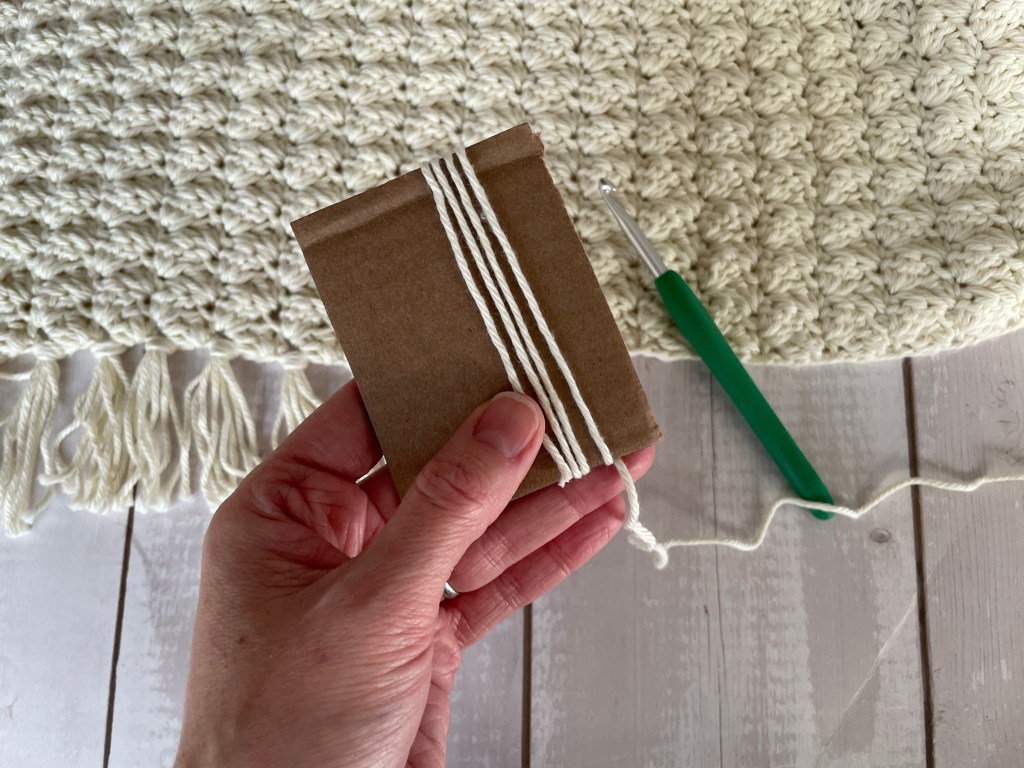
- Cut a piece of cardboard to the length you want your fringe to be. Remember you will lose a bit of length when you tie the knot and trim the yarn, so be sure to add an inch or so to the length of your cardboard to accommodate for the knot and trimming. For example, if you want 4 inch fringe, cut your cardboard to 5 inches from top to bottom.
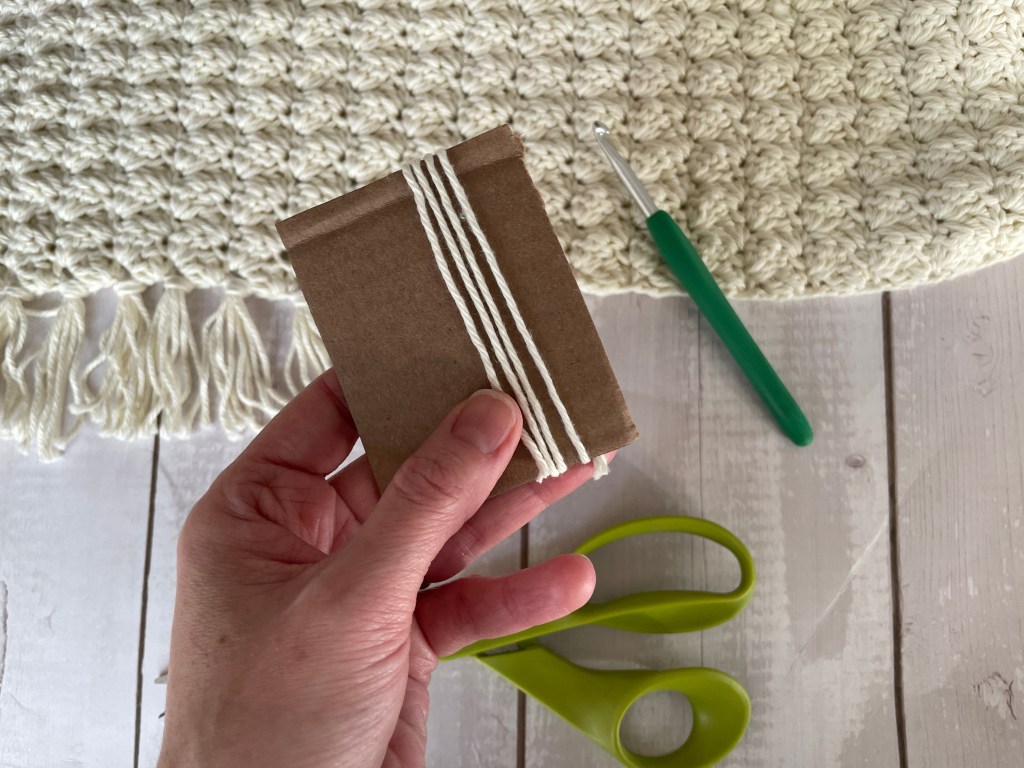
2. Based on how thick you want your fringe to be, make several wraps of yarn around the cardboard. The more wraps you make, the thicker your fringe will be.
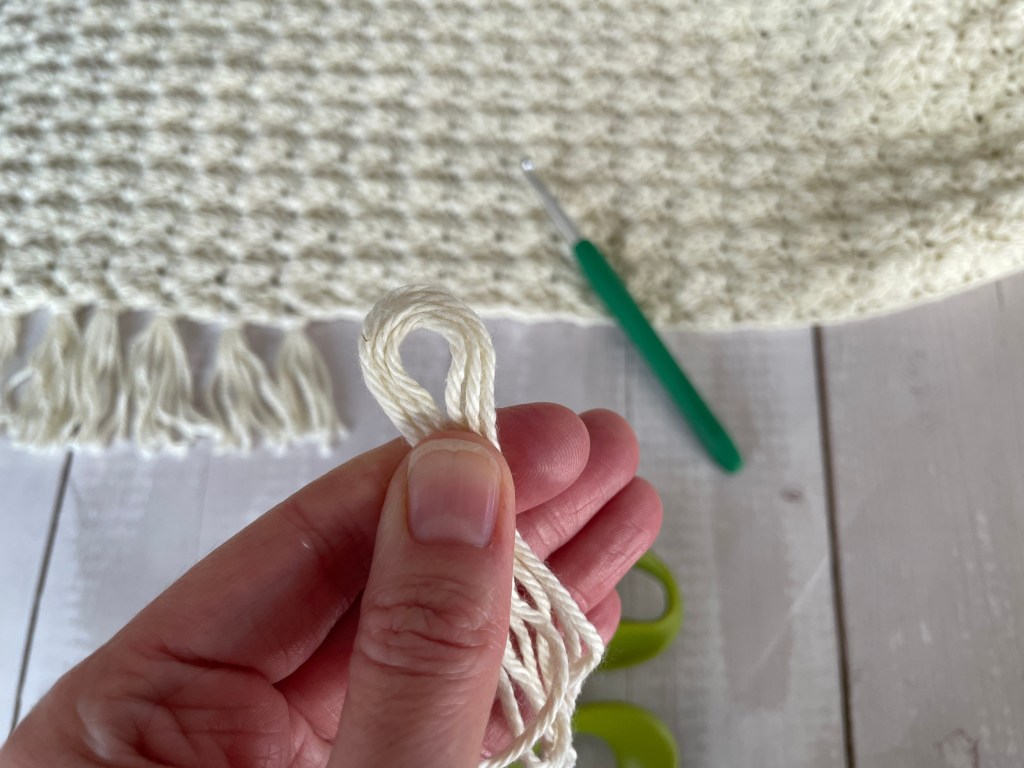
3. Slide the yarn off the cardboard, holding firmly onto the loops.
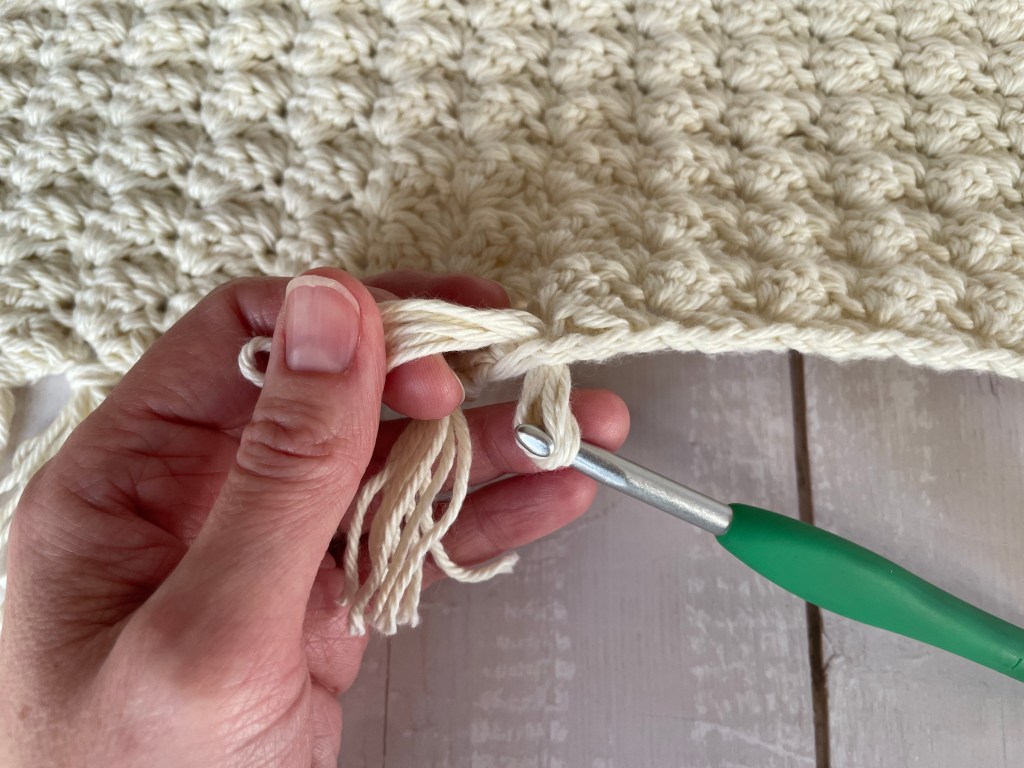
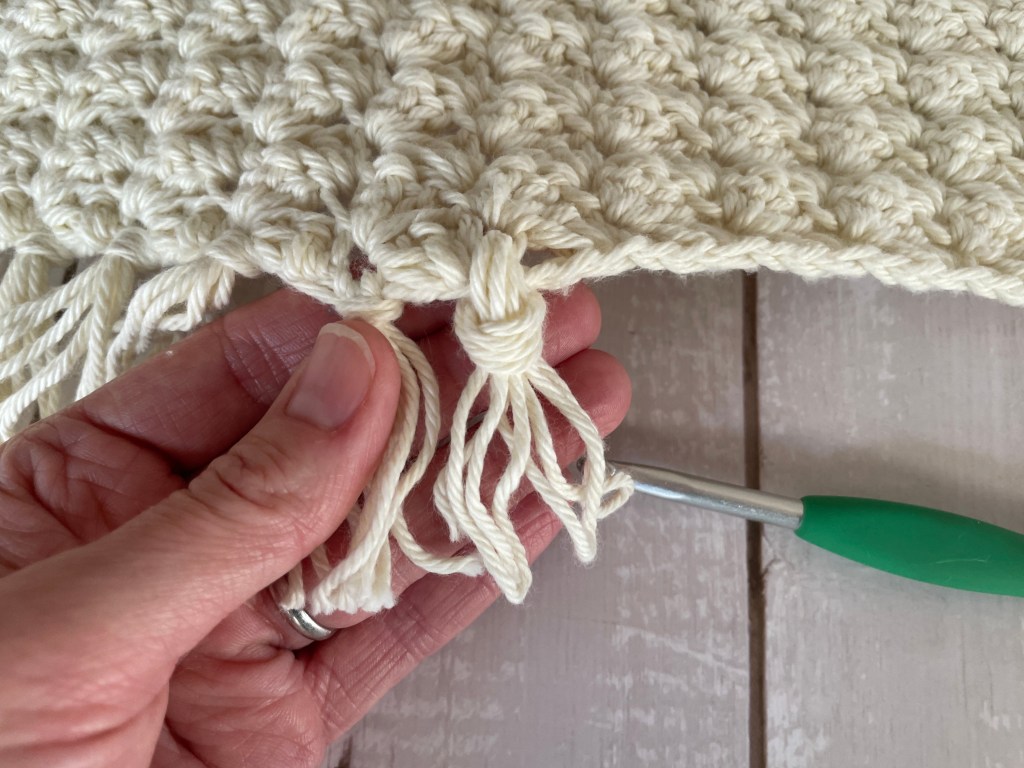
4. With the right side of your project facing, insert the crochet hook from back to front through the stitch where you want your fringe to be.

5. Snatch the yarn and pull it through the stitch.
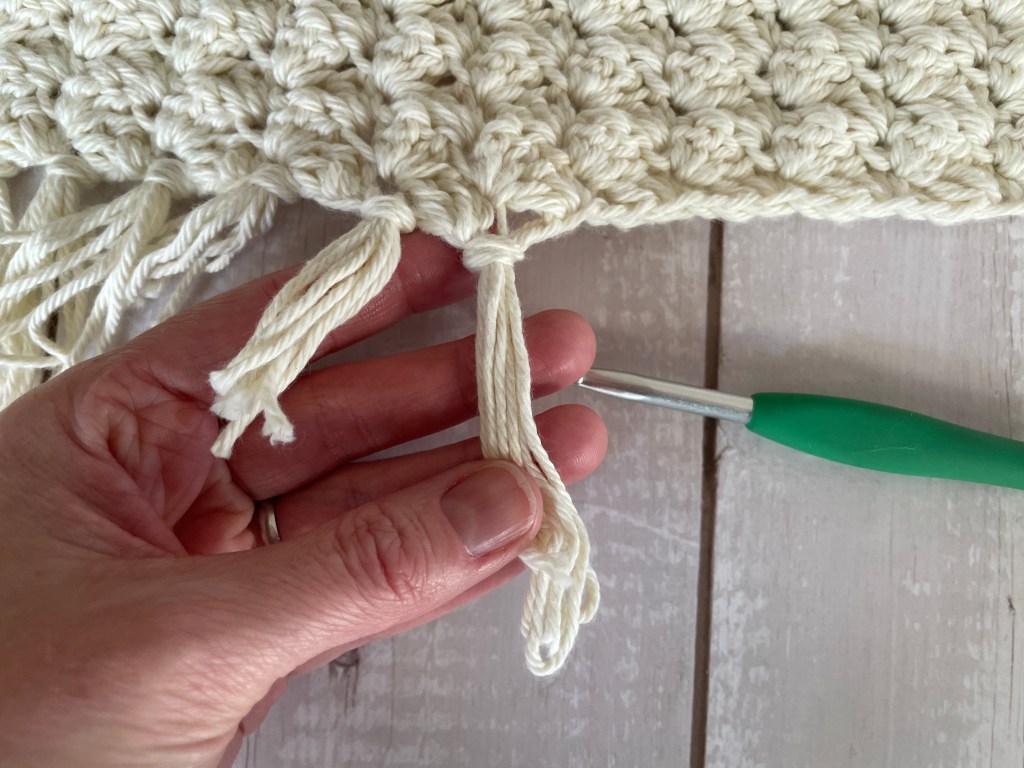
6. Yarn over with the other end of the loop and pull it through the top loops (that you snatched in step 5).
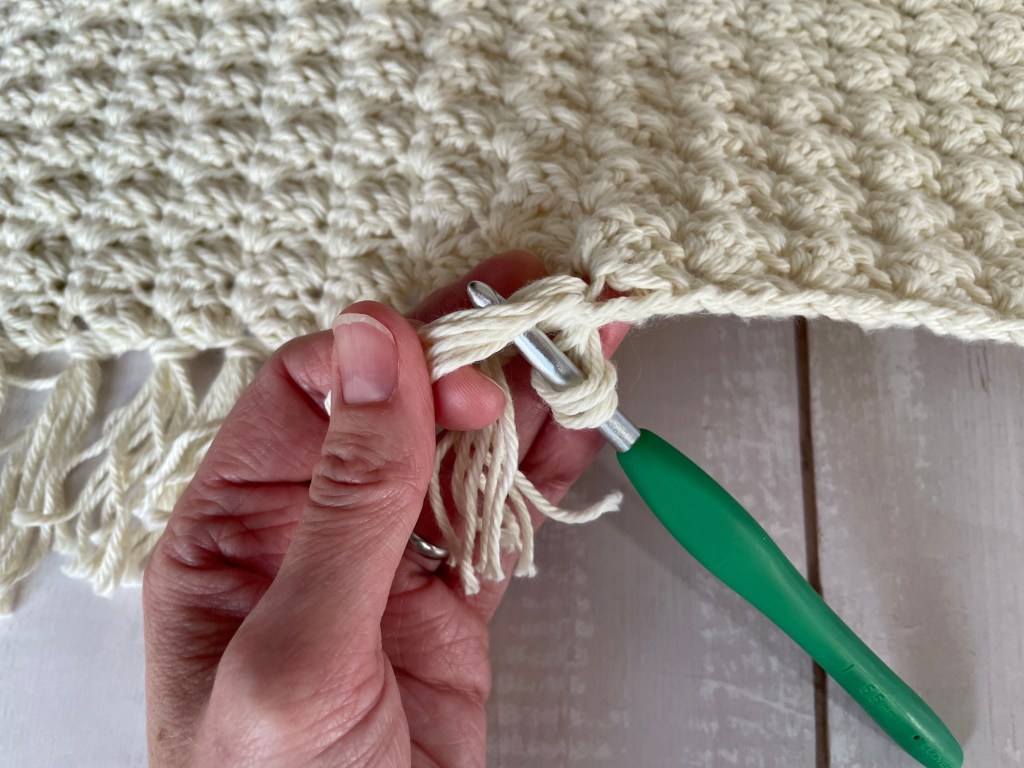
7. Pull firmly to secure the fringe.
8. Trim the ends! Repeat these steps all along the edge you’re adding your fringe to.

9

Tips for Adding Fringe
- Make it quicker by making your fringe assembly-line style! Complete steps 1-3 several times, making chunks of fringe tassels and laying them all out in a line. Then, go back and attach them all to the border of your project. Finally, go back and do all the trimming at once.
- Make it extra fun by mixing up the colors or textures of yarn for your fringe – creating a unique style.
- Experiment with spacing – closer knots create a fuller fringe, while wider spacing results in a minimalist look.
- Crochet hook size – be sure the crochet hook size you’re using is large enough to snatch all the strands of your fringe clump easily or else you’ll be battling dropping strands the whole time!
- Upgrade a store-bought scarf or blanket – as long as the edge of the fabric of a store bought accessory is sturdy enough, you can add some personal flair by adding fringe!
HOW TO ADD FRINGE TO A SCARF OR BLANKET CROCHET VIDEO TUTORIAL:
For those who prefer a visual guide, I’ve created an easy-to-follow video tutorial that walks you through each step of adding fringe. Watch the video here and see how simple it is to create this beautiful and functional element in your crochet projects.
Adding fringe is a fun, beginner-friendly way to customize your projects and showcase your creativity. Whether you’re updating an old scarf or adding the finishing touch to a handmade blanket, fringe makes every piece stand out.
If you want to try your hand at making fringe AND upgrade a couple of my free crochet throw blanket patterns, you can find a couple options with my Diamond Ridge or Misty Peaks Throw Blanket patterns!
If you try this tutorial, I’d love to see your work! Share your creations and tag me on social media @offthebeatenhook!
If you found value in this tutorial and are looking for some more crochet videos, please check out my list of tutorials in my Resource Library here!
How to Add Fringe to a Scarf or Blanket: Pin it for later here!

Leave a Reply