
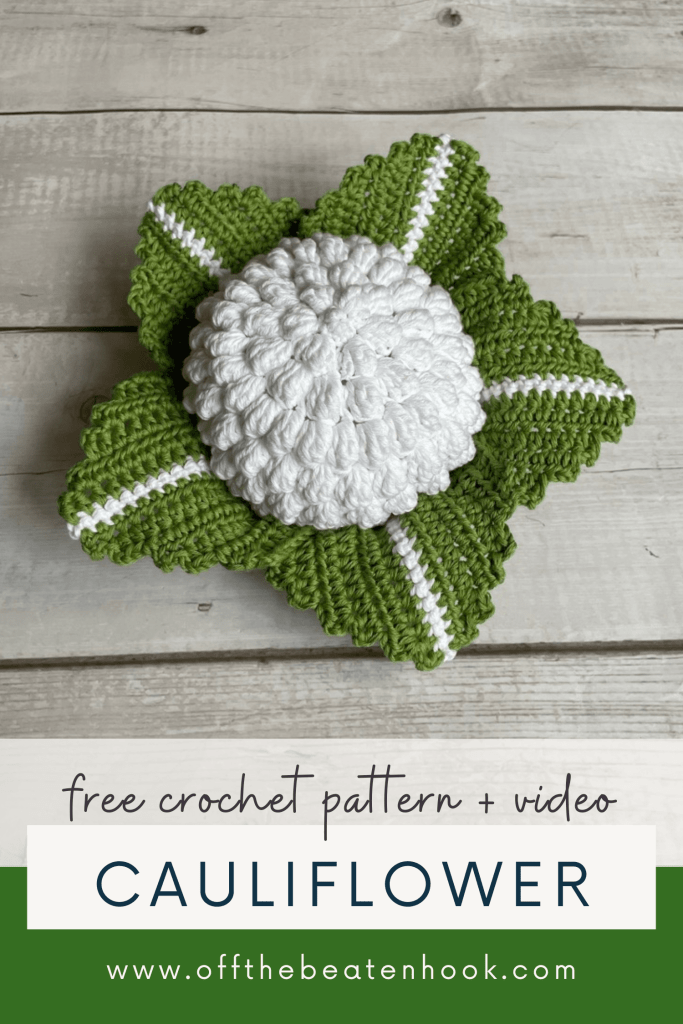
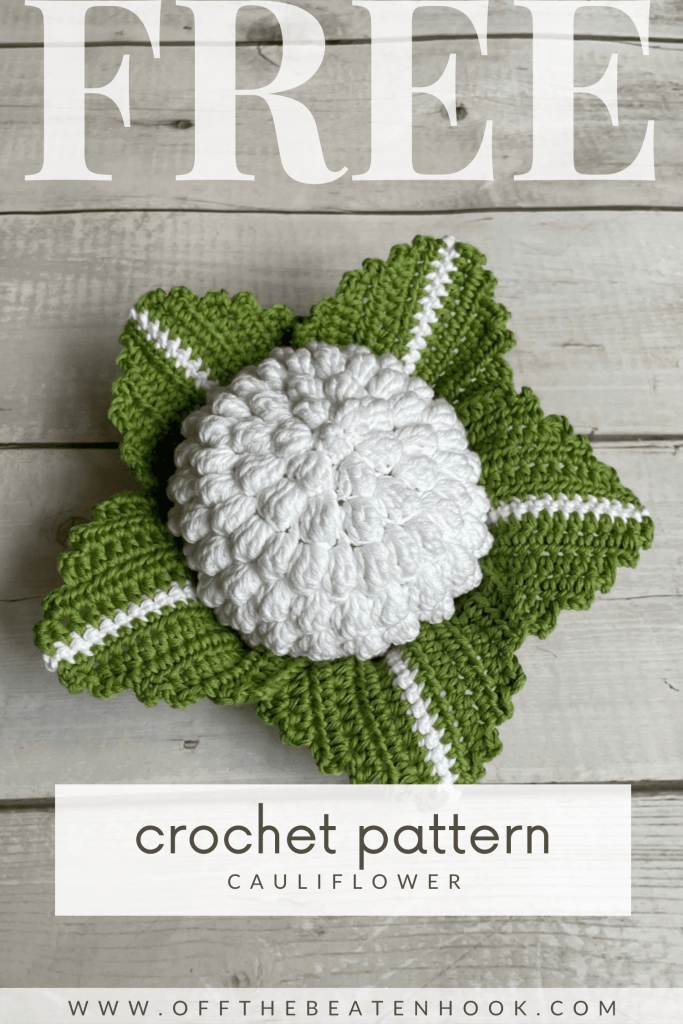
Cabbage went to college and became a cauliflower! This amigurumi pattern is the perfect balance between realistic + adorable. Accompanied by a video tutorial, this cauliflower crochet pattern will be the perfect addition to your fruit and veggie toy collection!
Jump into the cauliflower crochet pattern now, or PIN it for later here!
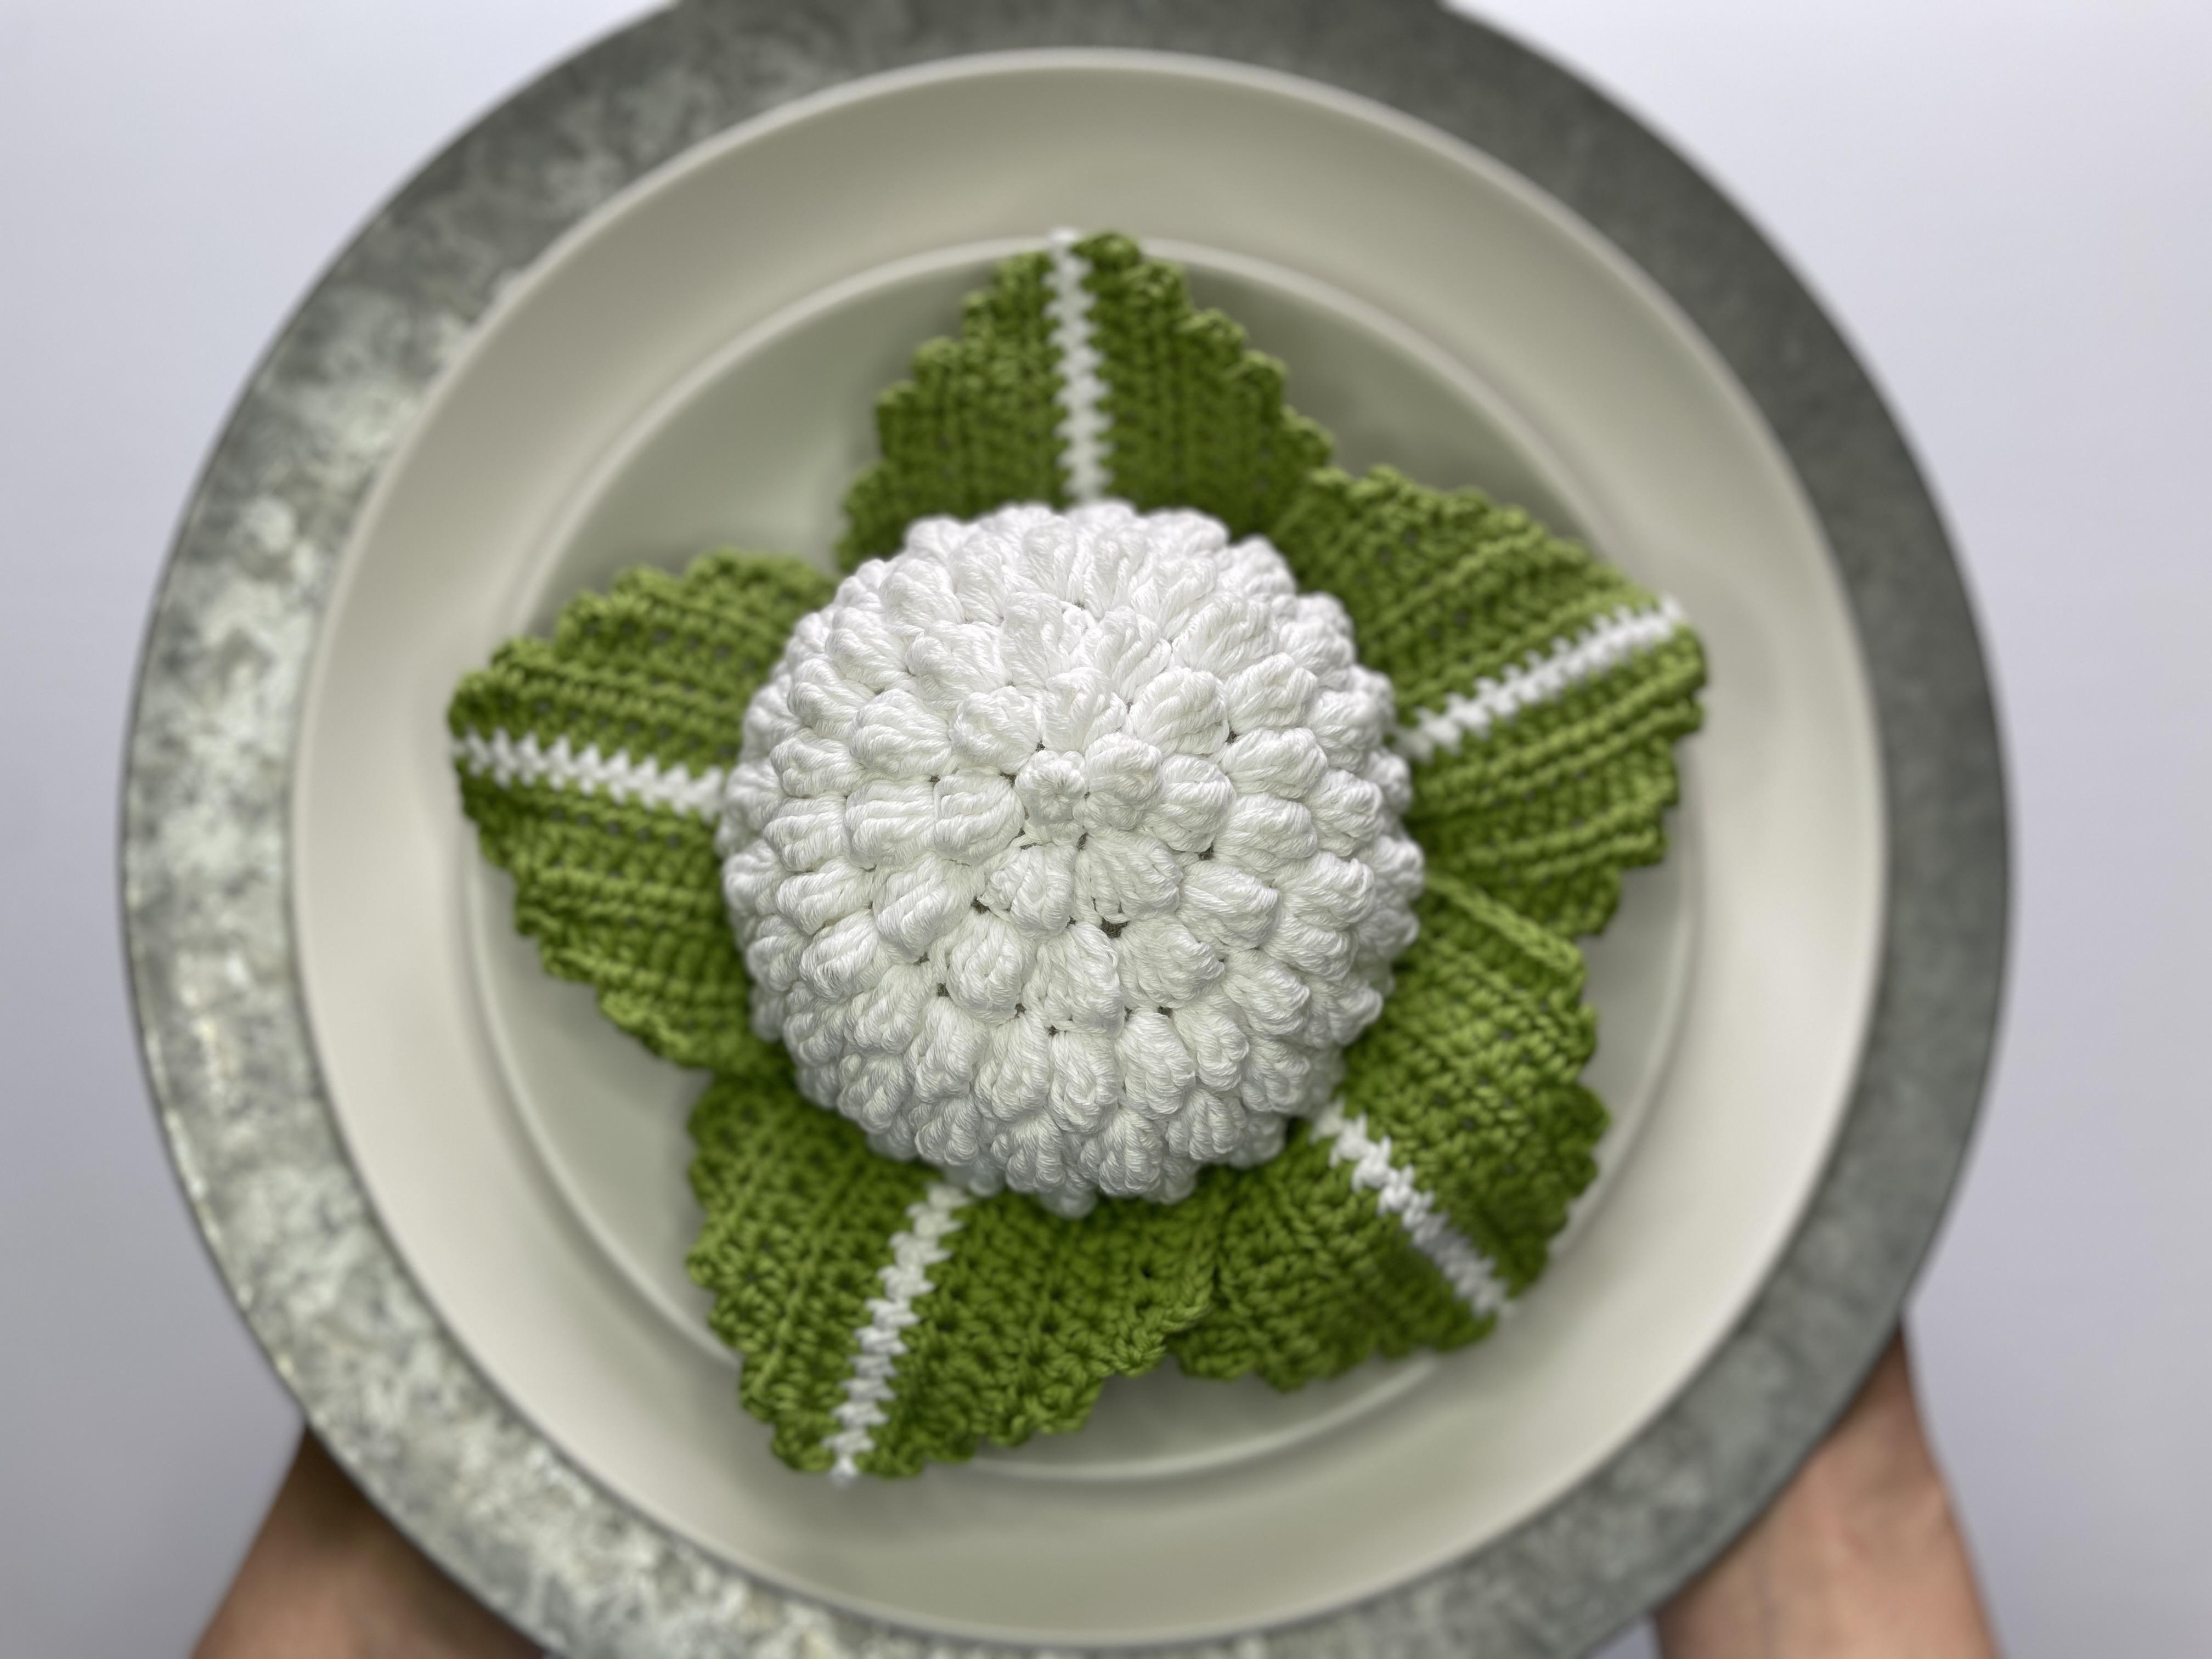
Crochet your way to brassica paradise with this realistic cauliflower-inspired pattern. This cauliflower would also make great gift for someone who’s putting together a crochet toy food kitchen for their little one!
I’ve created a helpful video tutorial for this pattern as well. You can find that further down in this post or access it straight away on YouTube here.
This cauliflower free crochet pattern is supported by ads on my blog. If you’d rather print the pattern for some cozy couch crocheting, you can find the 7-page PDF printable, ad-free pattern in my shop here or on Ravelry here.
This pattern is written in US terms. If needed, you can find a handy term conversion chart right here in my Resource Library.
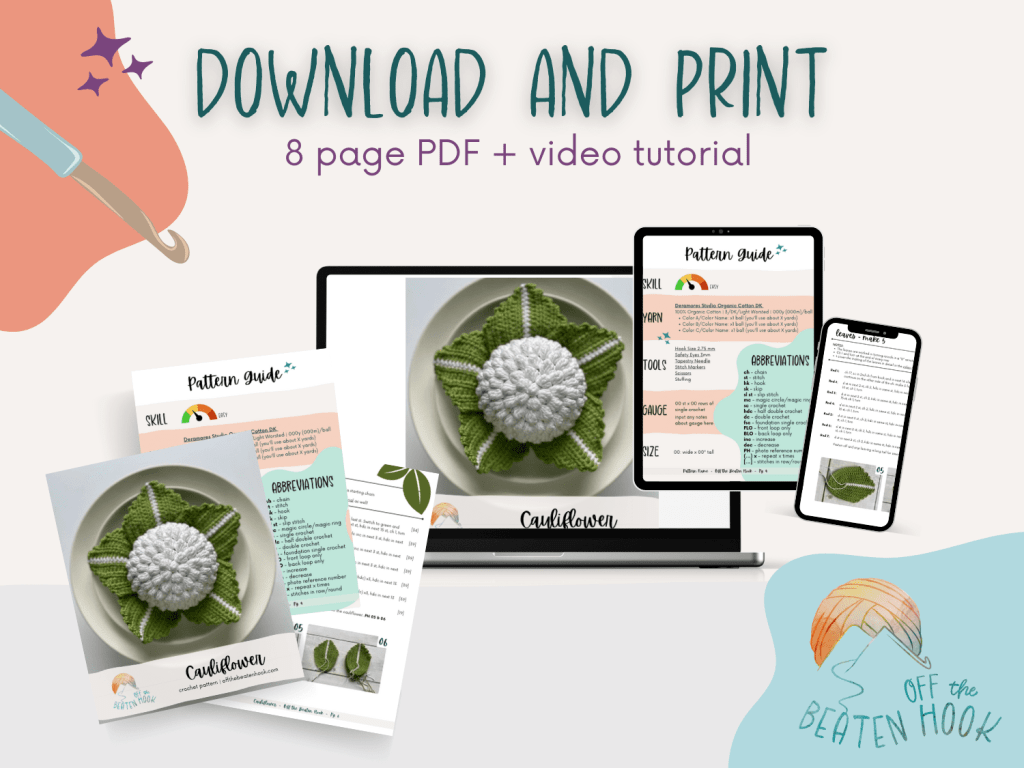
You can find the printable, AD-FREE version of this crochet pattern here:
Cauliflower Crochet Pattern Notes & Tips:
Size & Gauge:
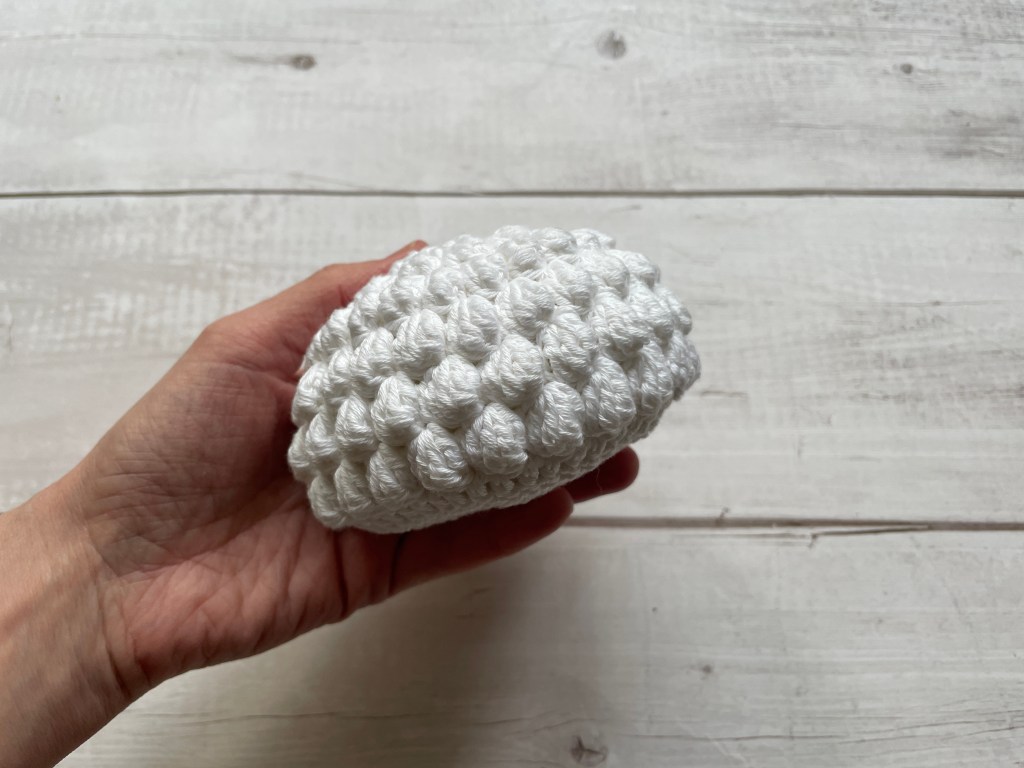
Size: 7″ wide x 3.5″ tall
Gauge: N/A. Ultimately with toys, gauge doesn’t matter. It won’t have to fit someone’s body or a specific space. My patterns will include the size of the finished toy based on the yarn and hook I use. But if you want it smaller or bigger, just use a bigger yarn and hook! Just remember, when crocheting toys, crochet tightly and choose a hook one size smaller than the yarn size recommends in order to avoid holes between each stitch where the stuffing will show through.
Yarn & Stuffing:
Yarn: Take your choice of yarn! Choose colors that bring you joy and fibers that feel good between your fingers. I use 100% organic cotton yarn because I make these toys for my kids and need them to be functional. Cotton is natural, washable, soft, and relatively inflexible so the toys don’t stretch and sag, even after being thrown across the house, down the stairs and adventured through every part of the garden!
Stuffing: Stuff more than you think you should. Not enough for the stitches to stretch and show holes, but enough to make the toy stiff and able to withstand the rough trials of toy life. The filling will compress a bit over time. I encourage you to use an alternative to poly-fill (unless it’s recycled!). Try using leftover yarn scraps and snippets or old non-donate-able clothes and materials cut into strips.
Policies & Disclaimers:
This pattern is for PERSONAL USE ONLY. This pattern or parts of it may not be reproduced, resold, distributed, published, altered, translated, posted or shared without authorization. You can sell your finished items provided that you credit Off the Beaten Hook as the designer using this verbiage, “This pattern was designed by Lindsey Roe and Off the Beaten Hook.” Thank you for your respectfulness!
This post contains affiliate links for materials I use and love. If you purchase something using one of these links I may earn a small commission which in no way affects the cost to you. These partnerships help me support my small business which allows me to provide you with free crochet patterns. Thank you from the bottom of my heart for your support!

What makes this pattern eco-friendly and sustainable?
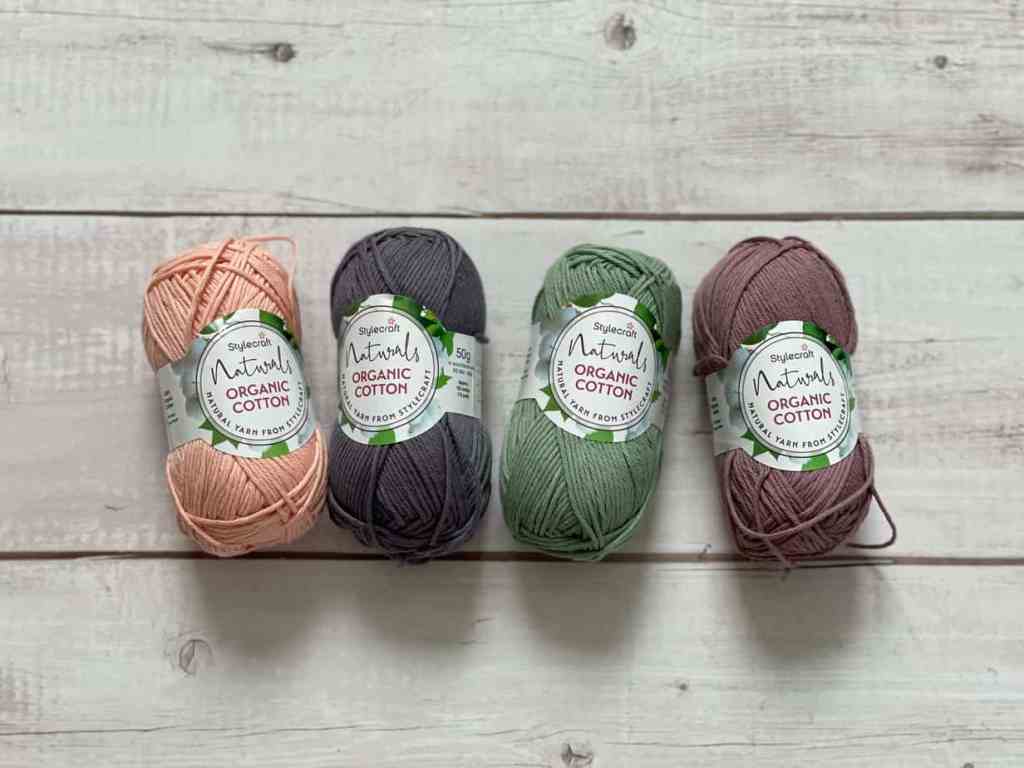
THE YARN: I use only sustainable and eco-friendly yarn that has been ethically grown/raised and processed, putting the people and the planet first. This is why I chose Stylecraft’s organic versus conventional cotton for this pattern.
THE STUFFING: I used 100% Post-Consumer Recycled Polyester Filling (recycled water bottles) for this cauliflower free crochet pattern. You can also use recycled cotton stuffing, left over yarn snippets (save them all – they add up fast!) or old fiber you’ve cut into strips.
THE SLOW YARN MOVEMENT: I’m participating in the Slow Yarn Movement. There’s far too much to talk about here, but please take a few minutes to learn about what this means by reading the article I wrote about the Slow Yarn Movement as part of my 6-part Sustainable Crochet Series.
I’M MAKING SUSTAINABLE TOYS FOR MY KIDS: This is the reason I learned how to crochet to begin with! I wanted my son to have mostly sustainable toys to play with as I eliminated a huge amount of non-renewable plastics from our home. I replaced his plastic food and veg toys with crochet ones instead!
If you’re interested in learning more about sustainable crochet you can read all about it in the 6-part series I did covering everything about Sustainable Crochet and how to implement it into your own crafting starting today!
Materials you will need:
YARN:
- Stylecraft Naturals Organic Cotton
- Yarn Specs: 100% Organic Cotton | Weight: 3/DK/Light Worsted | 115 yards (105m) per ball
- You’ll need: GYPSUM (white) x2 balls & LEAF (green) x1 ball
YARN SUBSTITUTION OPTIONS:
If you can’t access the recommended yarn, want to explore other colors, or would just prefer to use a different yarn for this cauliflower free crochet pattern, here are some others that will work well! All of these are DK weight:
100% Cotton Options:
- Deramores Studio Organic Cotton DK
- Stylecraft Naturals Organic Cotton
- Rico Essentials Organic Cotton DK
- Paintbox Yarns Cotton DK
- Rowan Handknit Cotton
- Debbie Bliss Cotton DK
Cotton Blend & Other Fiber Options:
- Scheepjes Linen Soft (Cotton/Linen/Acrylic)
- Paintbox Yarns Simply DK (Acrylic)
- Stylecraft Bamboo & Cotton Blend
- Sirdar Stories DK (Cotton/Acrylic)
- Valley Yarns Haydenville DK (Wool/Acrylic)
OTHER TOOLS & MATERIALS:
- Crochet Hook Size: 3.00 mm
- Tapestry Needle
- Stitch Markers
- Scissors
- Stuffing (here’s a great chance to use all those tiny yarn snippets you’ve been saving for stuffing!)
Abbreviations used in the cauliflower crochet pattern:
ch – chain
st – stitch
hk – hook
sl st – slip stitch
sc – single crochet
hdc – half double crochet
dc – double crochet
tr – treble crochet
FLO – front loop only
floret – treble crochet floret (instructions to follow)
inc – increase
dec – decrease
(…) x – repeat instructions indicated number of times
[…] – number of stitches in row/round
The Pattern
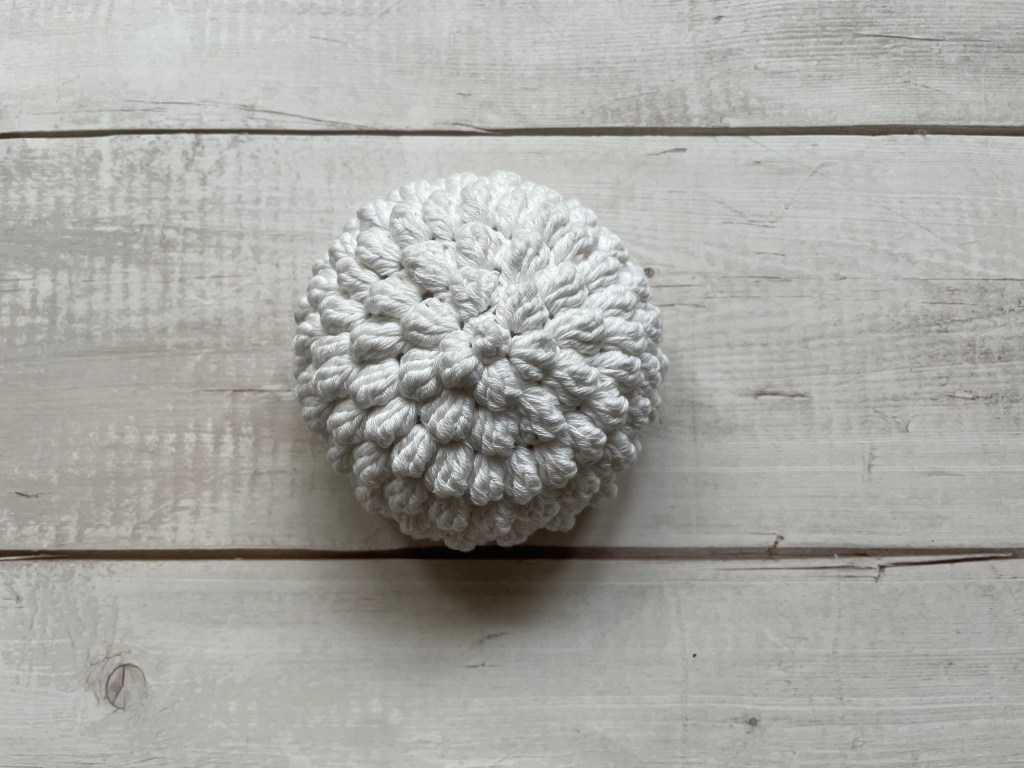
CAULIFLOWER FLORETS:
NOTES:
- The cauliflower is worked in continuous rounds – do not join after each round
- FLORETS: The florets are made using a treble crochet bobble. Here is how you do it. I also cover this in detail in the video tutorial in case you want to see it in action!
- YO twice and insert your hook into the indicated st
- YO a 3rd time and pull up
- YO a 4th time and pull the yarn through 2 loops
- YO a 5th time and pull the yarn through 2 loops
- Repeat steps 1-4, three more times into the same stitch – you?ll end up with 5 loops on your hook
- Finally, YO a 6th time and pull the yarn through all 5 loops on the hook
Rnd 1: st 6 sc in a magic circle [6]
Rnd 2: sc 5, hdc 1 [6]
Rnd 3: FLO (1 dc + 1 floret in the same st) x6 [12]
Rnd 4: (1 dc + 1 floret in the same st) x12 [24]
Rnd 5: (1 dc + 1 floret in the same st) x24 [48]
Rnd 6: (1 dc, 1 floret) x24 [48]
Rnd 7: (1 floret, 1 dc) x24 [48]
Rnd 8: (1 dc, 1 floret) x24 [48]
Rnd 9: dc around [48]
Rnd 10: (sc 6, dec) x6 [42]
Rnd 11: (sc 5, dec) x6 [36]
Rnd 12: (sc 4, dec) x6 [30]
Stuff cauliflower
Rnd 13: (sc 3, dec) x6 [24]
Rnd 14: (sc 2, dec) x6 [18]
Rnd 15: (sc, dec) x6 [12]
Rnd 16: sc around [6]
Snip and pull yarn through st. Using the yarn tail and a tapestry needle, weave the yarn through the FLO of each of the remaining 6 stitches and pull tightly to close. Bring yarn to inside.

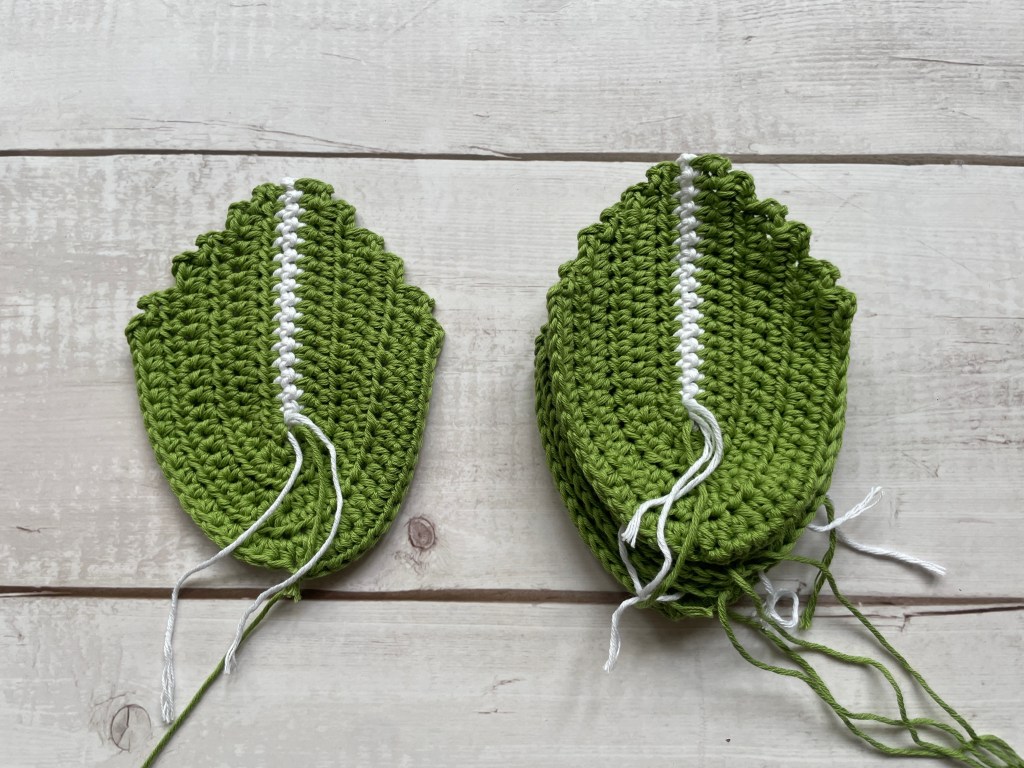
LEAVES – make 5:
NOTES:
- The leaves are worked in turning rounds in a ?U? around a starting chain
- Ch 1 and turn at the end of every row
- I cover the making of the leaves in detail in the video tutorial as well!
Begin with white yarn
Rnd 1: ch 17, sc in 2nd ch from hook and in next 14 chs, inc in last st. Switch to green and continue on the other side of the ch: make 3 hdc in next st, hdc in next 15 st, ch 1, turn [34]
Rnd 2: sl st in next 2 st, ch 2, hdc in same st, hdc in next 14 st, hdc inc in next 3 st, hdc in next 16 st, ch 1, turn [39]
Rnd 3: sl st in next 2 st, ch 2, hdc in same st, hdc in next 15 st, hdc inc in next 3 st, hdc in next 15 st, ch 1, turn [39]
Rnd 4: sl st in next 2 st, ch 2, hdc in same st, hdc in next 14 st, hdc inc in next 3 st, hdc in next 16 st, ch 1, turn [39]
Rnd 5: sl st in next 2 st, ch 2, hdc in same st, hdc in next 14 st, (hdc inc, hdc) x3, hdc in next 13 st, ch 1, turn [39]
Rnd 6: sl st in next 2 st, ch 2, hdc in same st, hdc in next 14 st, (hdc inc, hdc) x3, hdc in next 13 st, ch 1, turn [39]
Rnd 7: sl st in next 2 st, ch 2, hdc in same st, hdc in next 16 st, sl st in next st. [19]
Fasten off and snip leaving a long tail for sewing onto the cauliflower.
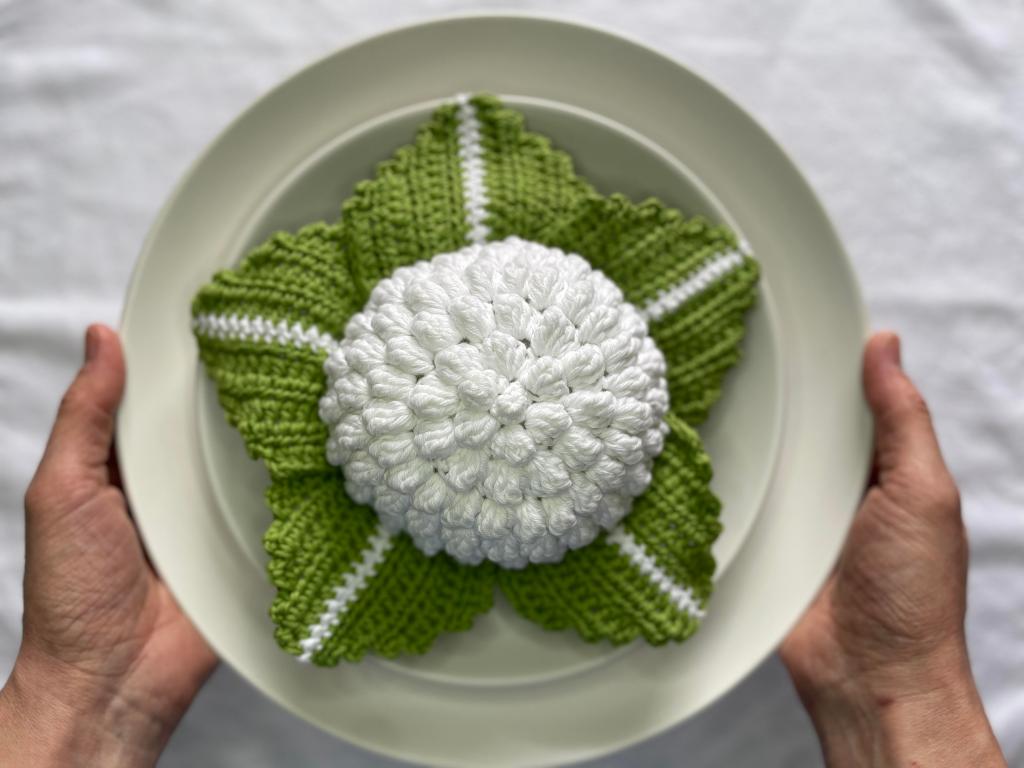
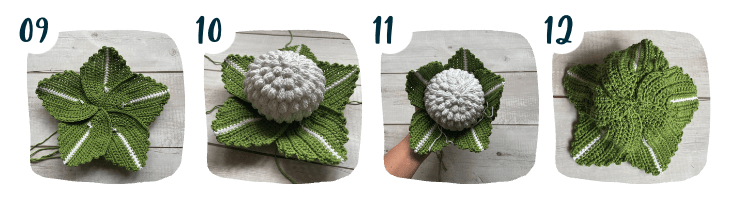
ASSEMBLY:
- Arrange the leaves in a circular flower shape, aligning the bottom of each leaf in the center
- Using the long tails, sew the leaves together PH 09
- Place the cauliflower in the center of the leaves PH 10 and, using an available yarn tail, sew the leaves up and around the cauliflower – weaving the yarn along Row 8 of the cauliflower (the last row of bobble florets). Continue in this way all the way around. PH 11 & 12
CAULIFLOWER CROCHET PATTERN VIDEO TUTORIAL:
You did it! Well done!
I would love to see your completed cauliflowers. Please post pictures on instagram and tag me @offthebeatenhook and use #offthebeatenhook. Cheers!
PIN THIS CAULIFLOWER CROCHET PATTERN FOR LATER!

Leave a Reply